The modern world has made digital experts more accessible and approachable to clients. Real estate photo editing services are in demand, and there are many choices available online. If you own a real estate agency or company, you would be dealing with hundreds of photos in a day.
There may be times that you question if you should even be looking for real estate photo editing outsourcing or doing it yourself. Specialists know how to quickly and efficiently achieve the best real estate photography standards needed to sell.
Are Professional Real Estate Photo Editing Services Perfect for Your Company?
Yes. An expert real estate editor will allow optimization and enhancement of your listing images within the time needed.
When Do You Need a Professional Real Estate Photo Editing Service?
There are different reasons to hire an expert; ultimately, you need to determine if you need to hire a professional or do it with your internal graphics team.
Here are some of the instances that you need a professional real estate editor:
1. When you don’t have time to edit photos yourself
You can outsource your photo edits if you need extra help without worrying about the overhead monthly expenditures of hiring editors. Real estate marketing planning and implementation might take too much time and effort from your company, so you should ask for help when you need it.
You can also benefit from outsourcing if you have a small business with no graphic team or if your design team is busy creating images or photos for other platforms.
2. When you want to uphold real estate image standards
You can outsource real estate photo edits to maintain competitive standards. There are several real estate photography criteria that most experts know, and a real estate photo editing service would deploy aesthetic techniques to guarantee your images have higher chances of being sold.
Here are some standard photography tips:
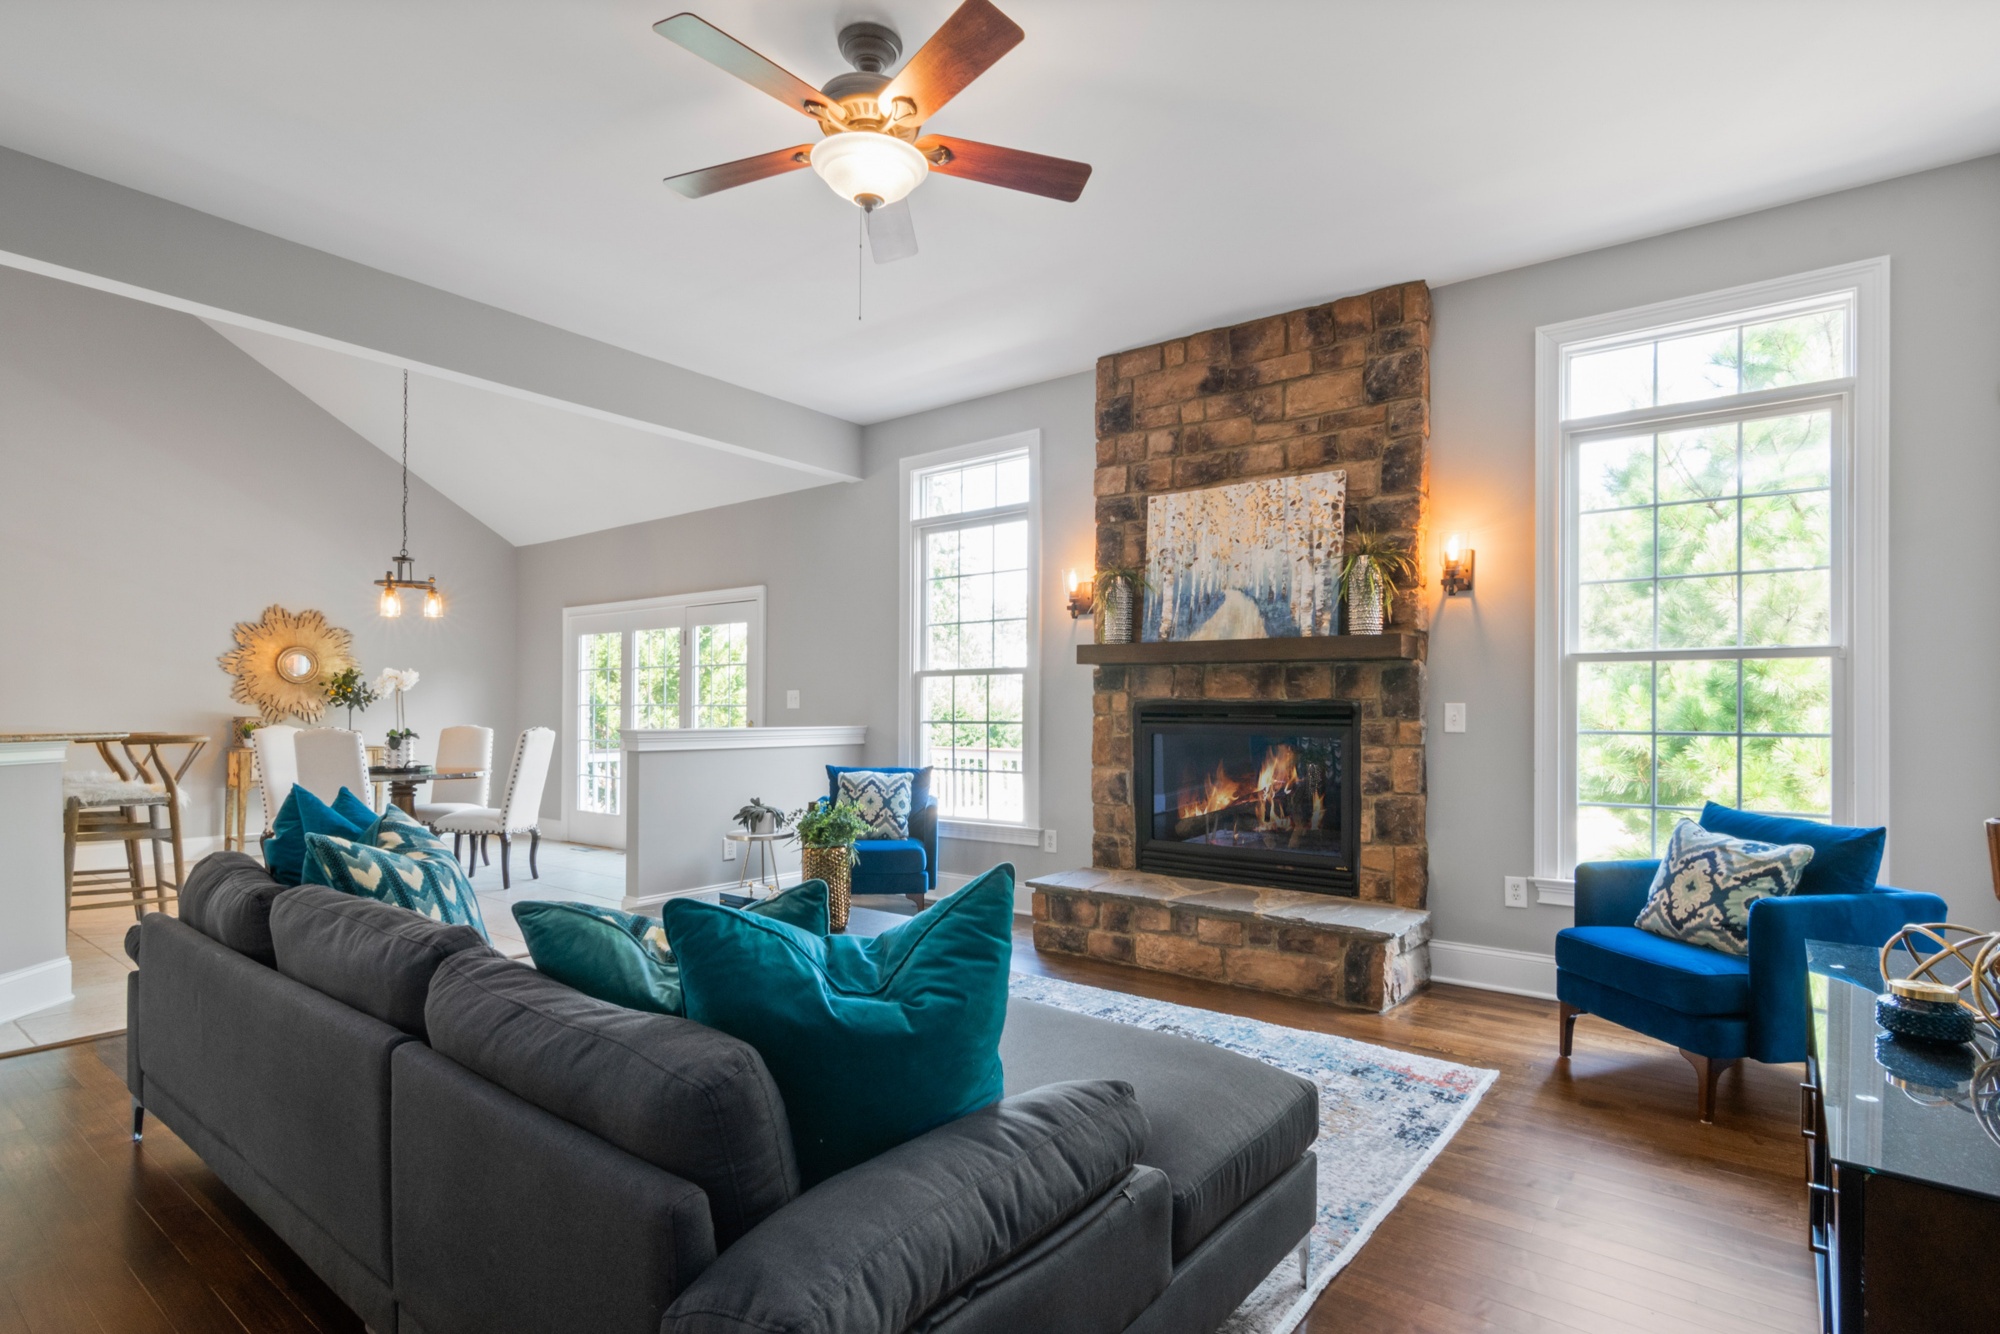
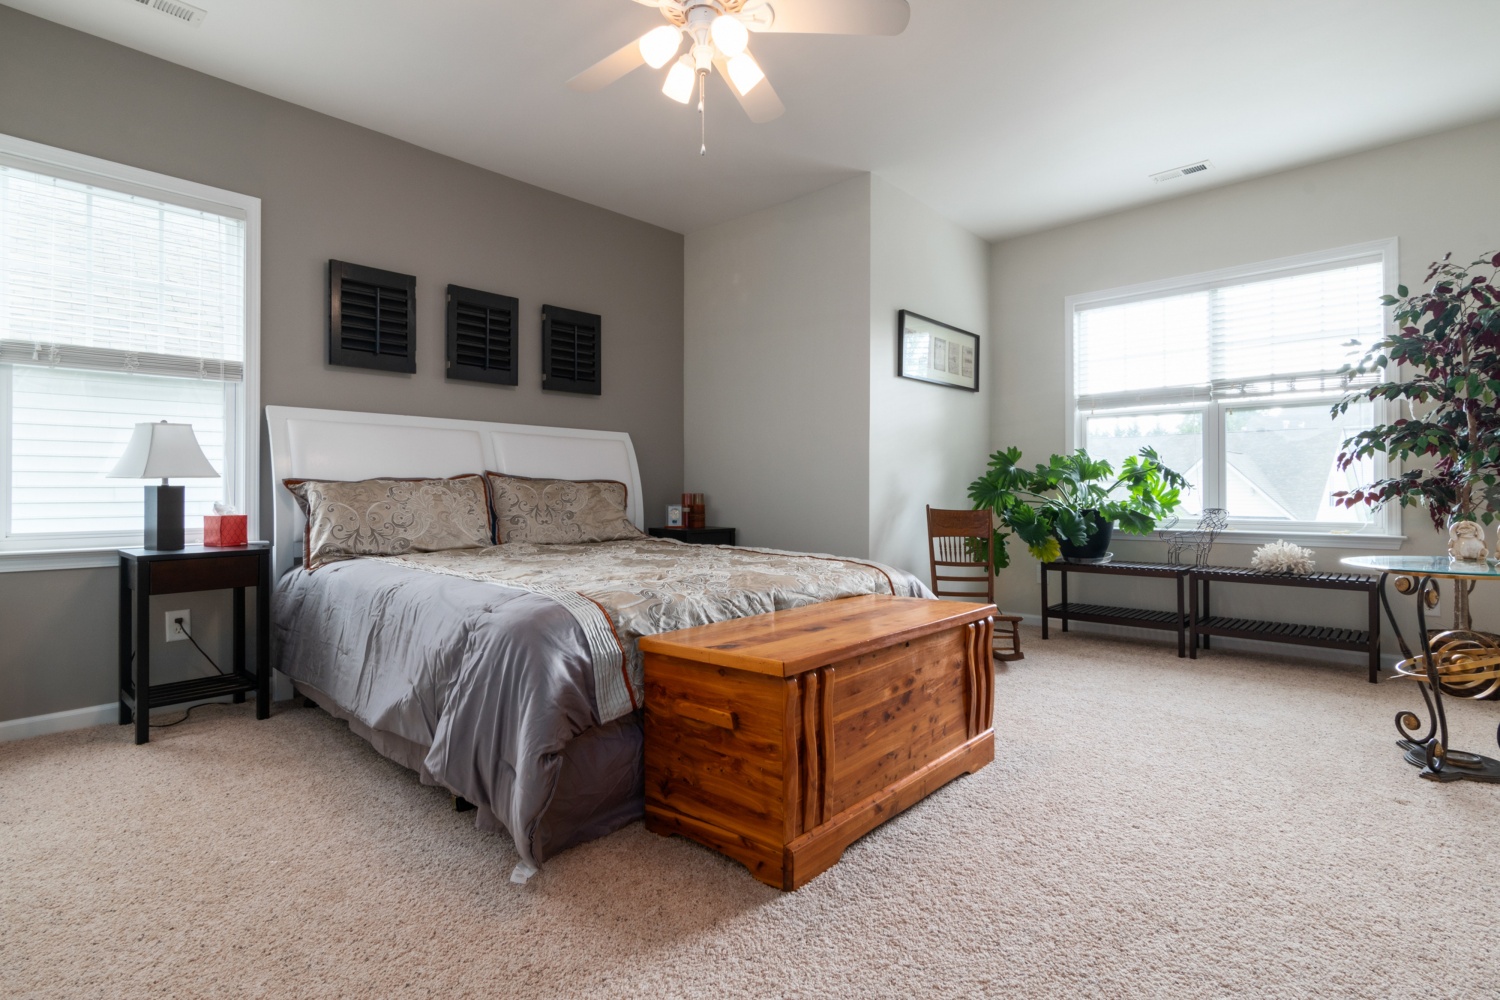
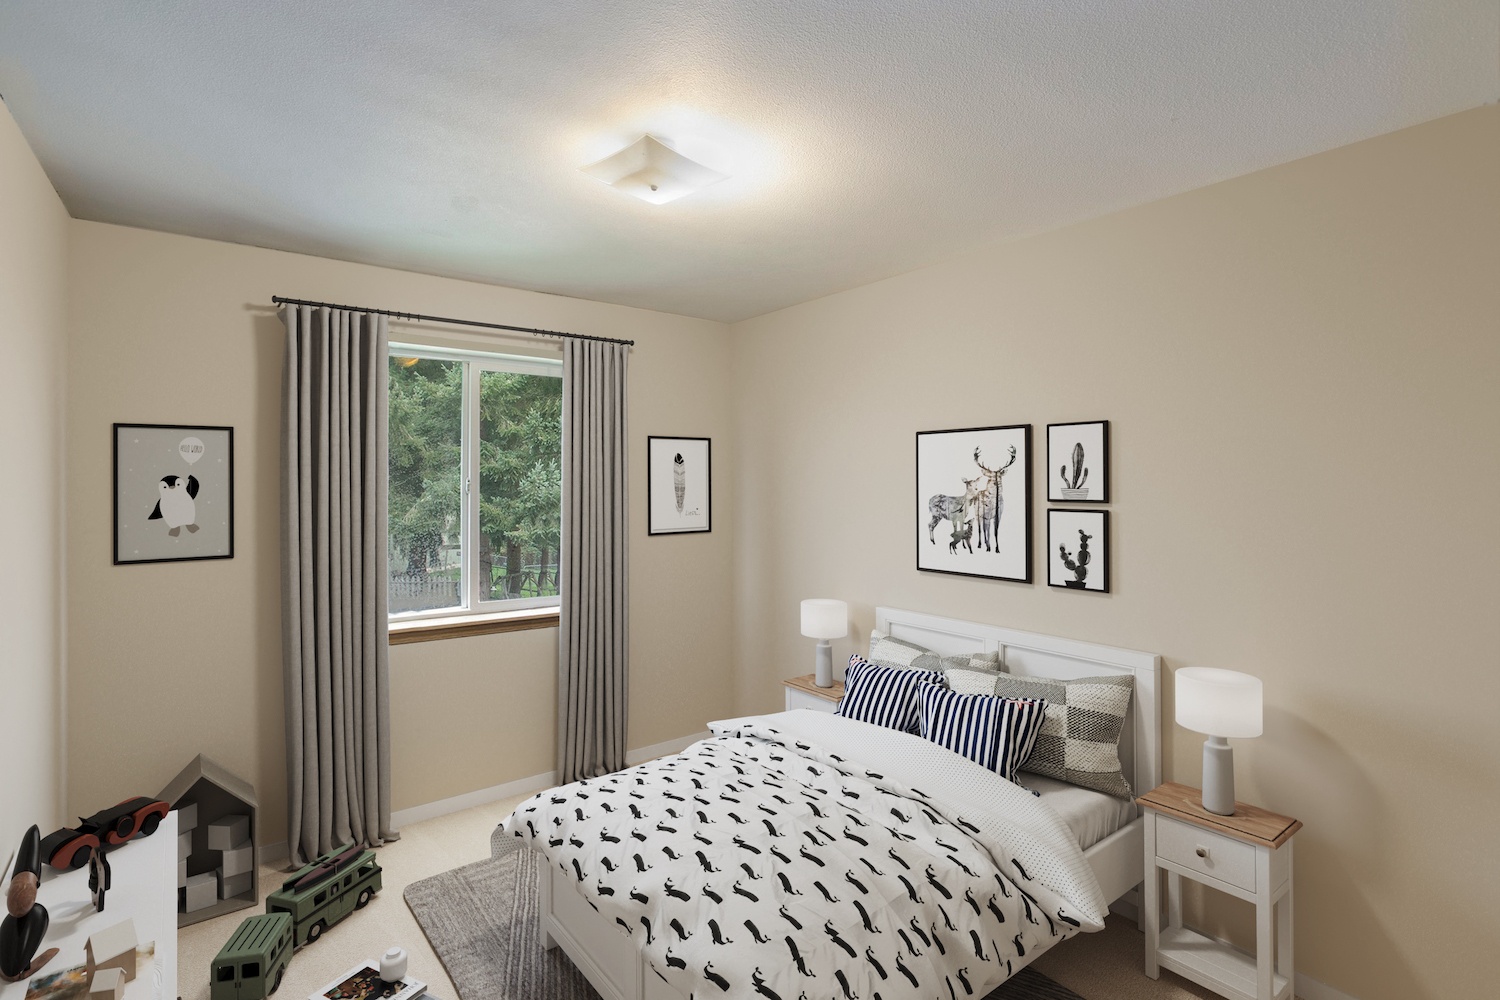
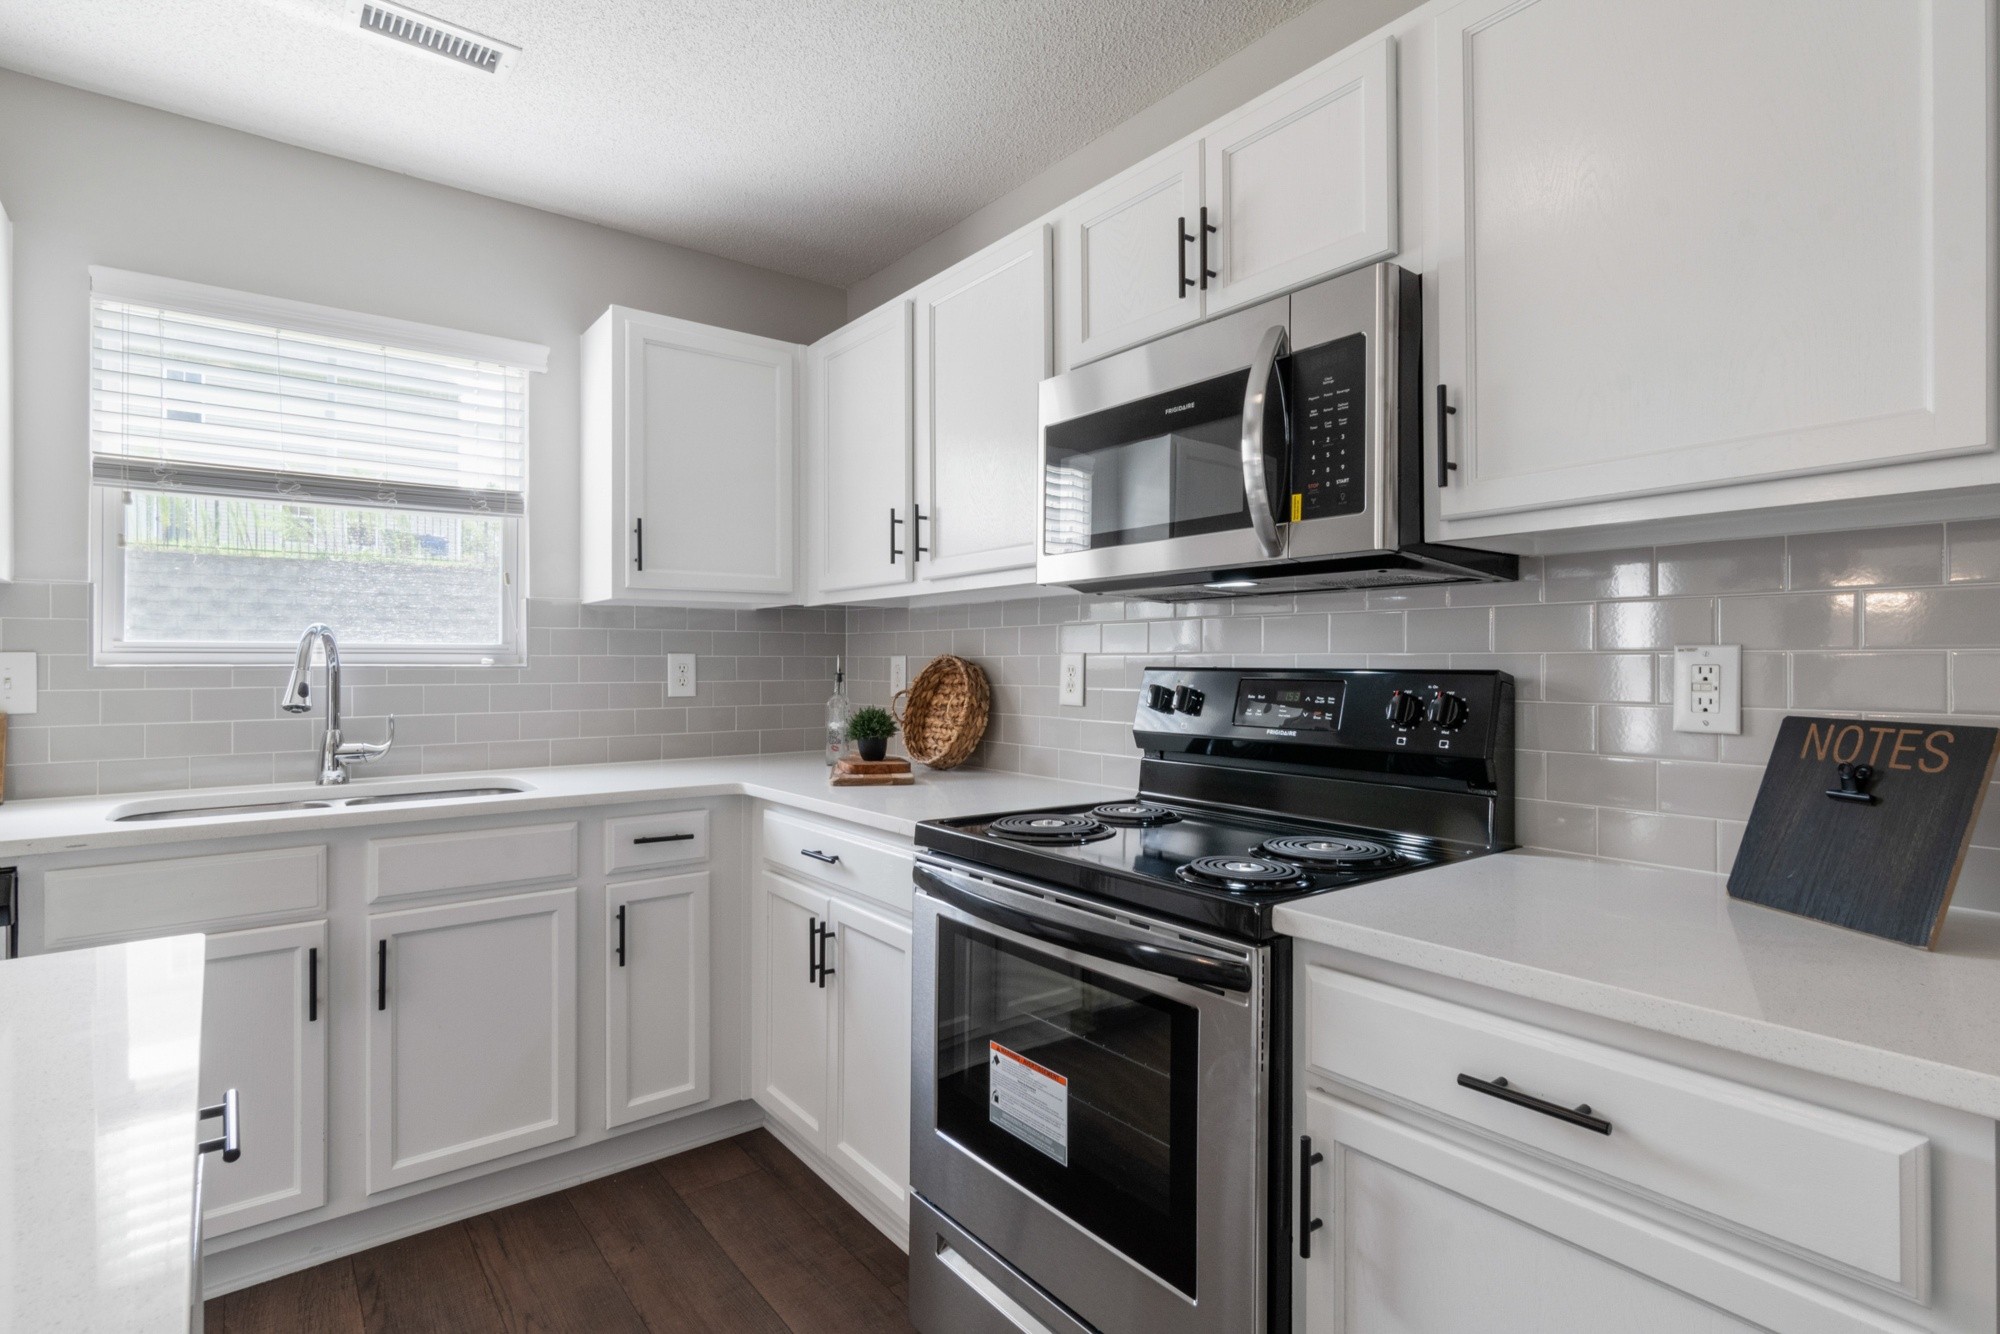
- Two wide-angle shots of each main room, such as kitchen, living room, and bedrooms.
- One image of each added feature like a pantry, garage, and laundry room.
- One photo of the bathroom/s, or two, if spacious or beautiful.
- One to three backyard photographs or more if the property has unique features you want to highlight.
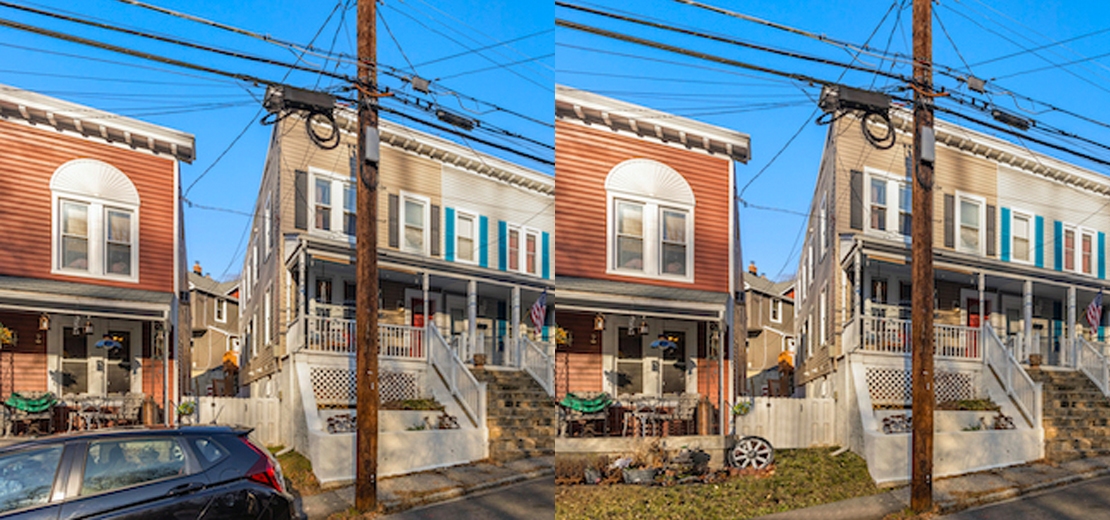
- One to two shots of the front yard or the whole property for curb appeal.
The photography standards would shine better with professional post-production touch.
3. When you have insufficient property photo editing skills
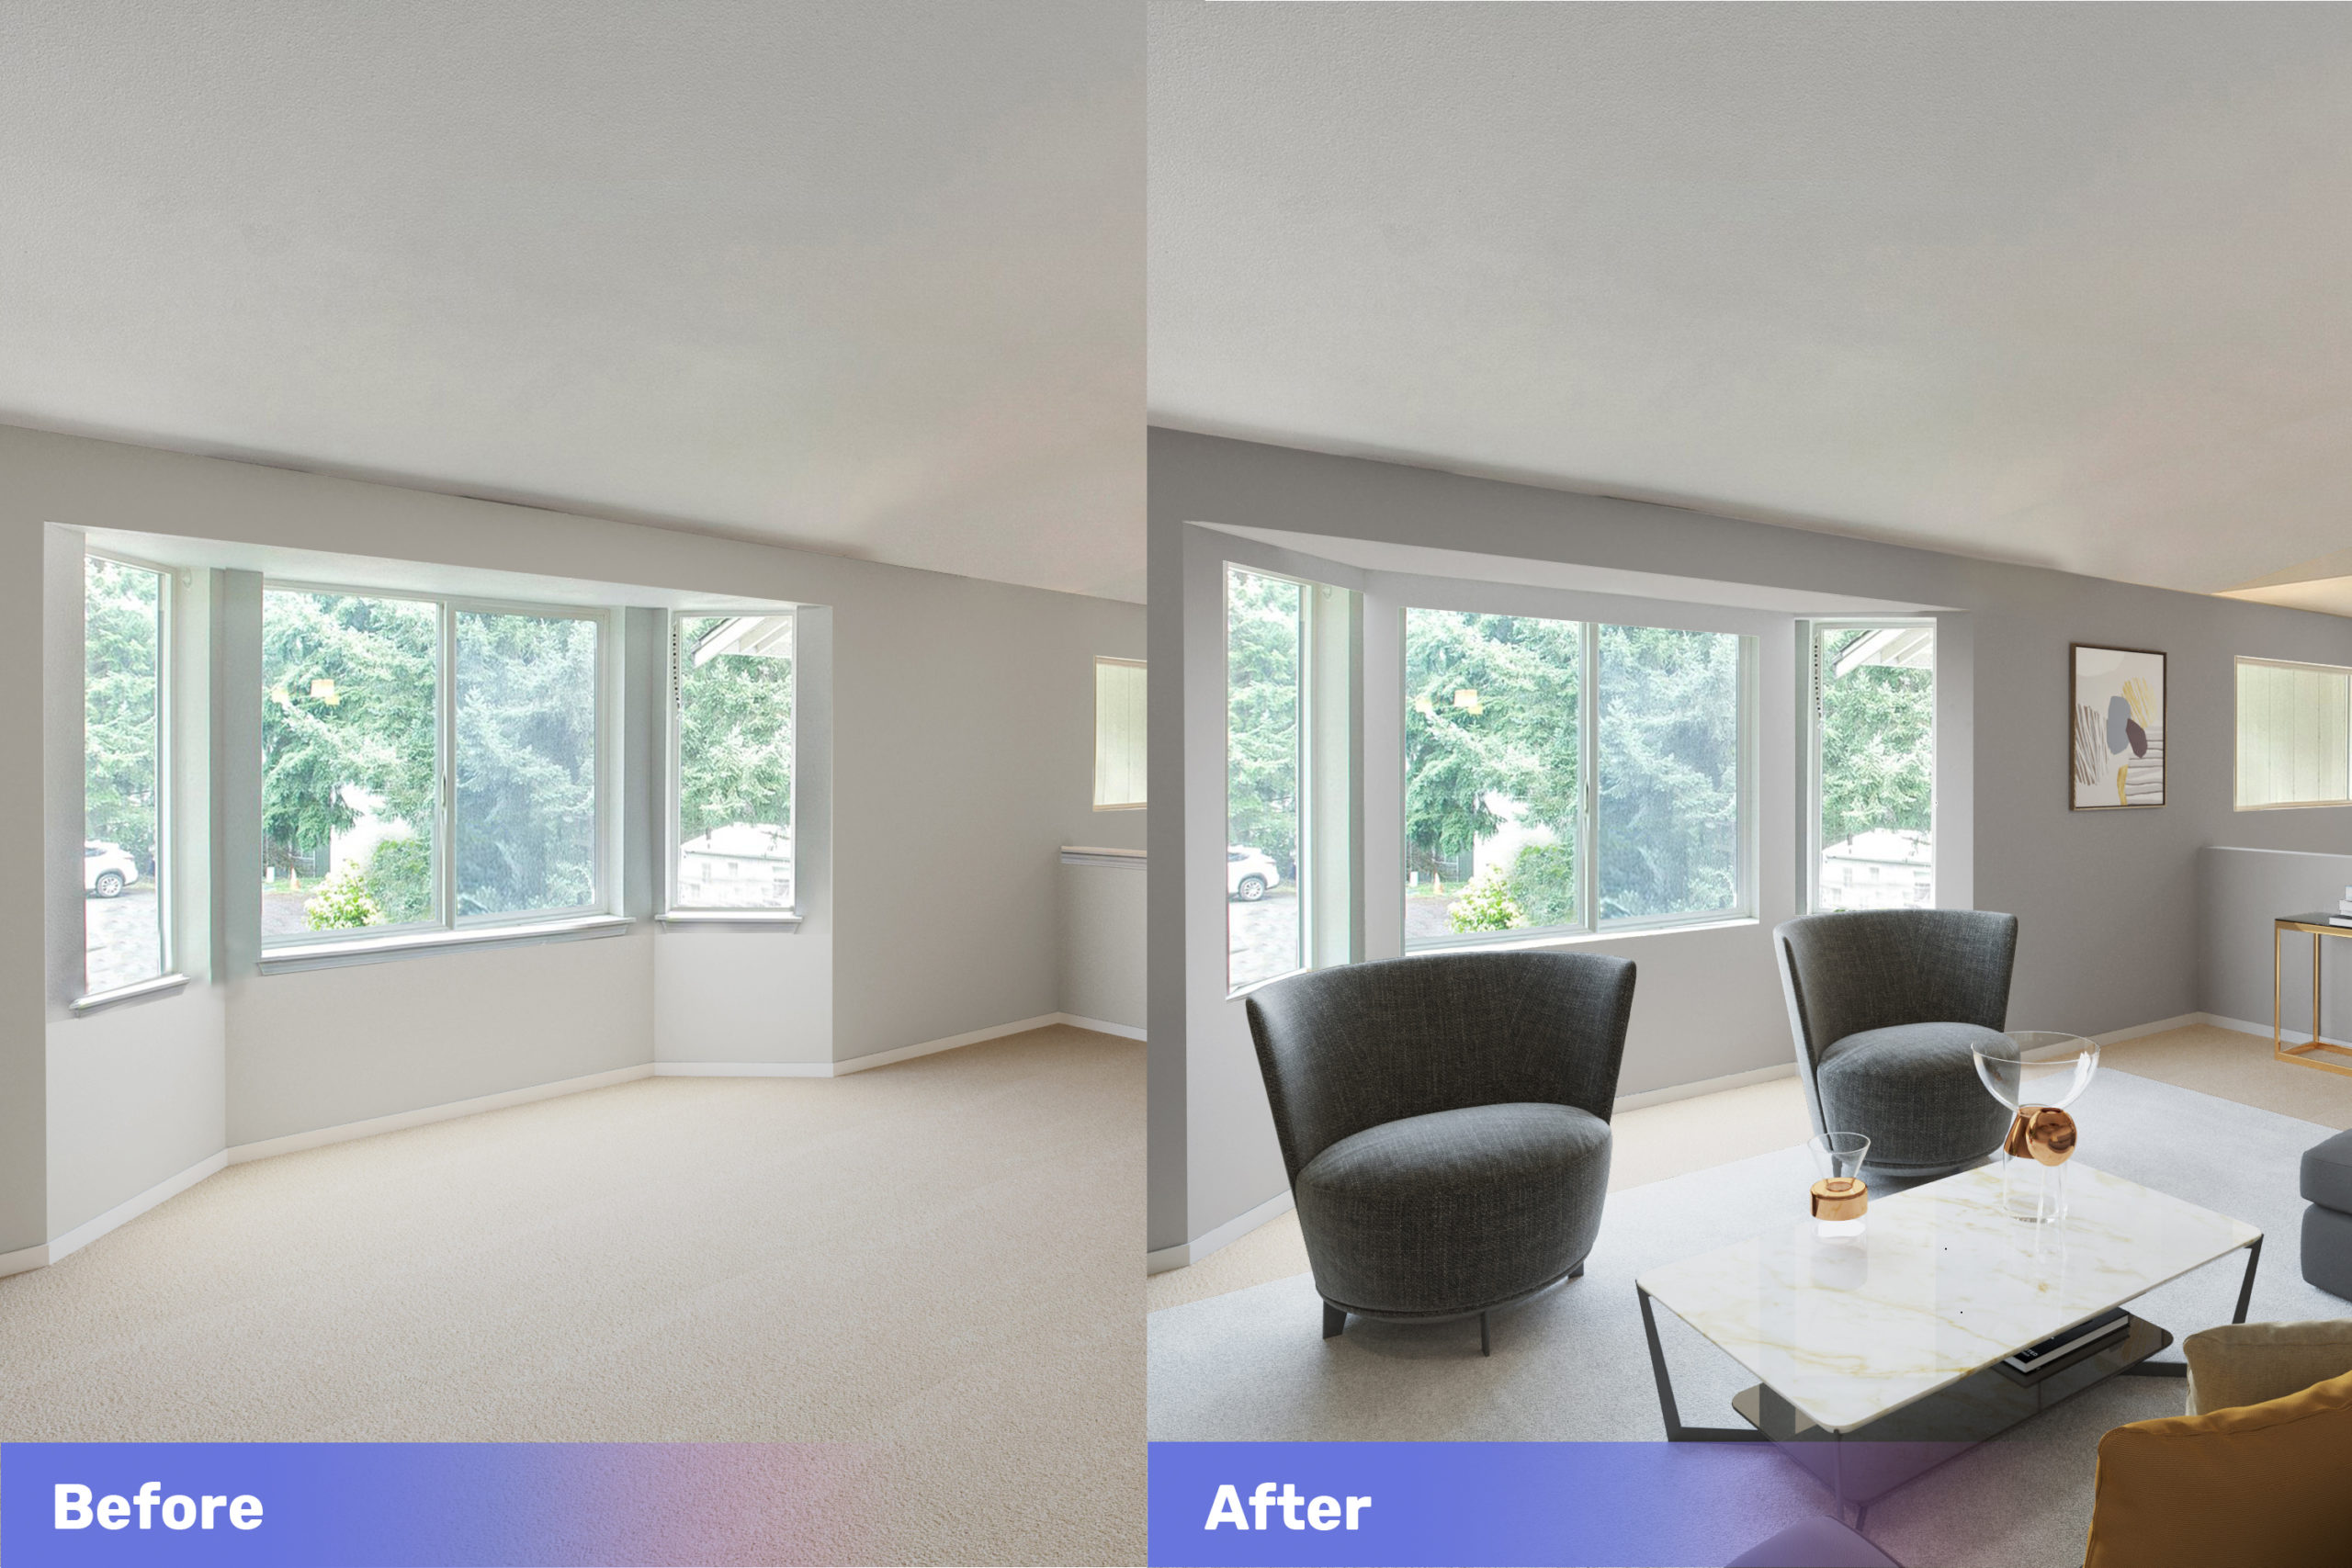
You need to do several things to produce the perfect real estate photos, such as decluttering, brightness adjustment, and other methods. You may want to do the edits yourself or immediately publish the pictures without putting them through post-production.
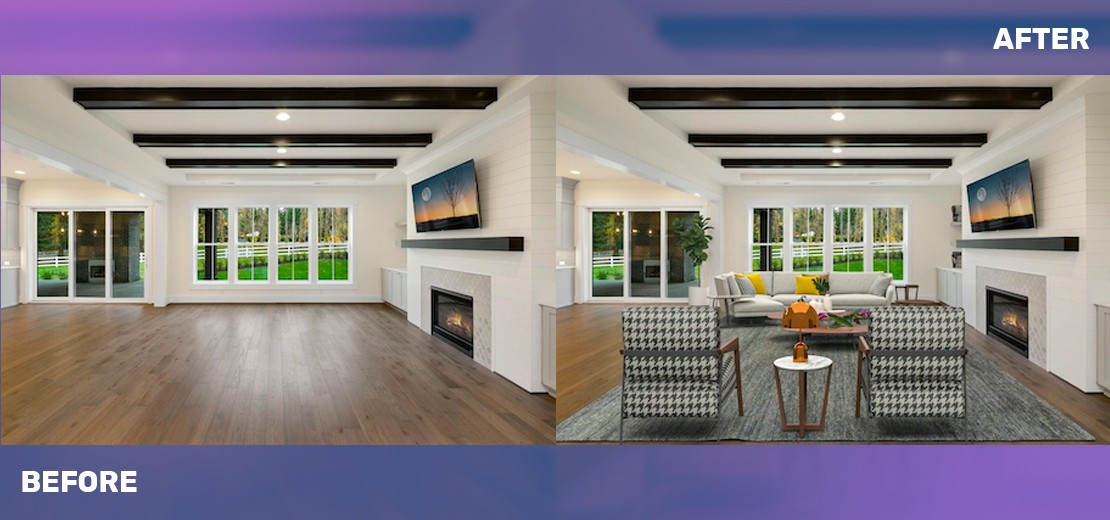
You can leave the adjustments to the experts if you’re not confident about what looks good on a real estate listing site. You may even request unique editing methods, such as virtual staging.
4. When you need bulk edits within a limited period
You might be operating on a tight deadline involving multiple photos, which is convenient for companies with hundreds of real estate designers and editors on their payroll. Some companies specialize in quick edits and fast turnaround times while maintaining the highest quality.
You may be overwhelmed by the bulk, and it’s easier to rely on experts for edits. Some companies offer quicker turnaround times so that you can meet your publishing deadlines.
The Bottomline
Most companies that specialize in real estate photo editing outsourcing have dedicated years to perfecting their craft. You could hire a professional to guarantee every photo is ready for publishing, and you won’t have to worry about time, additional costs, and standards.