With the current global situation bought by the ongoing pandemic, several industries have been affected. However, many of them also boomed during this crisis, just like the other successful businesses we know today.
Let us talk about the photography business. There are different types of photography niches to focus on, but the real game is to keep it going in a time like this.
For some, it may seem unrealistic to start this given the current situation and economy, but who knows? It will help if you have a leap of faith to start your dream photography business.
[lwptoc]
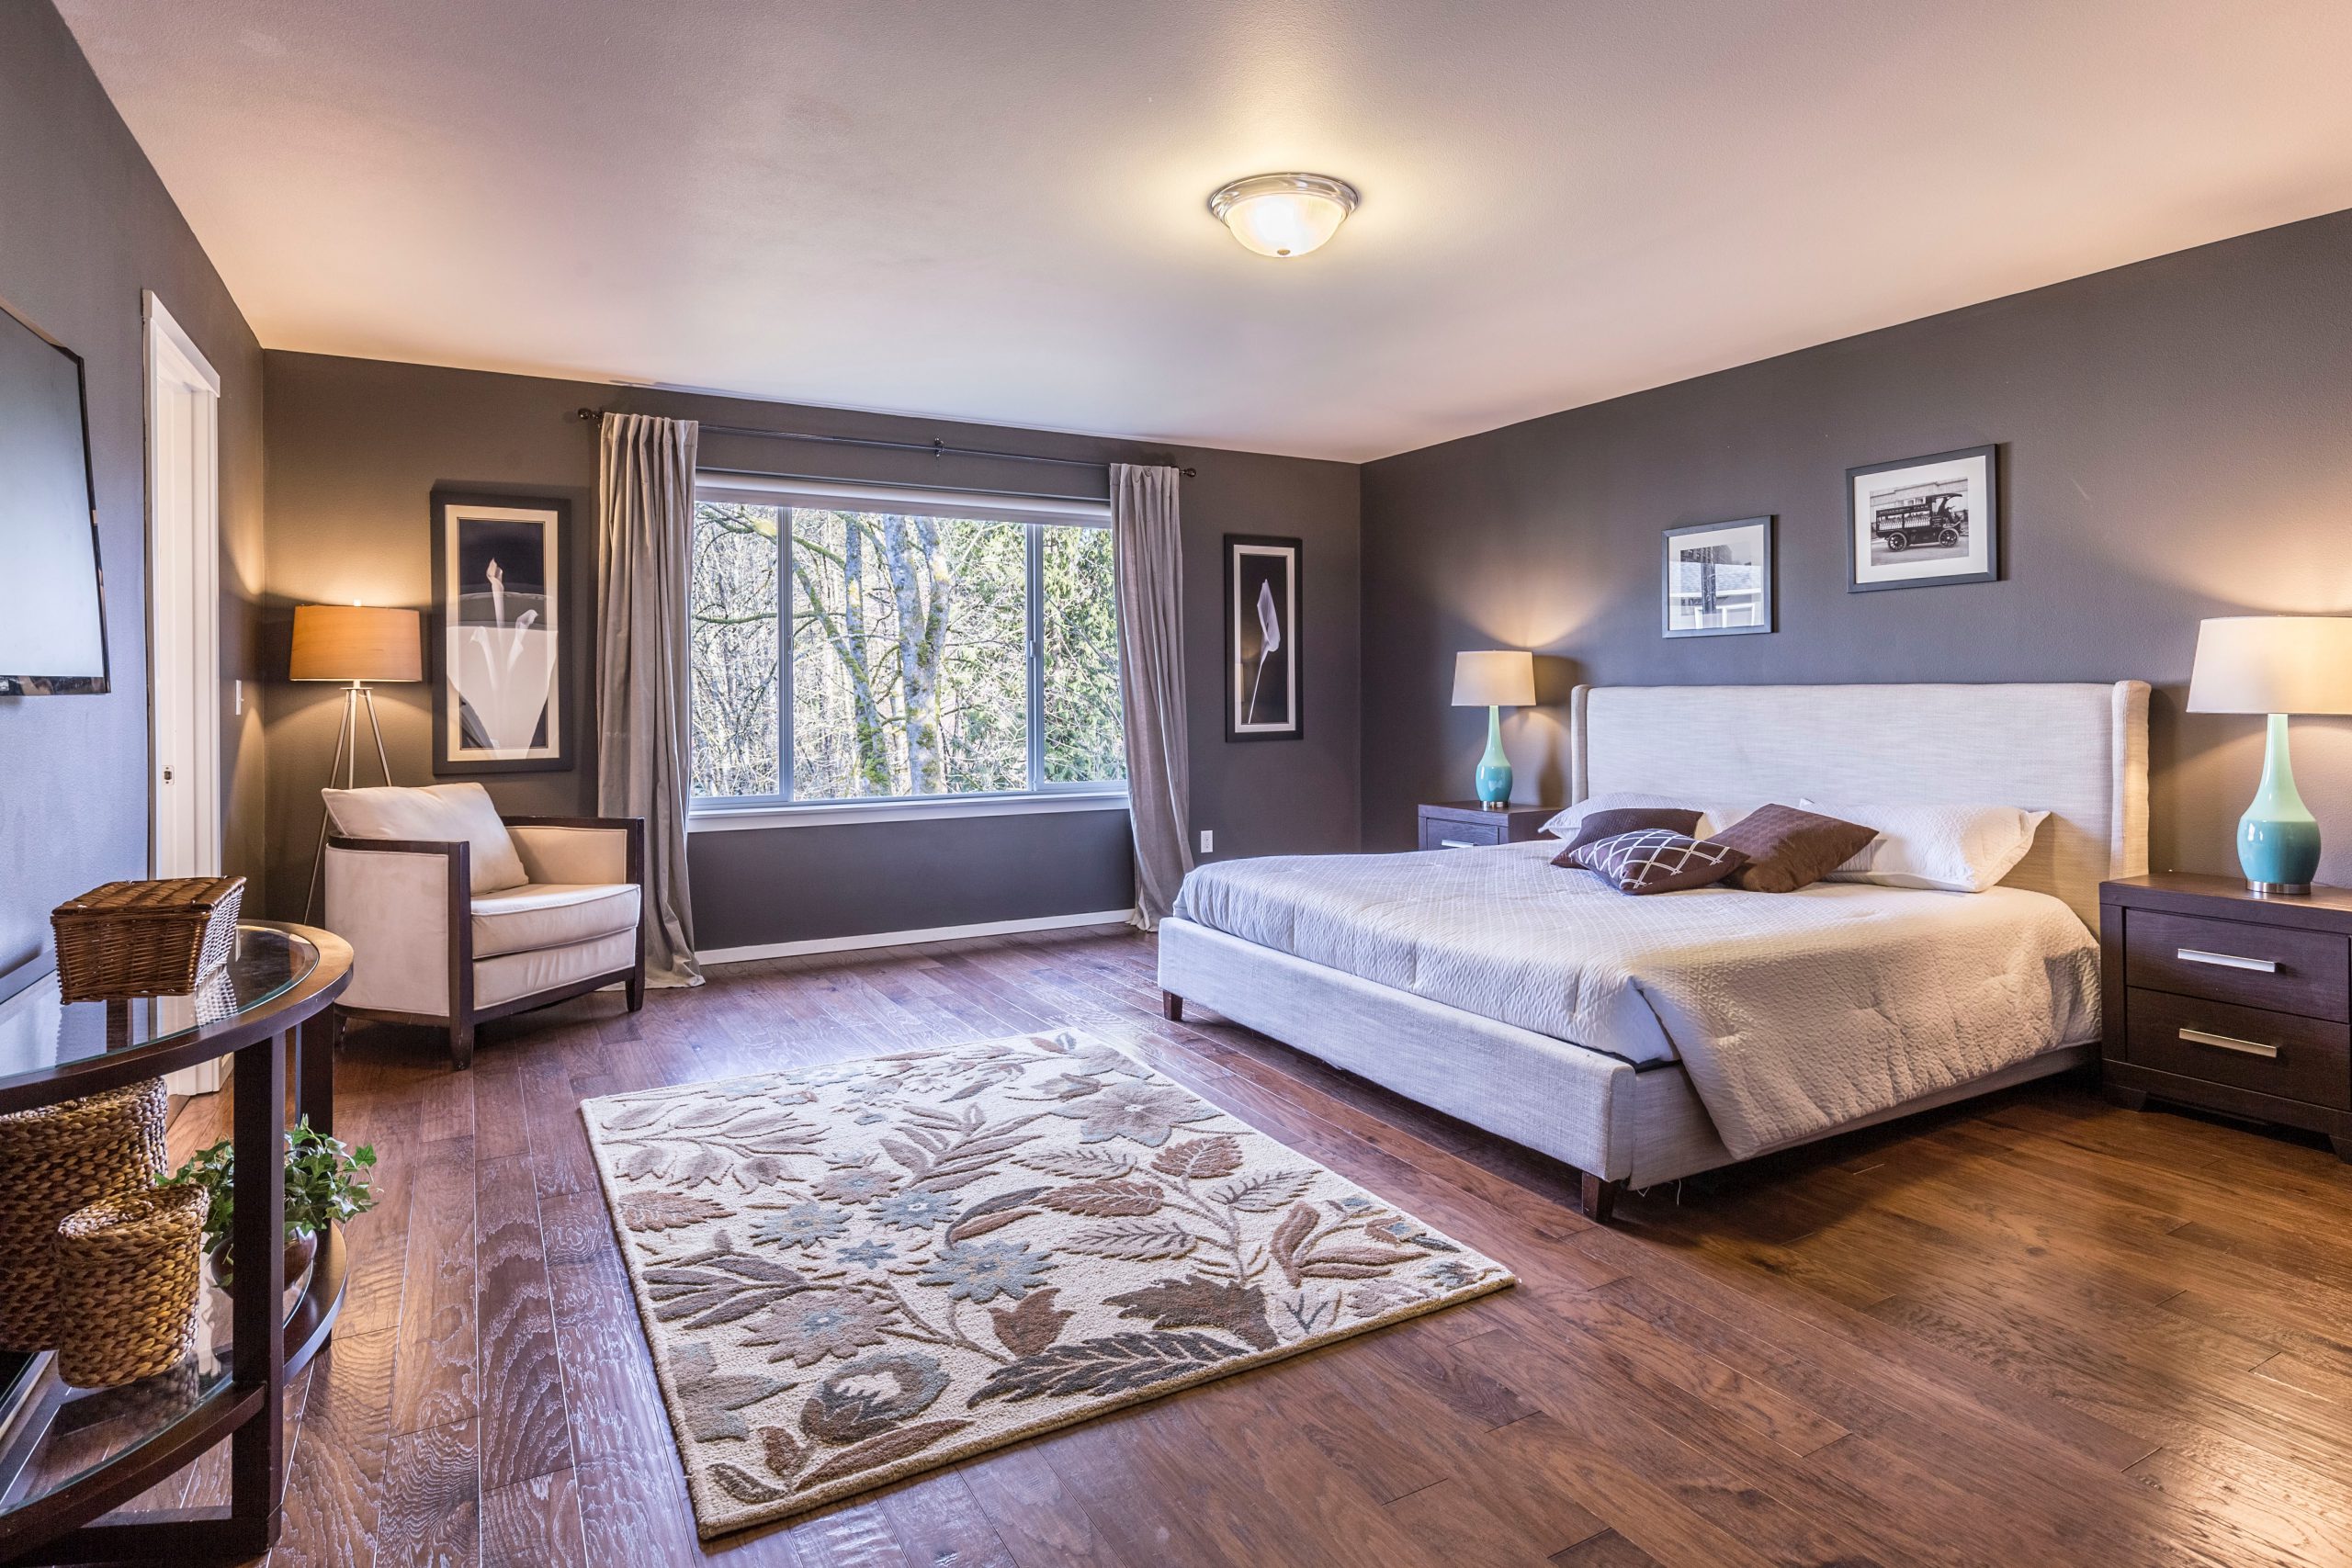
If you are undecided yet, why not try real estate photography as your focus? This industry has a lot to offer in terms of financial independence and your time. Most of all, if you want, you can work independently using your equipment and skills.

How to get started?
The most important thing to have when starting your real estate photography business is the interest in the niche. Doing something you like is the key to a successful career and business.
The next phase involves your equipment. It is vital to have a high-quality camera, lenses, and tripods. You need to invest in state-of-the-art photography equipment to make sure you get the best shots for properties.
You must have a good internet connection to access your digital tools and upload the photos on sites frequented by realtors or clients.
Building Your Real Estate Photography Credibility
The big challenge in the photography business is in proving your worth. Many realtors will probably ask you about your experience, so it pays if you start small before tapping big-time clients.
Try doing some free shoot for your realtor friends or connect with a local real estate agent to do some work. The point is that even if you do all of these for free, you build your portfolio.
You can also do self-promotion of your works online using varied social media platforms such as Facebook, Instagram, Twitter, and LinkedIn. Use these platforms as your marketing arm in promoting your talent.
Moreover, you must have a responsive and mobile-friendly website, too, for showcasing your works. Use can also use it as a portfolio medium to consolidate your best work. Lastly, try to add testimonials from your friends about your work.
Growing Your Photography Business Online
If you want to excel more in the photography industry, you must know the importance of digital tools and how they help you work more efficiently than the traditional ways.
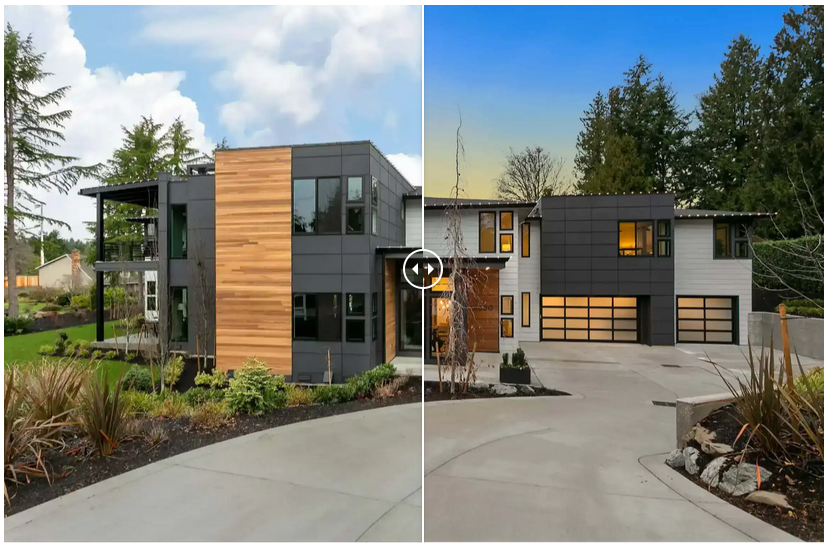
Digital tools are anything you use to enhance your shots. It can be a software for editing photos such as Adobe Photoshop and Lightroom or the advanced technology incorporated in virtual home staging.
Note that some tools need premium subscriptions, but some can be available for free such as the universal virtual home staging apps. However, you must understand that not everything that is free yields outstanding results. For example, in the case of free virtual staging apps, some may give you unrealistic final images which may not look attractive at all when used on the property listings.
Moreover, here are some suggestions that can help you grow your photography business.
Working with Third-Party Companies
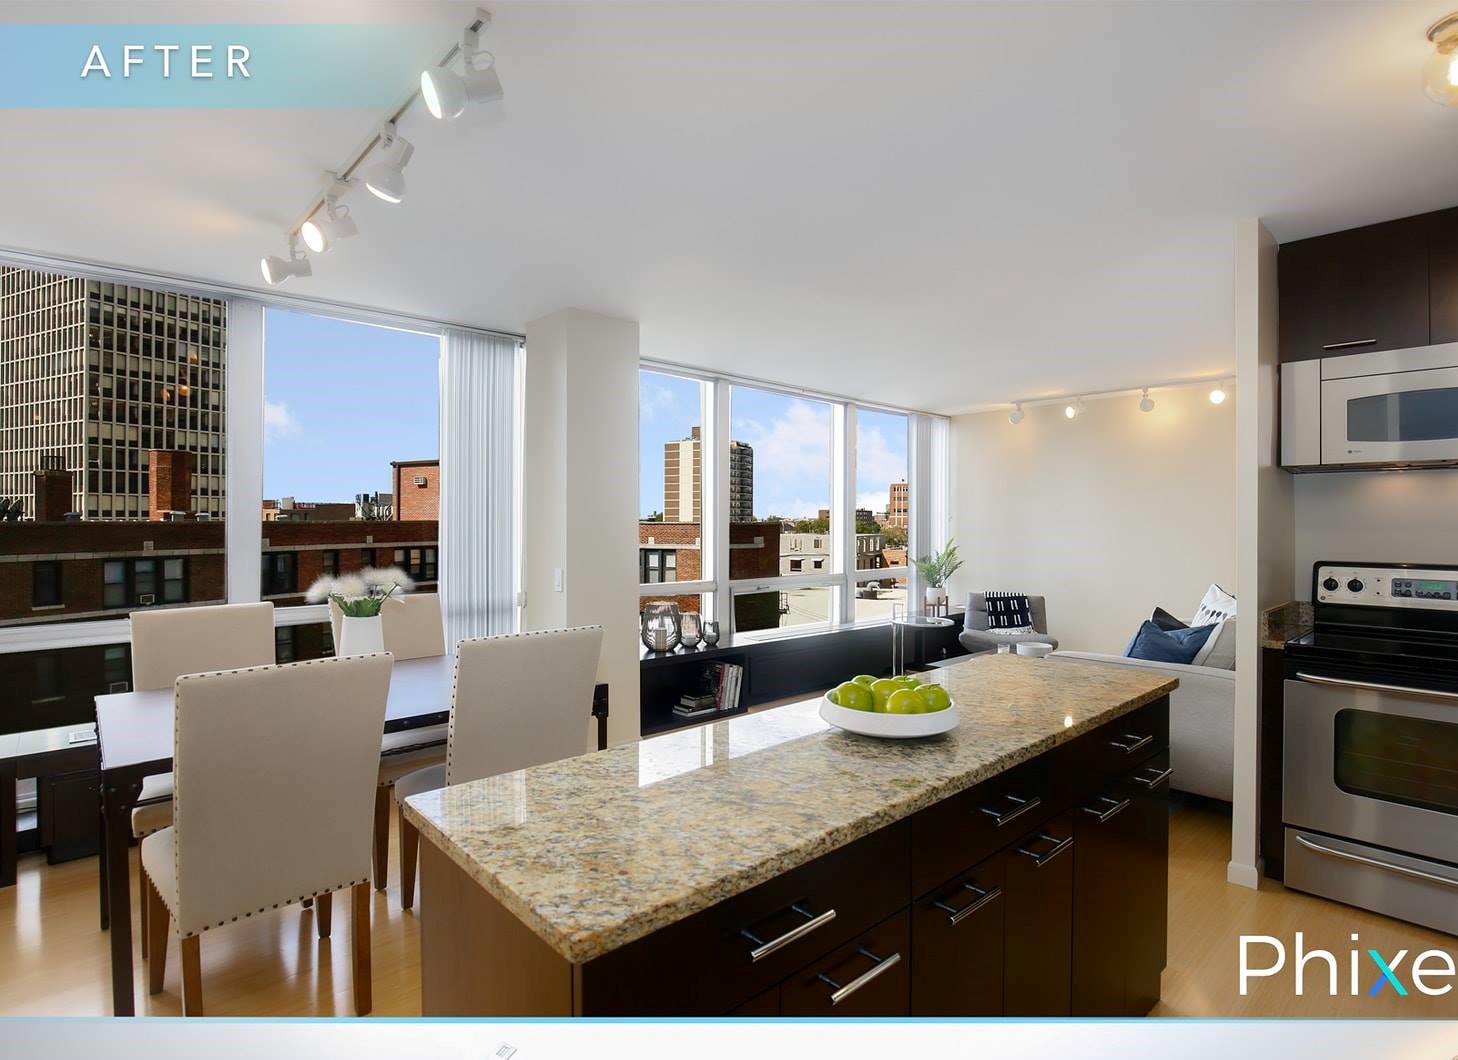
If you are not yet pro in doing finishing touches to your shots and have an extra budget, it is recommended to work with a real estate photo editing company. For one, such a company is there to help you achieve high-quality and professional-looking images that realtors love to use on their listings. Furthermore, you can save time and money on buying and learning how to use editing software, although it is also helpful to have a basic understanding as to how these tools work.
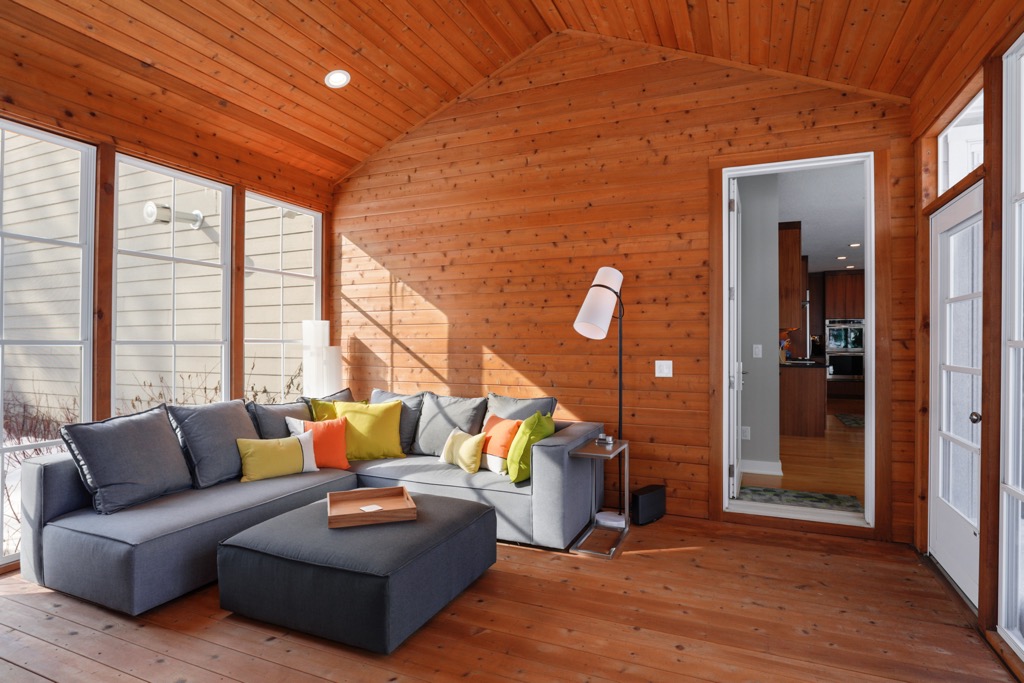
Opting to Virtual Home Staging
It is recommended to have virtual home staging if your client is into traditional home staging, which is costly and time-consuming. Try to pitch the idea to your client first; discuss its pros and cons, then let him or her decide.
Learning the Craft of Single Property Websites
Understanding how a website works is one thing, and learning how to build one is another opportunity to grow your photography business. It is like hitting two birds with one stone: you create the website and provide the photos at the same time.
In the end, what matters is your perseverance in building the business and proving your worth. It is never too late to start your own business.