With the internet becoming an indispensable platform for selling, you cannot afford not to be found online as a business owner. Especially when you’re in the real estate industry, the competition can be tough. You need to be ahead in the game to outsell your competitors and reach your market faster.
In order to outsell your competitors and reach your market faster, you need to establish a strong presence online and make your listings accessible to potential buyers. Aside from just posting, you also need to ensure that your listings are optimized.
Here are some considerations that you need to take into account in order to optimize your listings:
1. Add relevant content.
Make sure that you have effective copy and text for your listings. This is a must if you want to sell your properties quickly. Aside from that good copy also ranks well with search engines. Make sure that you add an adequate description of the property and include the address. Use local keyword phrases, as well. This is necessary especially if you are servicing a specific area or state. Use common local search terms and customize these depending on your specific area. Making sure that these are included will help buyers find your property easily online.
2. Include reviews.
As a business, it is essential to establish your credibility with your potential customers. To do so, add positive reviews from previous clients. Make sure that you have solicited feedback from happy clients every time you make a sale. This is something that many potential buyers look for when checking out listings. They want to know if you have a good reputation as a broker and have given home buyers many positive experiences during the long grueling path to home purchasing.
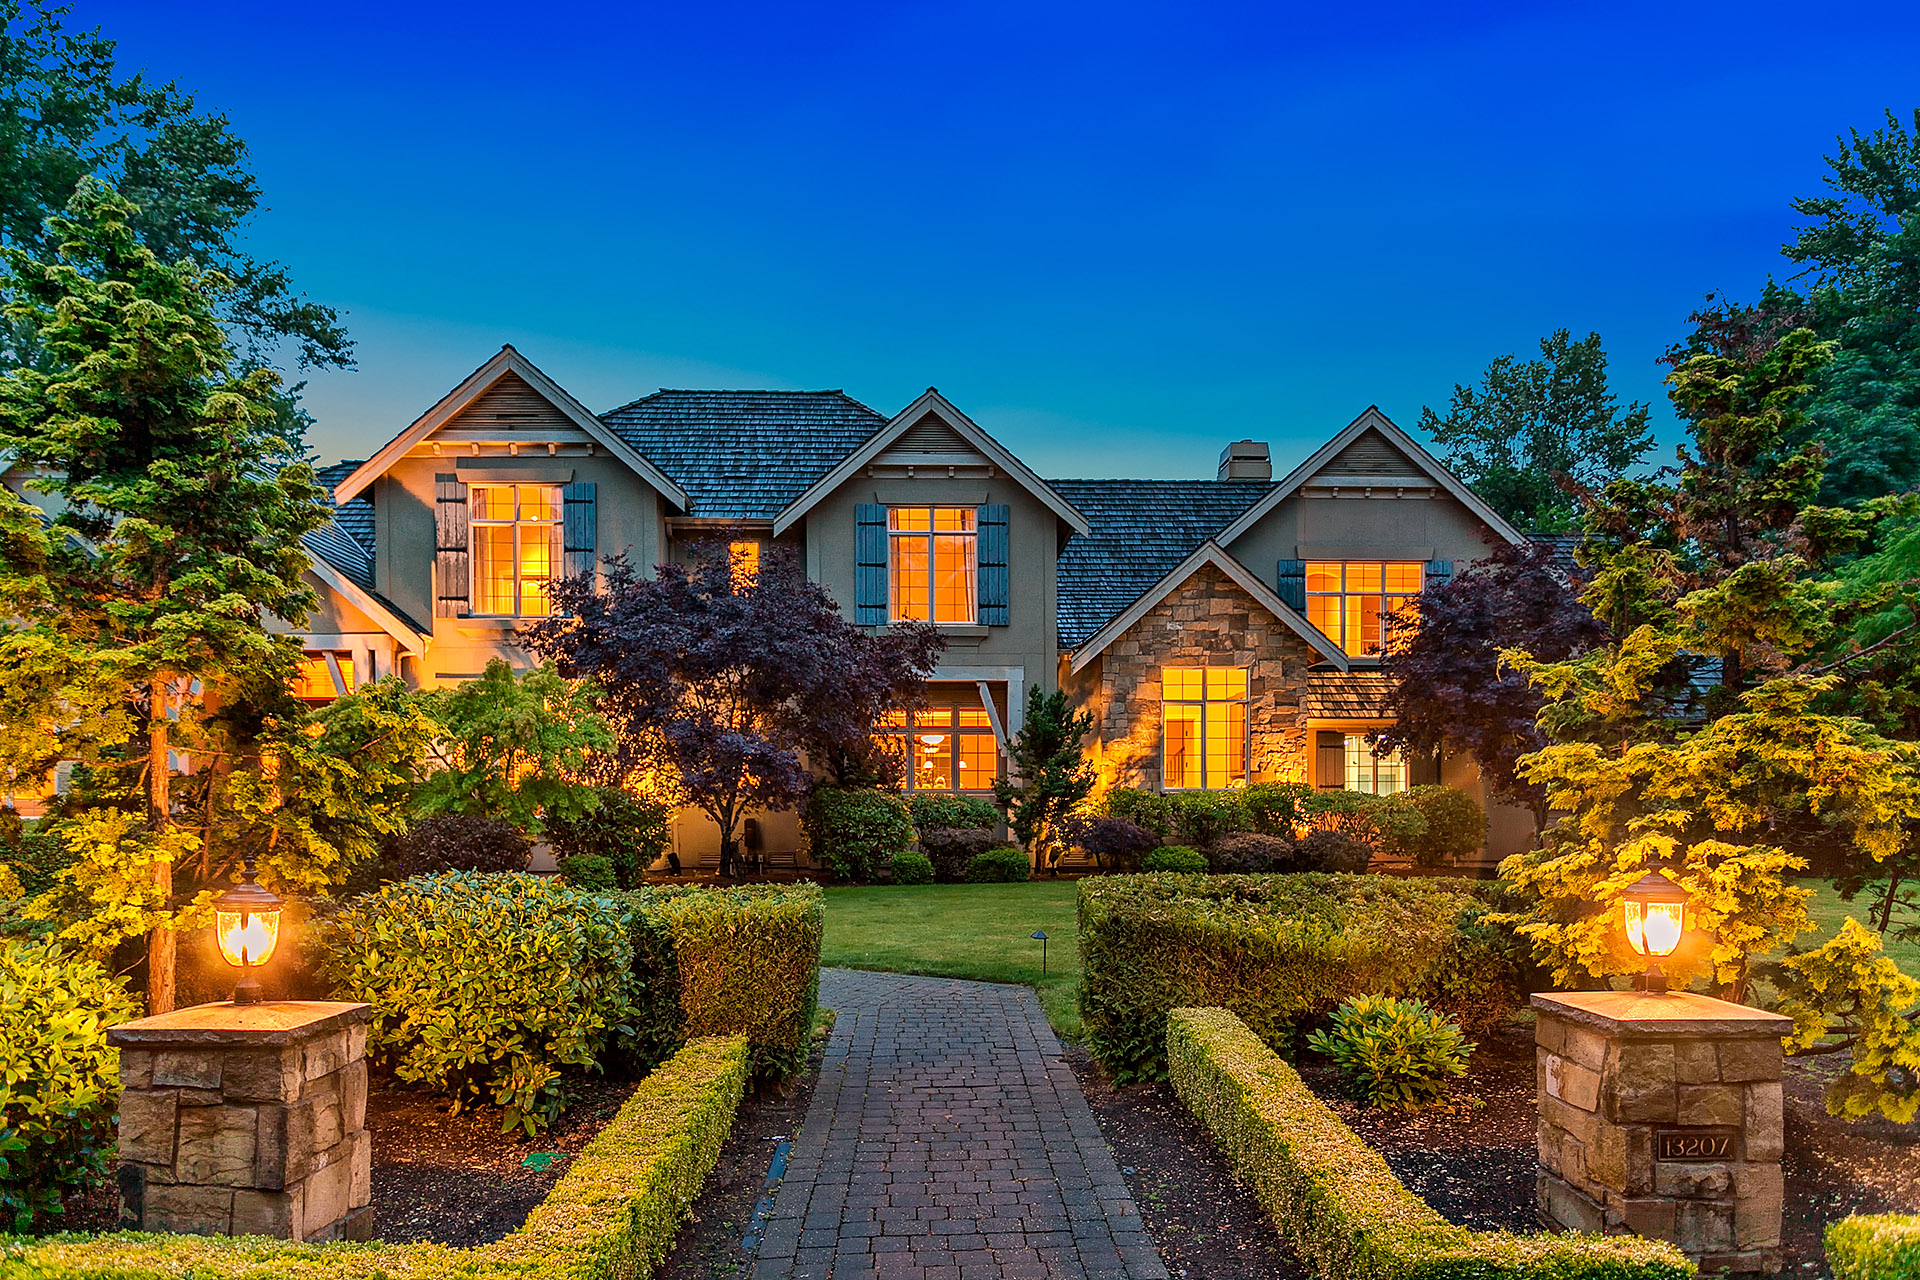
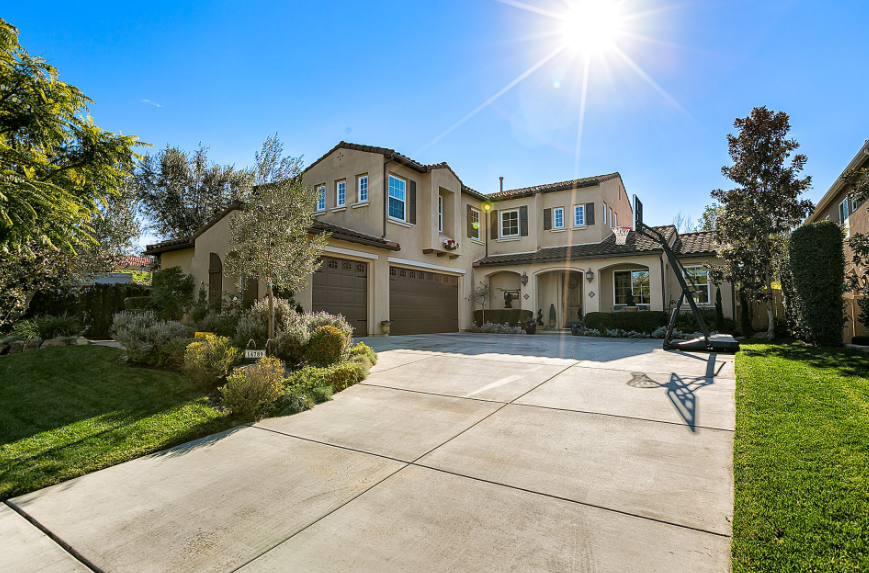
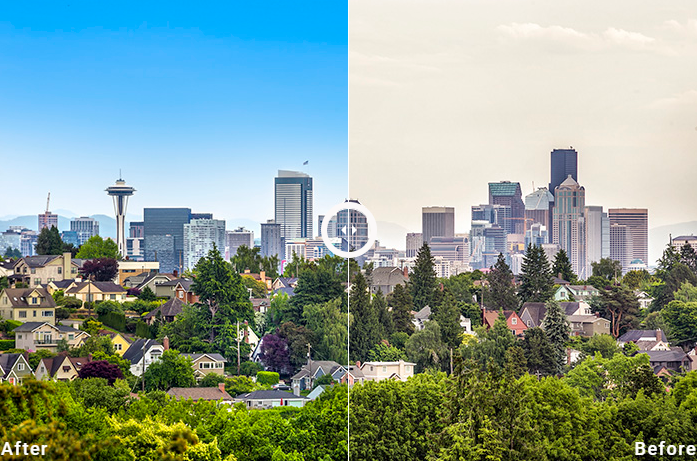
3. High-quality real estate photos and videos.
Do not underestimate the power of good property photos and videos. These are necessary in order to encourage potential buyers to check out the property in person. The majority of the buyers get persuaded by the photos and videos featured in listings. Most consumers are visual. So having photos will definitely help your bottom-line, as well. Relevant images and videos also help you in improving your online search ranking. Make sure that these enhance the visitor’s experience and encourages them to take a look at the property. Take advantage of the professional photos and videos that you have invested in and might as well ask some help from real estate photo editor to make your photos stand out.
4. Put listings on major sites.
Posting your property listings on the major listing websites can also help in optimizing their visibility. These sites are usually credible and are high ranking in most search engines. Having credible links to your listings will help boost your own ranking. This also helps in making a sale faster and gets your property to as many potential buyers as possible.
5. Incorporate your social media.
If your business is active on different social media platforms, it’s also best to incorporate these into your listings. This helps build client relations and act as a key platform for addressing customer service concerns. Make sure that you are available on the major social media platforms that your customers are using. Posting available properties on social media platforms also will help to spread the word. This optimizes your listings and links back to your listings.
6. Keep your listings (on your site).
If you are running your own website, don’t delete previous listings. Mark them as sold and keep the content and images on your site. If you can get reviews from buyers, then update your listing to include status and the feedback from the buyer. This helps in optimizing your site, especially in keeping relevant keywords on your website. This also shows potential buyers the properties that you had success in selling and gives them a glimpse of the type of service that you provide.