Real estate photography is a profitable business at its best. However, to be successful in this field, it requires more than just having the perfect lens and essential photography skills. That is because given that the industry of real estate photography has a lot of competition, one has to be at least better than the average to experience the decent and stable income that this kind of business offers.

With that said, honing one’s skills with experience is highly recommended. Yet, any novice real estate photographer should recognize that for these experiences to count, each must always be done smartly—making sure that all the remarkable skills and attitudes are always tapped, if not thoroughly enhanced.
To help you become that real estate photographer every client would come running after, you must take note of having the following:
1. Color Correction
Preserving the authenticity of an image is one of the most necessary aspect of creating a good real estate shot. Capturing a variety of color contamination issues, on the other hand, is what makes capturing the rawness of your shot reference a challenging pursuit. To achieve a realistic image without having to sacrifice the quality of your photo, you should be able to practice employing color correction skills.

In correcting the overall tone and color, you must opt for manually doing the color blending than simply using Photoshop’s Normal Blend Mode so as not to lose the texture while being able to keep the authenticity of the image.
2. Image Enhancement
As much as you need to keep the details of the shot similar to the original, real estate photography is also about assuring that the property’s selling points are emphasized.
The enhancement of these selling points to the peak of its glory and beauty is a result of incorporating the following editing techniques so that every aspect of the photo adds up exactly to how you envisioned these selling points:
• Photo manipulation
• Perspective correction
• Color cast removal
• Noise reduction
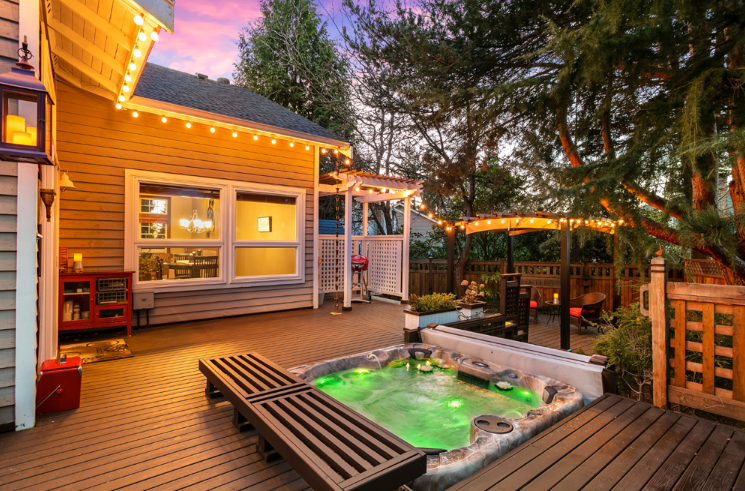
3. Addition of Details
Persuading potential buyers through photography necessitates the element of providing them the ‘feel’ of how living is like in such a place. Hence, adding more details through decoration such as furniture and smaller details within the said could help feed the buyers’ nature of attention to detail. For example, when positioned properly, furniture could help improve the flow of light in that said space and in turn, exposing how much space is left and what use could be made out of it.
4. HDR Photography Editing

With this technique, a unique shot is made upon achieving sharper details with the use of balancing the brightest spots captured by different lighting. HDR photography editing is done by blending multiple exposures to match the captured image to what is closer to what a human eye can see. Other than that, this method is also used for balancing the external view with the intensity of light found inside the interior space.
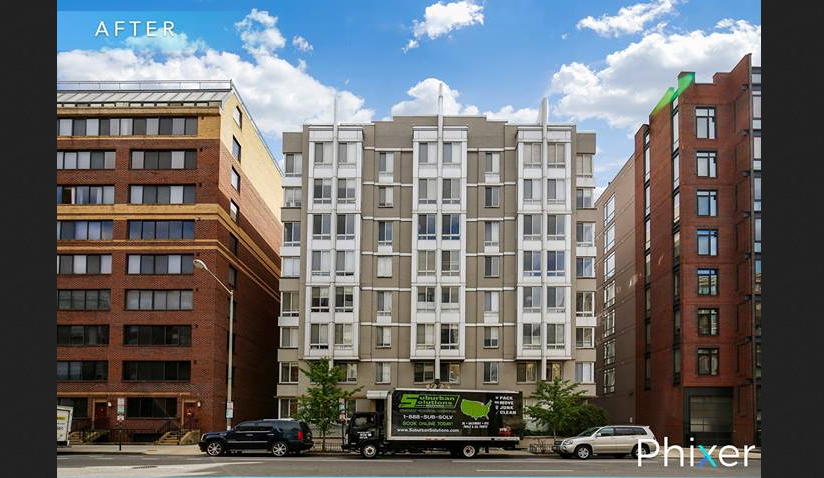
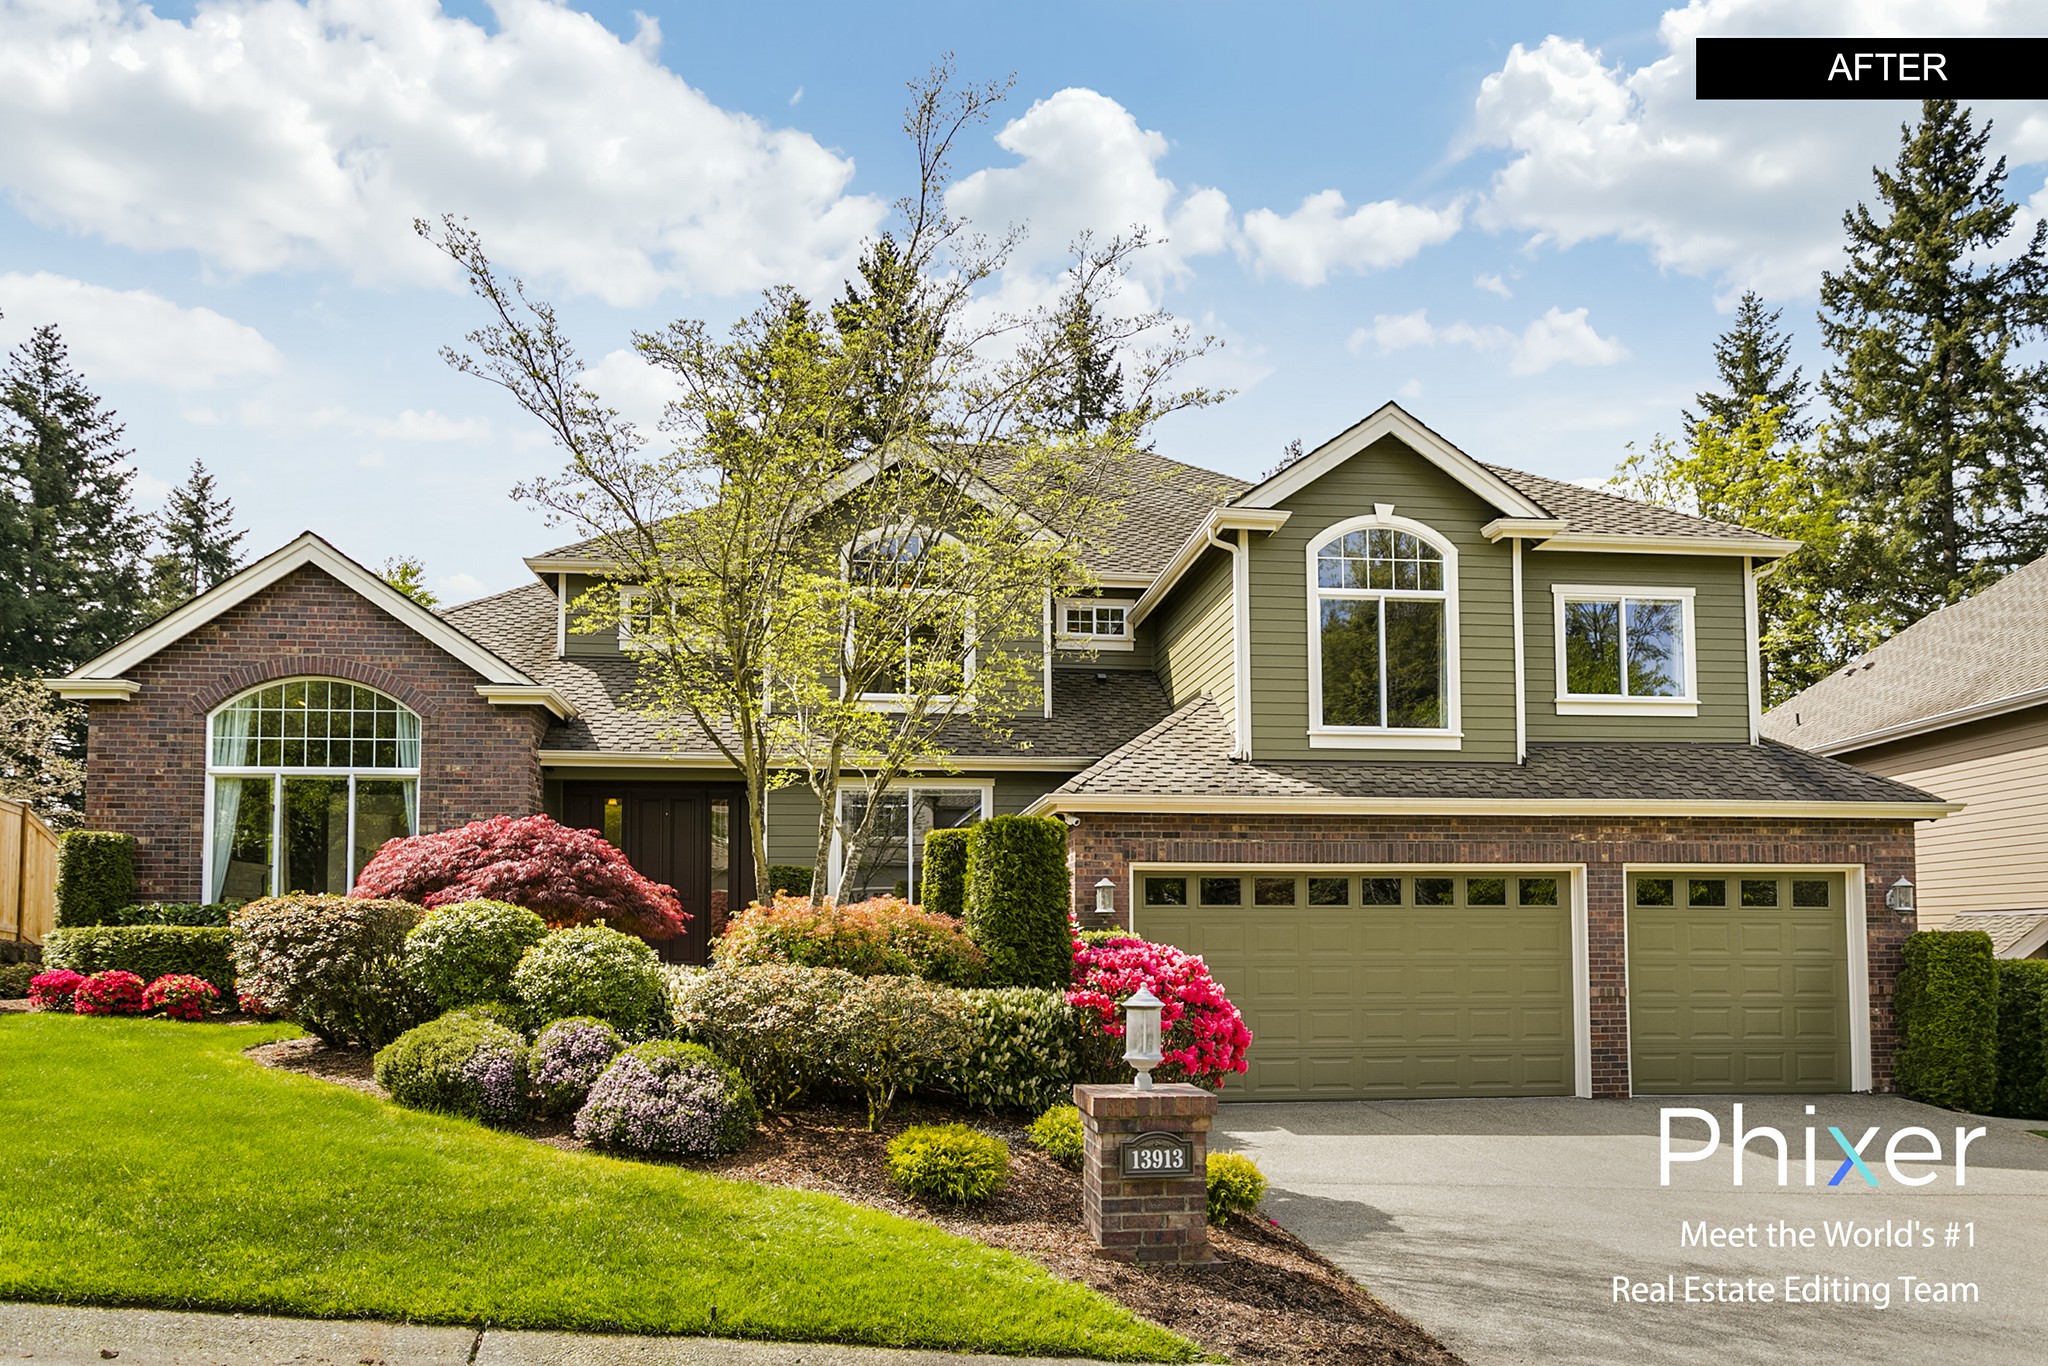
5. Removes Imperfection
Removing unnecessary objects together with the use of working on white balance, hues, saturation, and alignment of vertical and horizontal lines are all considered necessary for correcting the effects of external factors on the captured image.
6. Offers a Reasonable Price
Aside from delivering top quality photos, offering affordable rates for your service not only boosts your sales due to increased market attraction, but also helps you build connection in the field of real estate photography—a combination of which is sure to pay you back several folds than putting out sky-high pricing on a single project.
7. Easy to work with
Your portfolio might not reflect how well you’ve worked with your clients, but the number of your future projects will surely communicate it. So, aside from committing to the agreed-upon contract, you should also make necessary adjustments, if the situation calls for it. Clarifying details about the copyright to your image should also be addressed at the earliest possible time to avoid confusion and possible conflicts of interest.
8. Creative and Flexible
Understandably, you have your style of doing things and a working process where you’re most effective. However, not all clients are the same inasmuch as their preferences. Therefore, you should always be open to exploration and avoid limiting your creativity just to what you’re comfortable with.
9. Great Time Management Skills
Submitting your work on time or earlier is an edge to any industry especially to the likes of real estate photography—which is not only challenging but also a competitive field. Agree on a deadline you know you can pull off, and complete the project in a timely fashion.
10. Passionate and Committed

Completing every project as a real estate photographer includes practicing a wide variety of photography and editing skills, as well as people skills—there are lot of ways to be discouraged in such setting that’s why if you want to stand out from the crowd, you should learn not to lean on the expectation that everything will go smoothly as planned. Rather, on your passion and commitment especially when unexpected problems arise.


 Cropping is one basic requirement to improve many aspects of the picture.