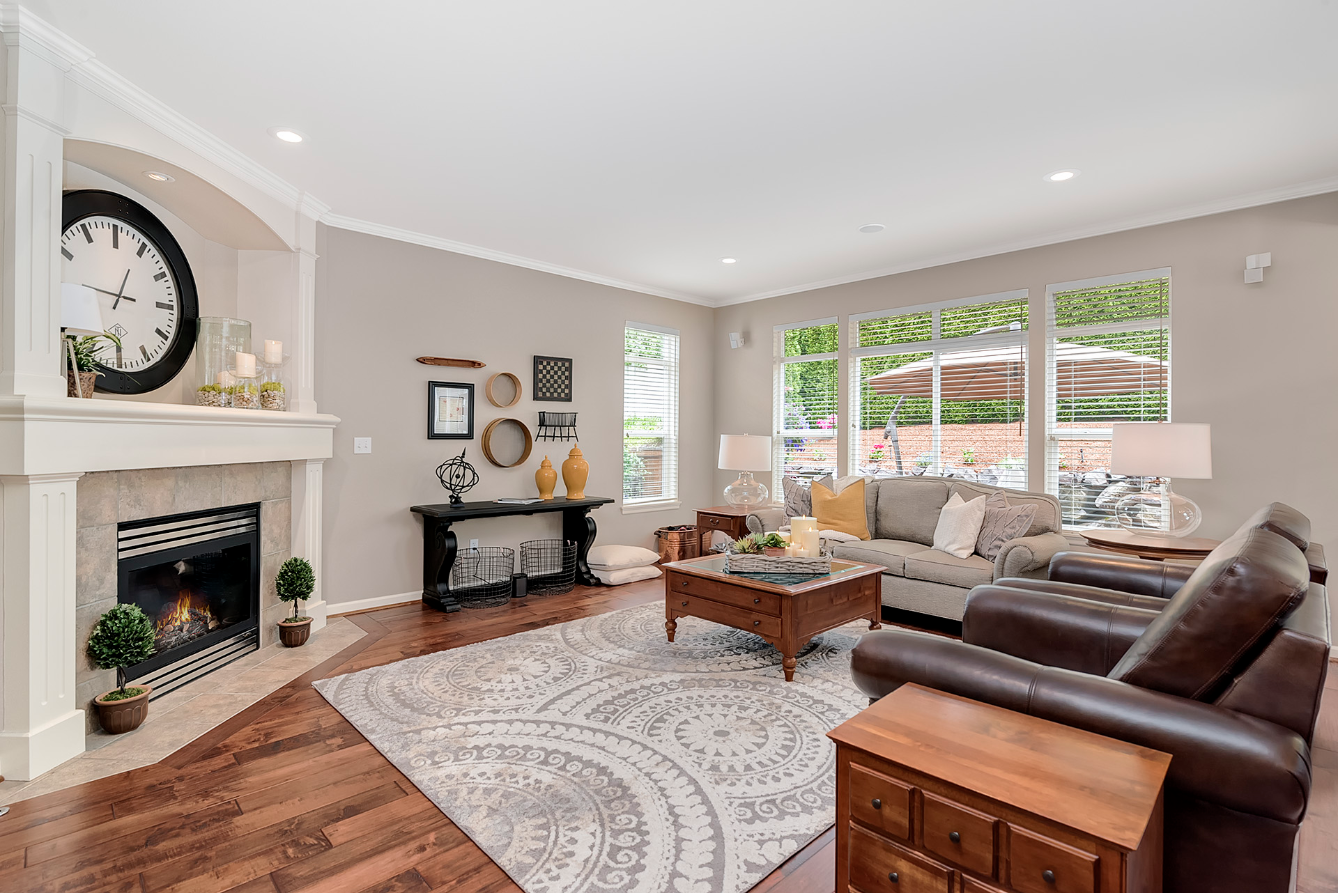
It is familiar to everyone that a picture can paint a thousand words. In this way, it is imperative to create great photos to make the property look attractive. In the advancement of technology, everything can be made amazing and spectacular in the snap of a finger. This means that we technology can literally make unlimited and astounding photos that are enticing to buyers.
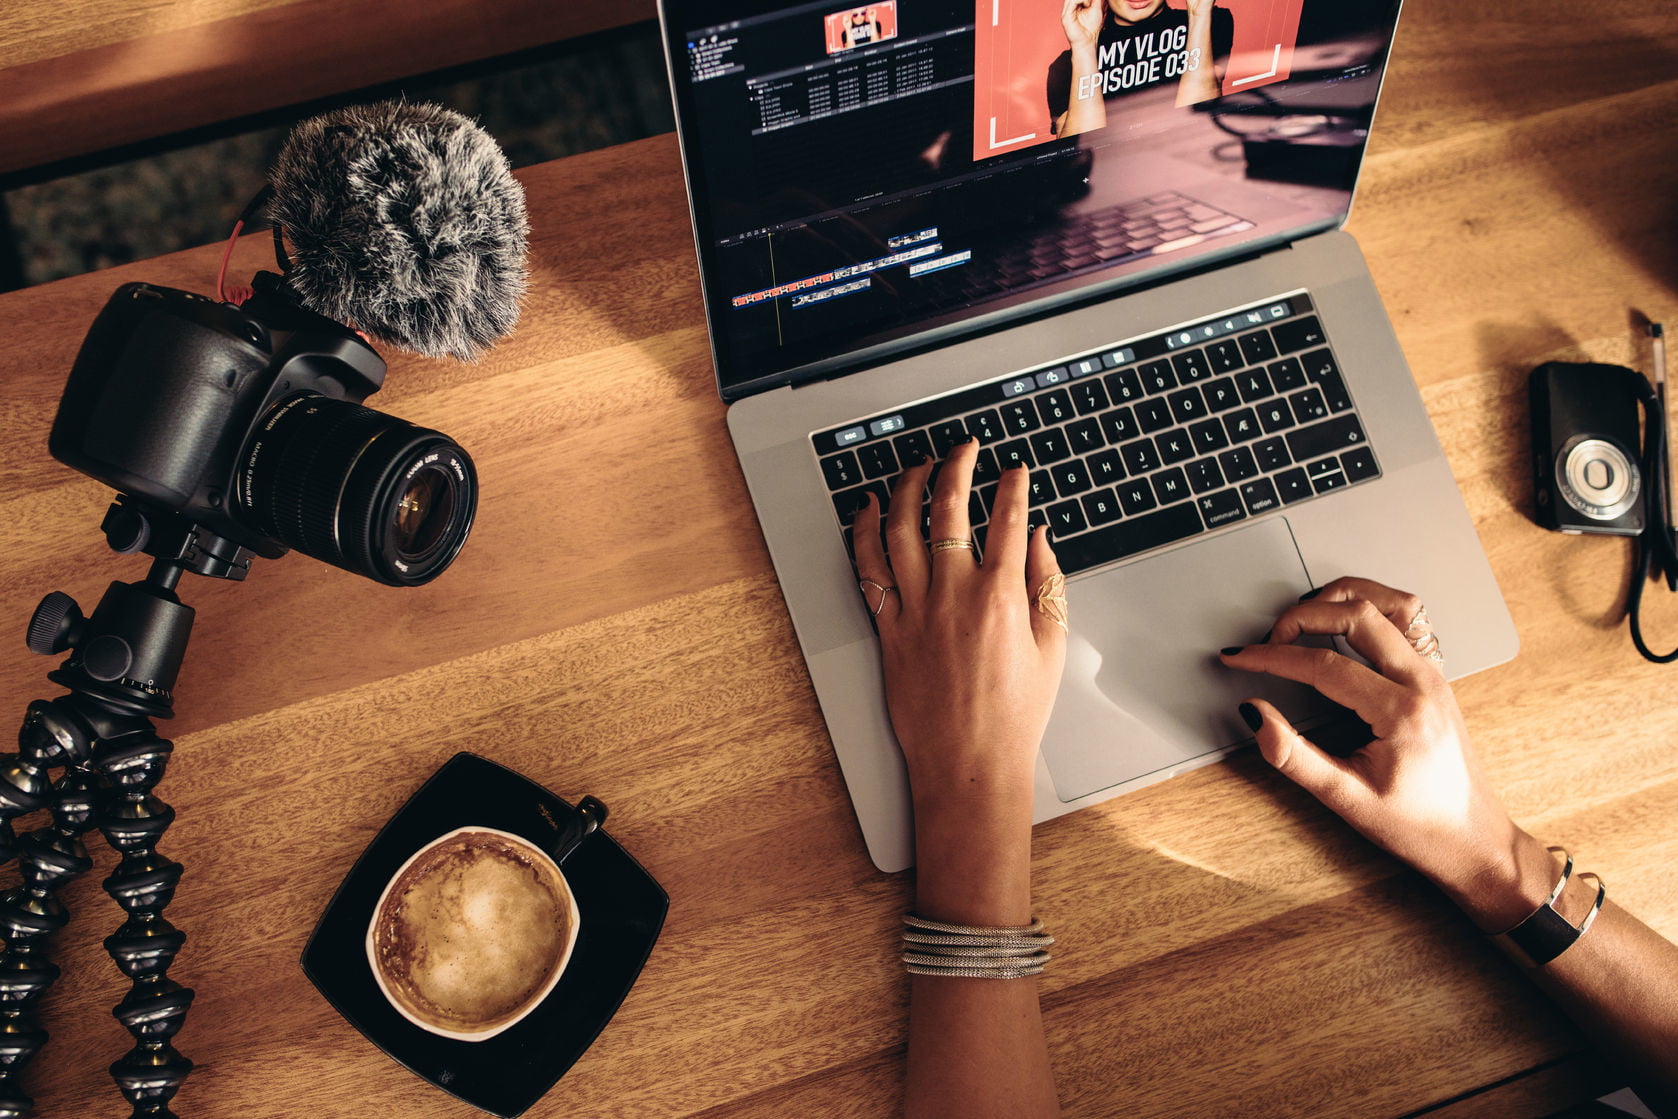
Potential buyers wanted a vibrant photograph to refer to whenever they want to own a new property. They wanted a clear, crisp and cool images by referring to high-quality photos of the property they are interested in buying. Real estate photographs and videos are vital parts in the marketing and sales viewpoint.
For these photos to be processed to its best quality, they needed to be improved. Enhancement of photos requires the services of the different photo-editing applications, tools, and techniques because this job is very critical in a real estate photography business. Furthermore, in the advent of the social media like Instagram, Tumblr and Flickr, photos and videos alike are greatly shared for business promotion.
Photo-editing jobs today are commonly outsourced. There are many advantages of outsourcing someone to professionally edit and process a real estate photo. There are perhaps thousands of real estate photo editing companies that we can see online and they have the best equipment and the most skilled people to do the job.
Reasons behind the Need of Professional Real Estate Photo Editors
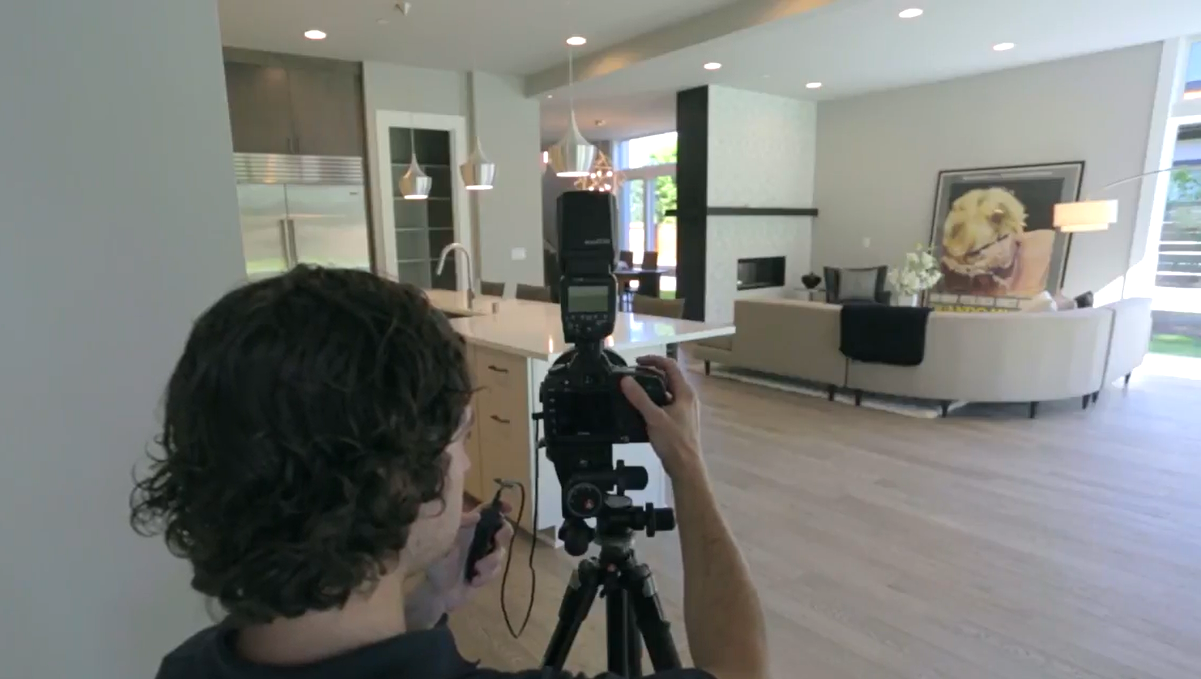
The creation of high-quality, saleable, stunning, and professionally-made photos is the primary goal for a real estate photographer. Below are the reasons why photo-editing is in demand these days.
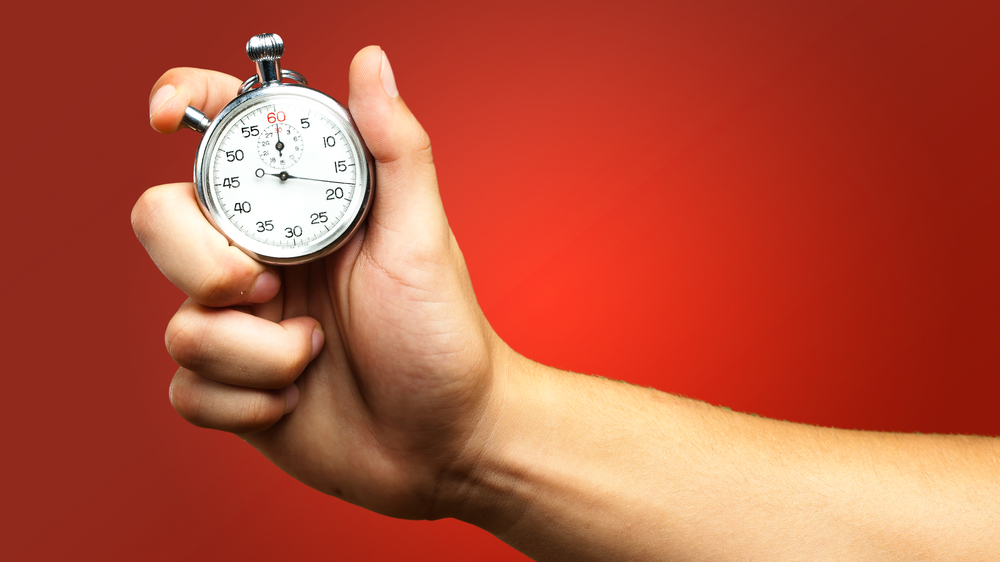
1. It saves you time

Hiring a professional real-estate photo-editing company saves you the much-needed time for your other works. Exhausting most of your time editing photos to make them look good is not that advisable for a photographer because there are experts in this field that have a faster turnaround time to edit photos.
Even if your photos would show that they only needed basic enhancement, tasks such as window masking, sky replacement, or object cropping not only double but triple your time doing these special tasks.
2. Process the way you want

One of the better reasons why there is always a need for professional photo editors is that they can enhance your photos the way you want. Photo editors are trained to specifically cater the needs of their clients. They have the capability to easily edit the photos and deliver them exactly the way you want. All they needed is thorough explanation and giving them the checklist of the parts of the photos you want to be edited.
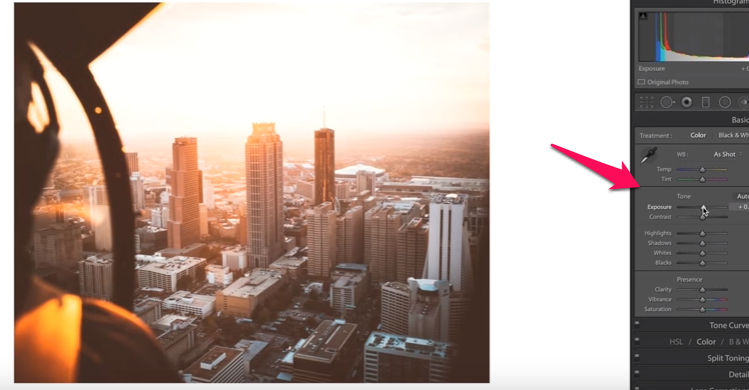
3. Photo editors are experts in their own field
Since photo editors are experts in the use of photo-editing software, they know all the tricks and techniques behind making your photo look spectacular. These people are skilled in a way that they know the ins and out of the different editing software such as Photoshop and Adobe Lightroom. They are familiar of all the features and functionalities of these tools. The know-how of these photo editors will be their advantage to create an improved photo and deliver it in the most efficient way.
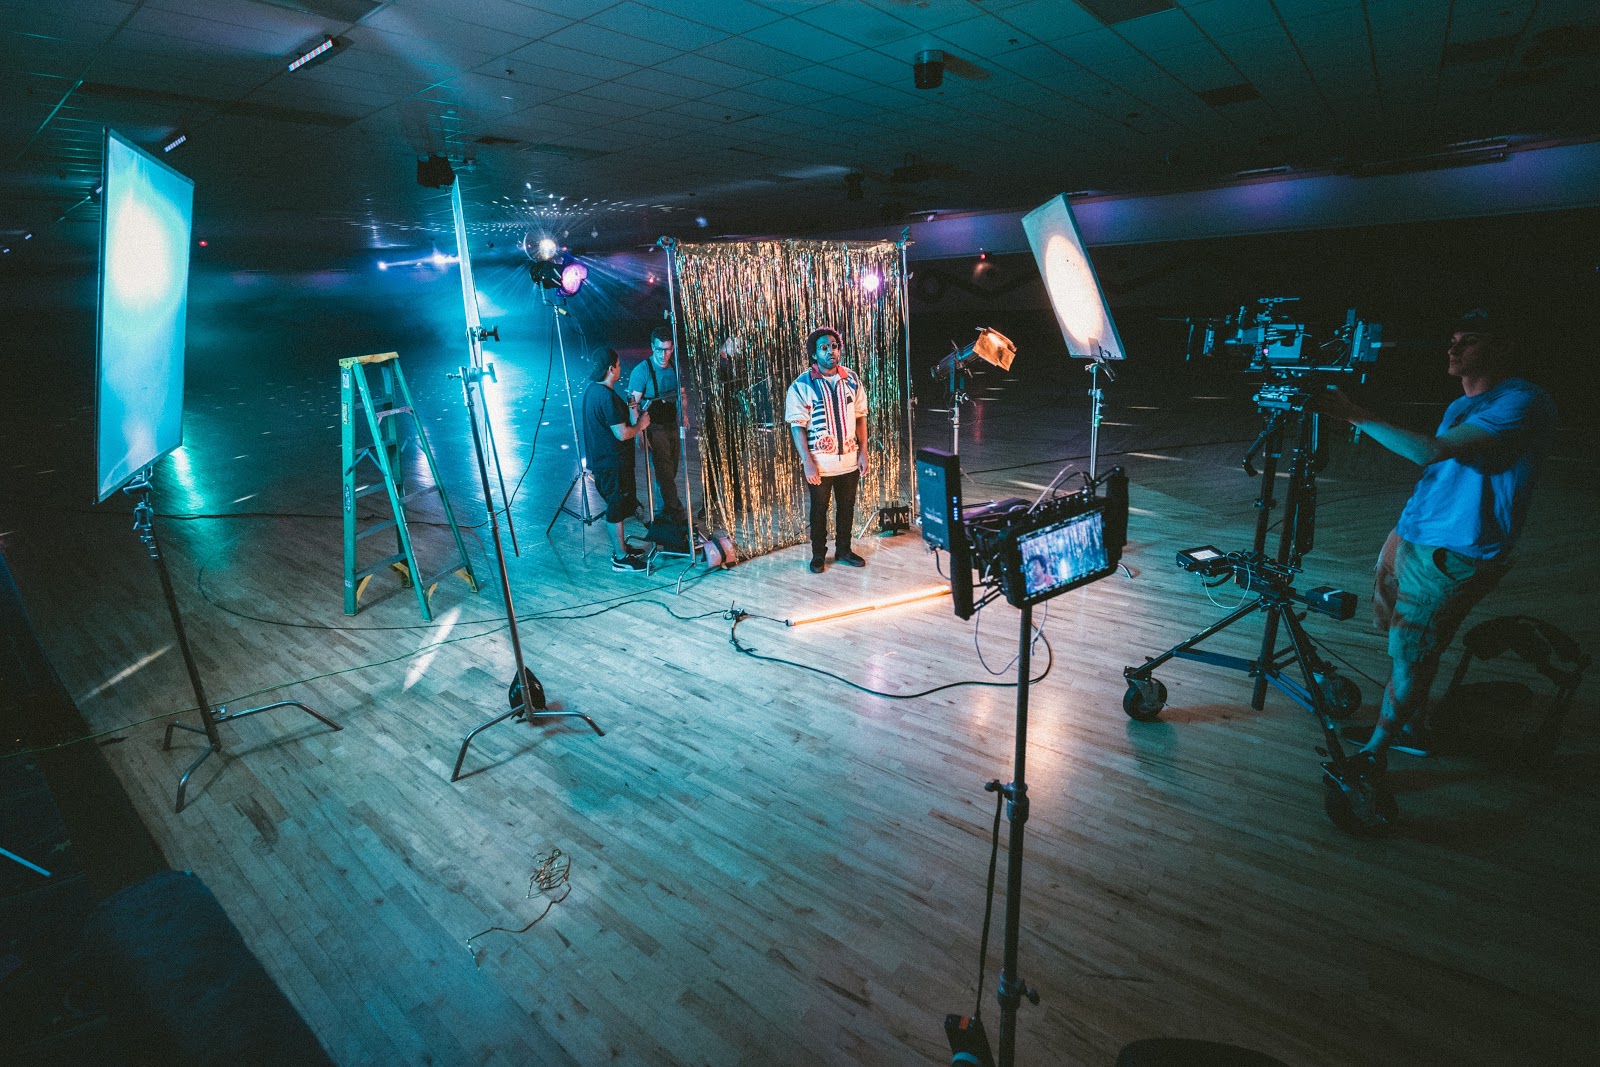
4. Creation of profit
With the help of the skilled and professional photo editors, your business can create more sales. Instead of spending much time in trying to improve your photos by your own, you can exert much of your time and effort in actual shooting real estate photos. The benefits of hiring an expert can expand your time closing out better deals and transactions. As photographer, you can also work on other business matters.
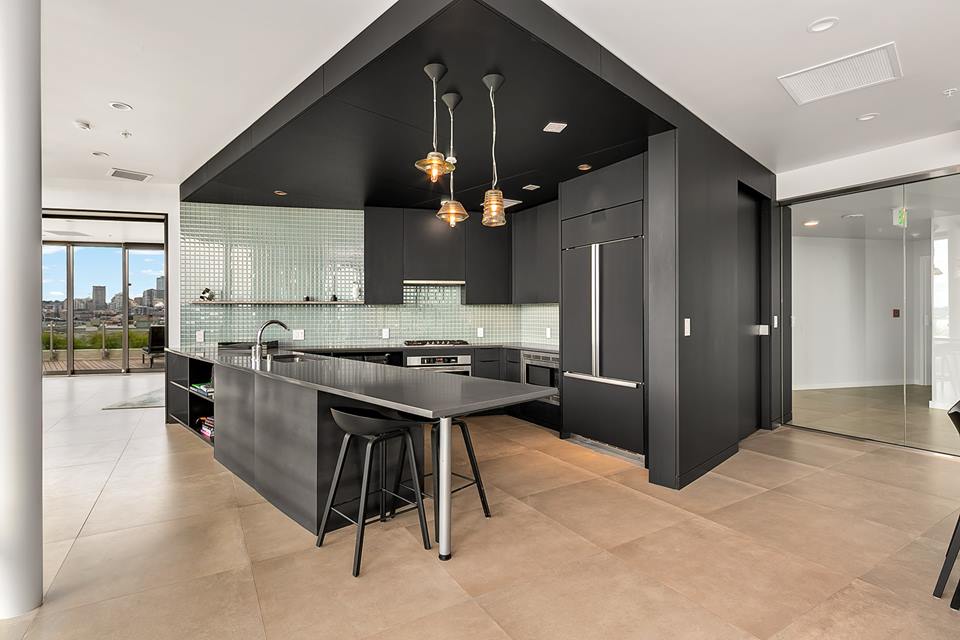
5. High-quality image
Because of the experience of professional and skilled photo editors, they can produce very high quality images because of the latest technology they possess. These people work all day long improving their skills in using different editing tools. The only thing their minds are set into is how to produce tons of quality images the best and quickest way possible.
6. Gets you ahead of the competition
Outsourcing your photo-editing experts from around the world will let you choose the best and highly-skilled person to do the job. In this way, you can have the edge that will help you get ahead of the over-saturated real estate photography business. While others are spending much in producing processed photos, it will be your advantage when you outsource editing jobs at a reasonable price. In this way, upon selecting the right person who will work for you for over a long period and minimize time looking for someone to entrust your photo-editing jobs, the distinct advantage of getting ahead of your competitors is enjoyed.
7. Photography Website

Digitization is the culprit why a website for real estate photography is important. This is not part of the gear you are bringing to the site. It is also not the equipment you are using during photo shoot but it is self-explanatory why one needs to have his own website. Having the right tools and equipment is essential it is also viable to have an online space in the Internet.
Having an attractive website is what entices clients to visit it. Make it a point that the template you are using for your website will offer a correct and complete package for every individual visiting your website.