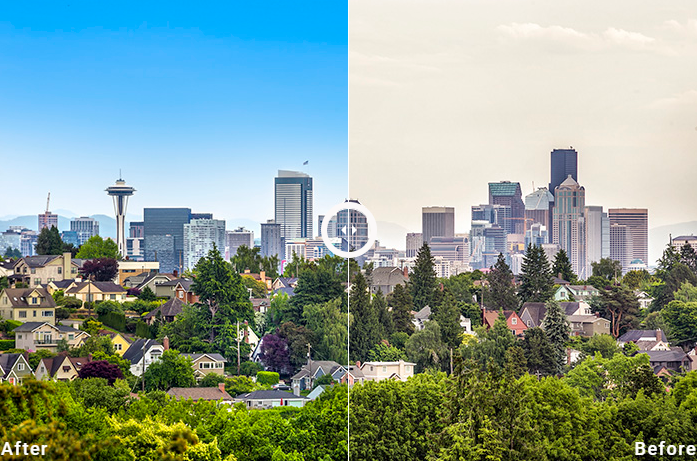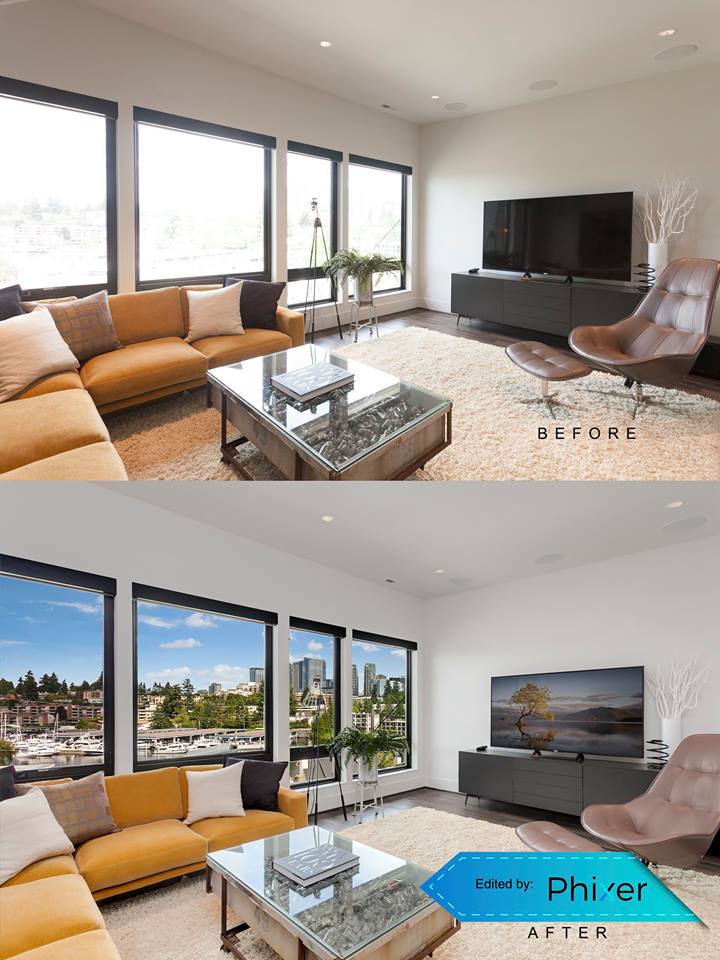
High Dynamic Range Photography or commonly called HDR in the world of photography is a procedure in which a photographer can replicate or even replace what a standard photography can offer. This technique makes use of illumination as the main concept of photography which creates different exposures. These exposures are blended together to develop a better shot than what the original photo shows.
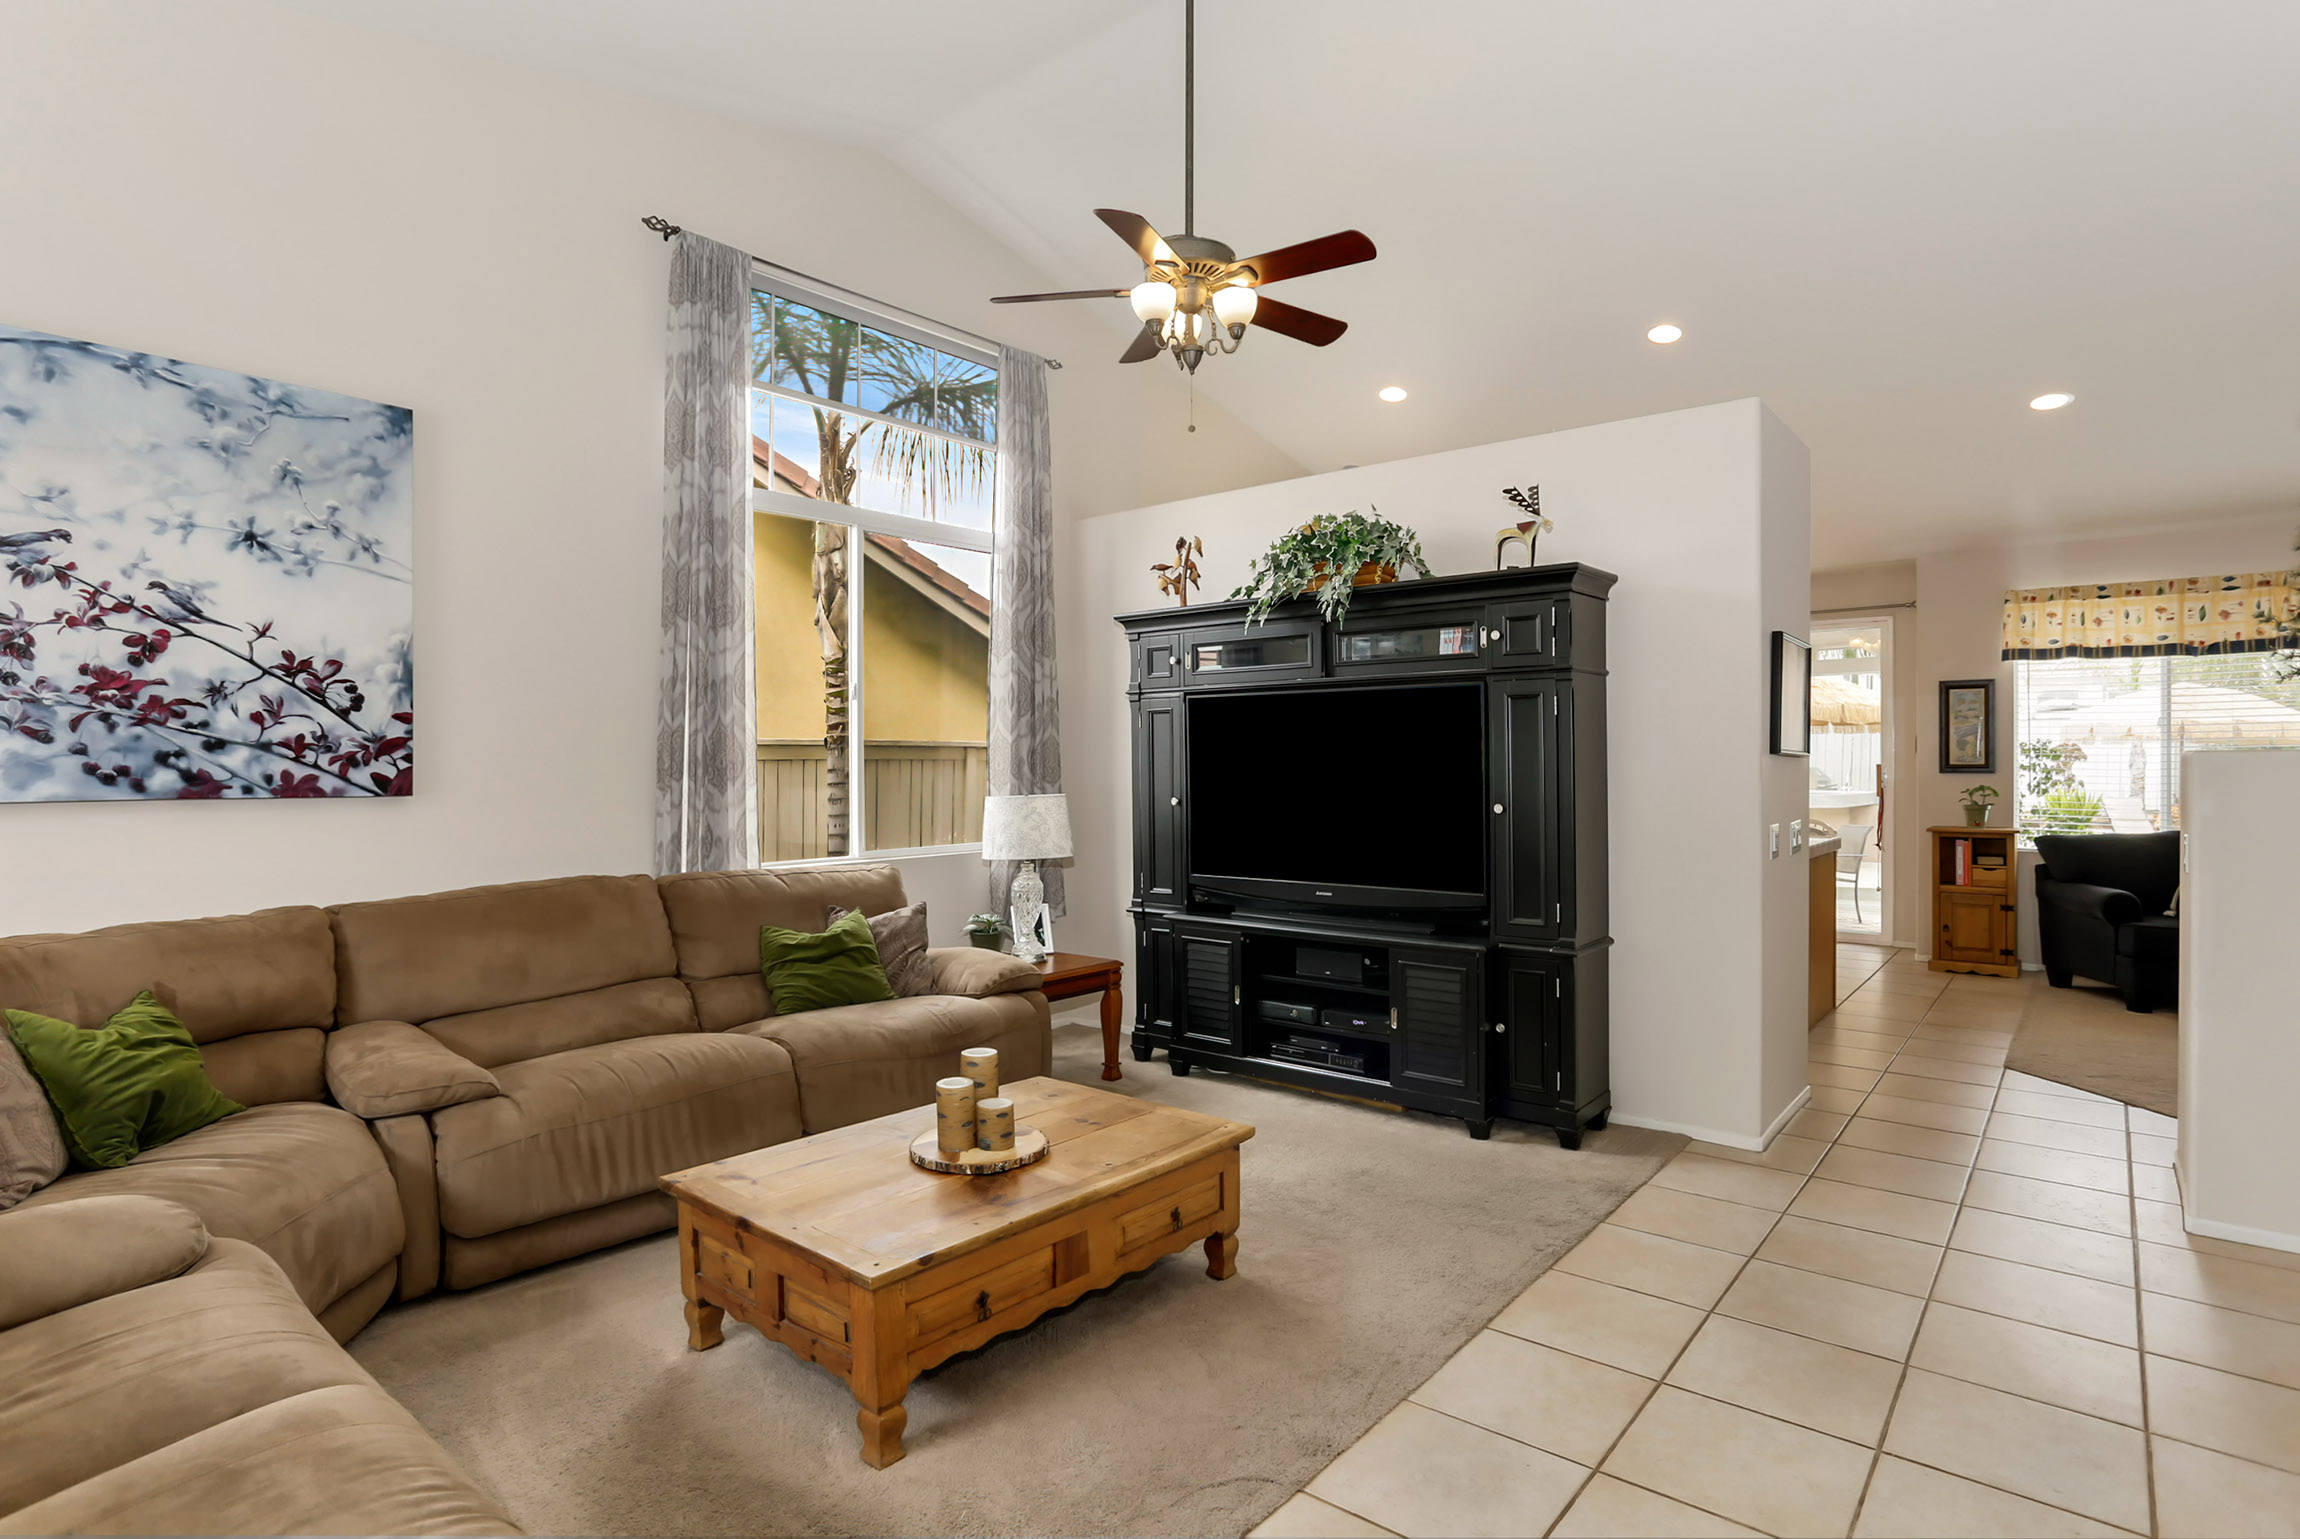
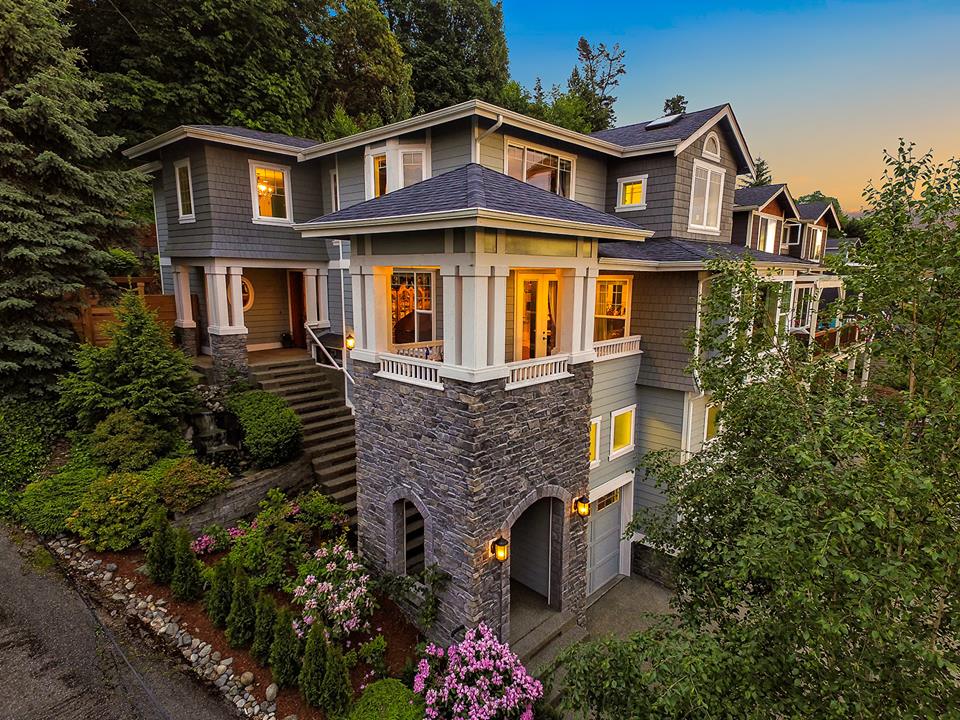
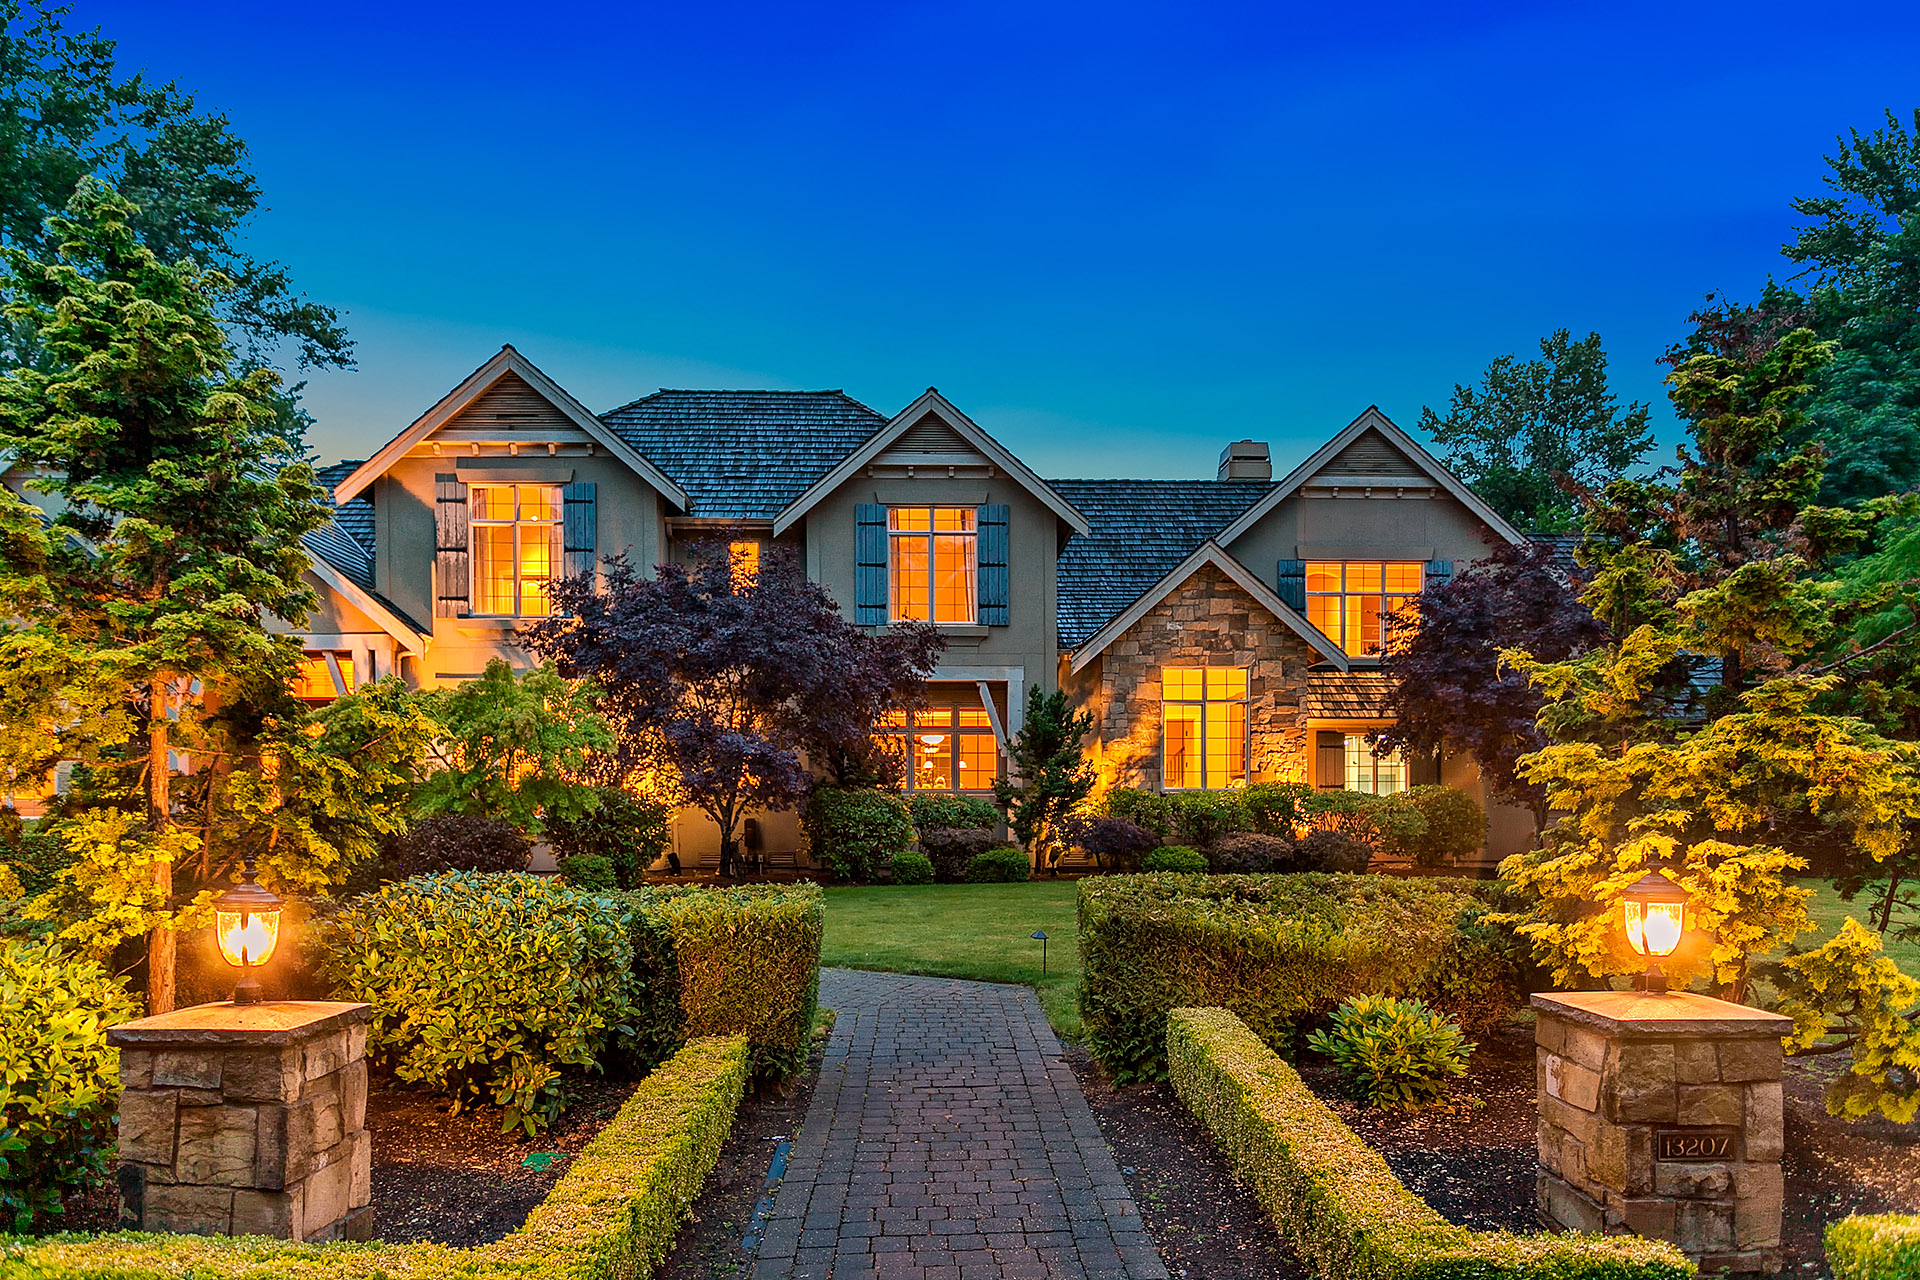
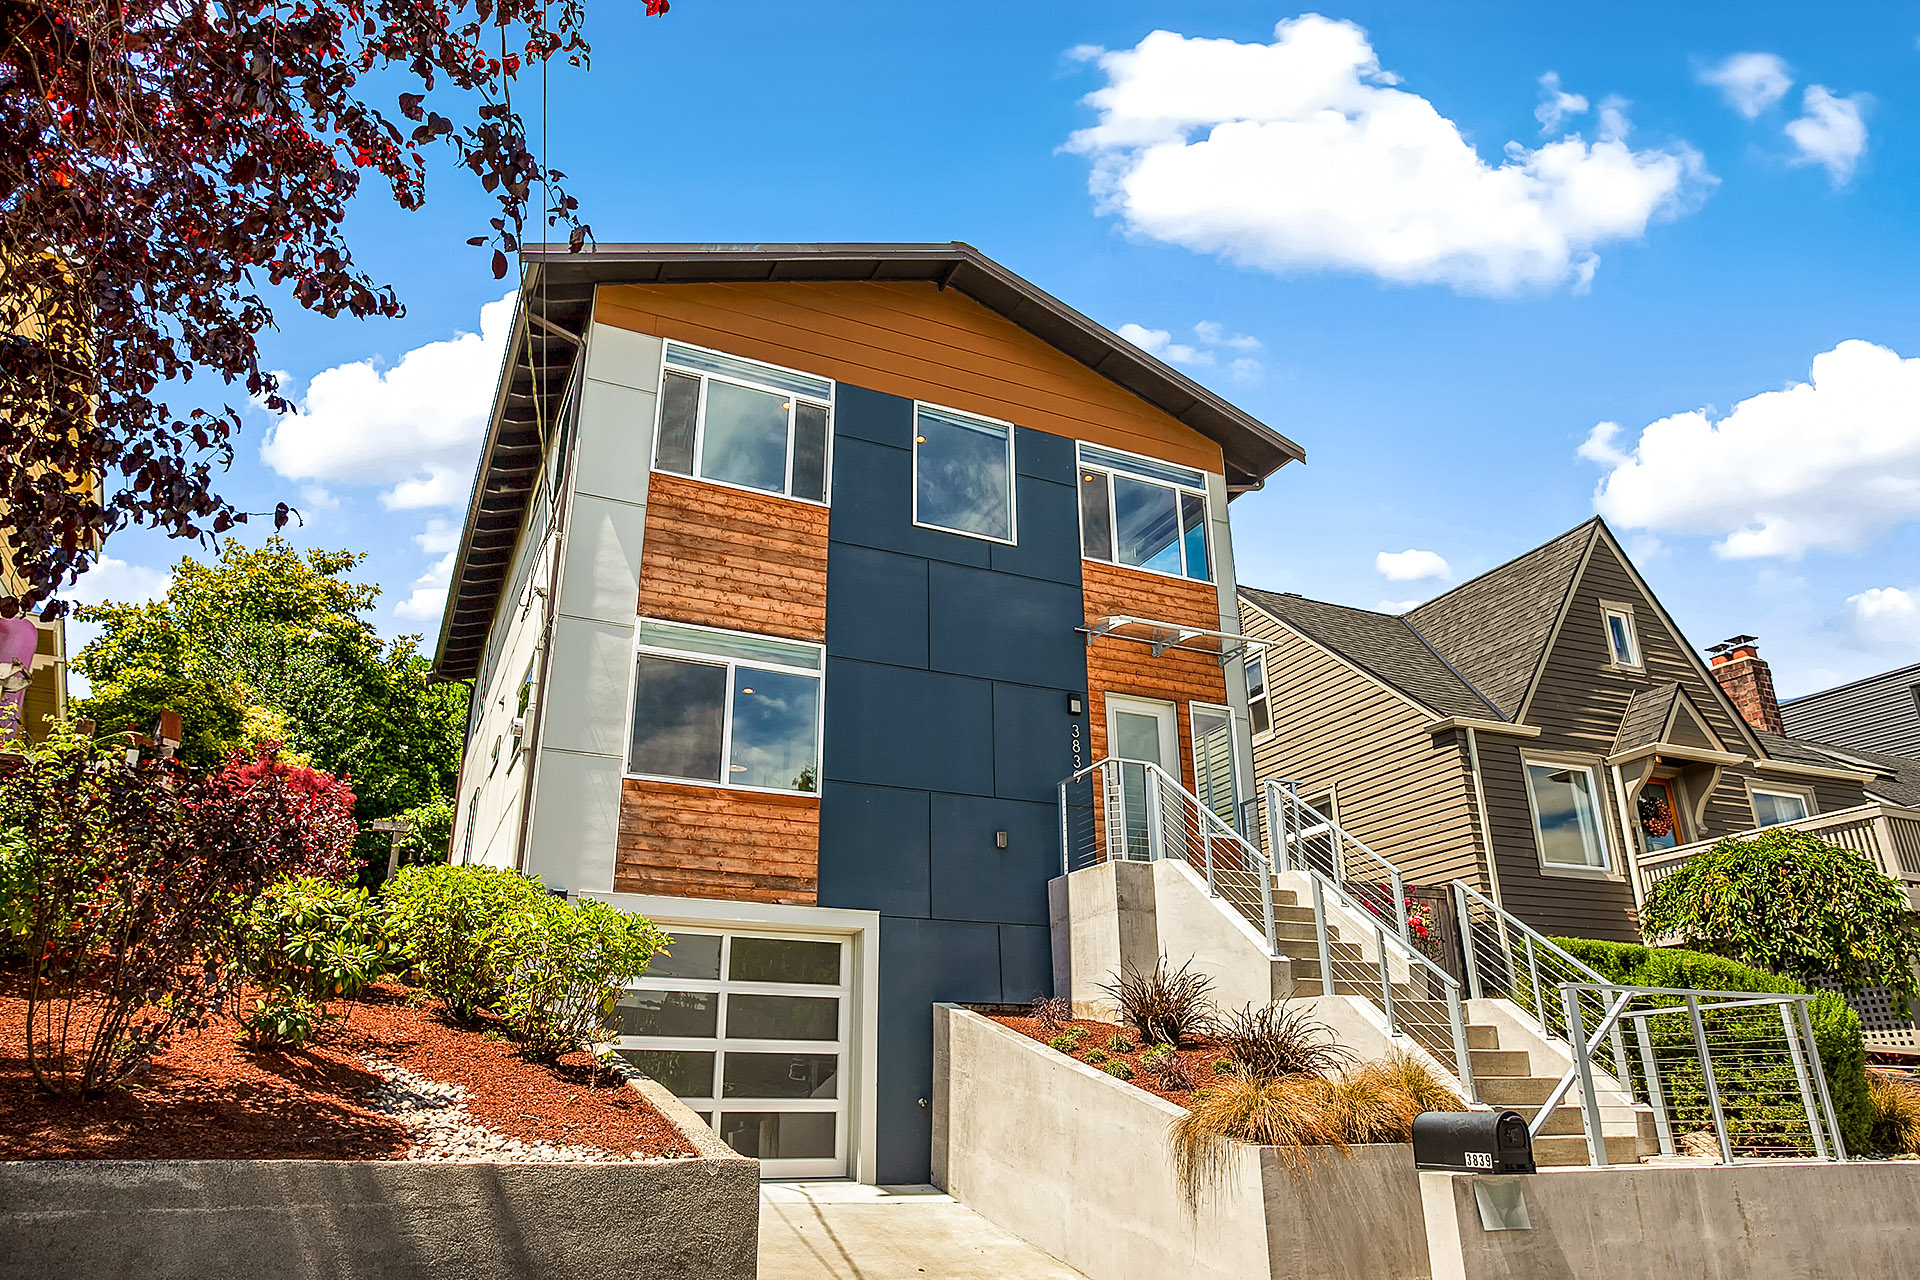
HDR is also used in real estate photography. There are moments when the photos taken are over-exposed which means some parts are brightly taken while there are dark parts somewhere. Many photographers make proper use of sunlight to avoid using lighting equipment. But in reality, sunlight exposure has its limitations. Time is of great importance when using sunlight as exposure source.
In photography, sunlight is usually good when you are shooting outdoors. It would be very hard taking photos indoors. A good HDR photography must always be accompanied by different equipment common to photographers. He needs to have a remote trigger to minimize movement, a tripod to stabilize the shots taken, a flash for indoor shoots and a trusted software like Photoshop CC for easier real estate photo editing.
Simple HDR Editing Guide
According to this post, there are countless techniques that photographers can utilize in order to make editing touches. This is for the purpose of making the photos look better. It is always time-consuming to edit real estate photography and this huge amount of time you devote in editing is the most important time in the post-processing of the photos.
According to appolicious, High Dynamic Range is the difference between the brightest and the darkest parts of photo. HDR Exposures Calculator on the other hand is an application where it automatically does the calculations to optimize the settings of the camera. This is a perfect tool to simplify the HDR feature of photography.
Below are the HDR steps in editing real estate photos.
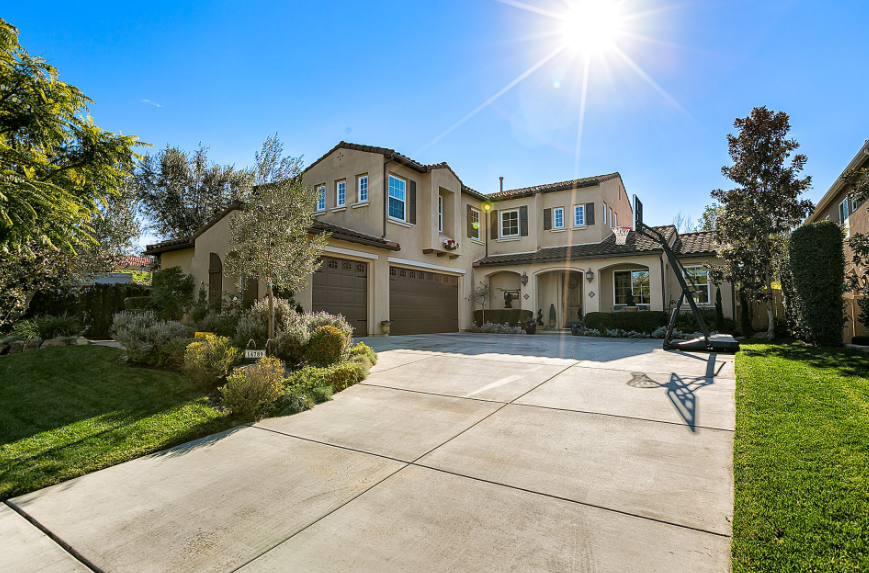
• Turn off the flash of the camera, set to Aperture priority mode and switch the camera to metering mode. Metering is used to calculate the brightness of the real estate interiors and exteriors. This is responsible in maximizing the exposure of the shot taken by shutter speed adjustment.
• By positioning the focal point over the brightest part of the scene to avoid sunlight reflection. This is the time that you can open the HDR Exposure Calculator and make sure of the shutter speeds is properly entered. By automating the HDR Exposure Calculator, you can optimize HDR automatically. Since photography is both technical and a confusing context of artistry, HDR is essential to maximize the potential of the technical aspect of editing.
• After switching the camera to Manual mode and setting the Shutter Speed for the bracketed set, you have the option to use the AEB. HDR Interior Tutorial, you can see the Exposure Bracketing Setup page. You can even consult the manual of the equipment you are using.
• Choose the Continuous Shooting and press the shutter button to get the first few sets of the bracketed photos. Make use of the bracketed sets by the HDR Exposure Calculator.
• Make it a point to merge these photos once that the darkest part of the interior and brightest parts are determined using Photomatix Pro. You have the choice to open this app and click Browse and Load to choose the photos you wanted to merge. Then finally choose Merge Options.
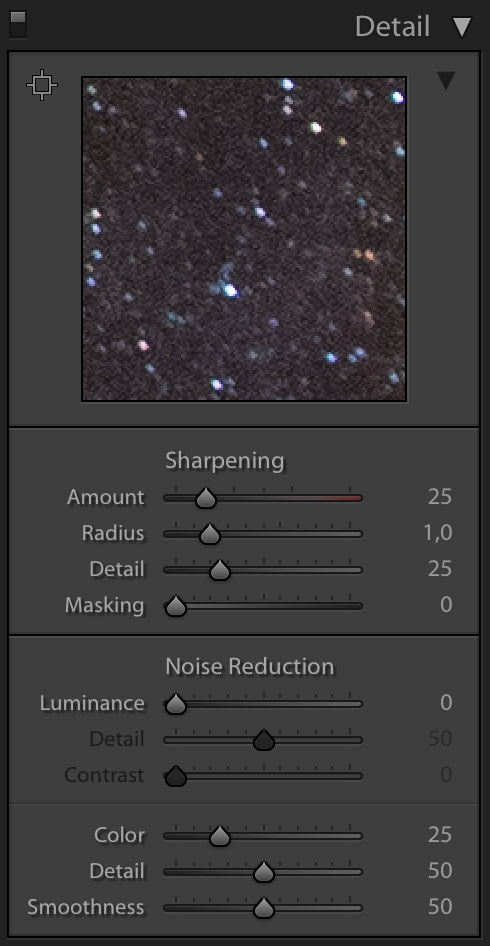
• Align the source image and Reduce noise on the Merge to HDR Options dialog. You can find the Preset thumbnails panel and select Architecture on top of the thumbnails. Select the preset thumbnails on the Preview Image. With the sliders on the left, you can click Next: Finish if you are pleased with the effects applied on the merged photos.