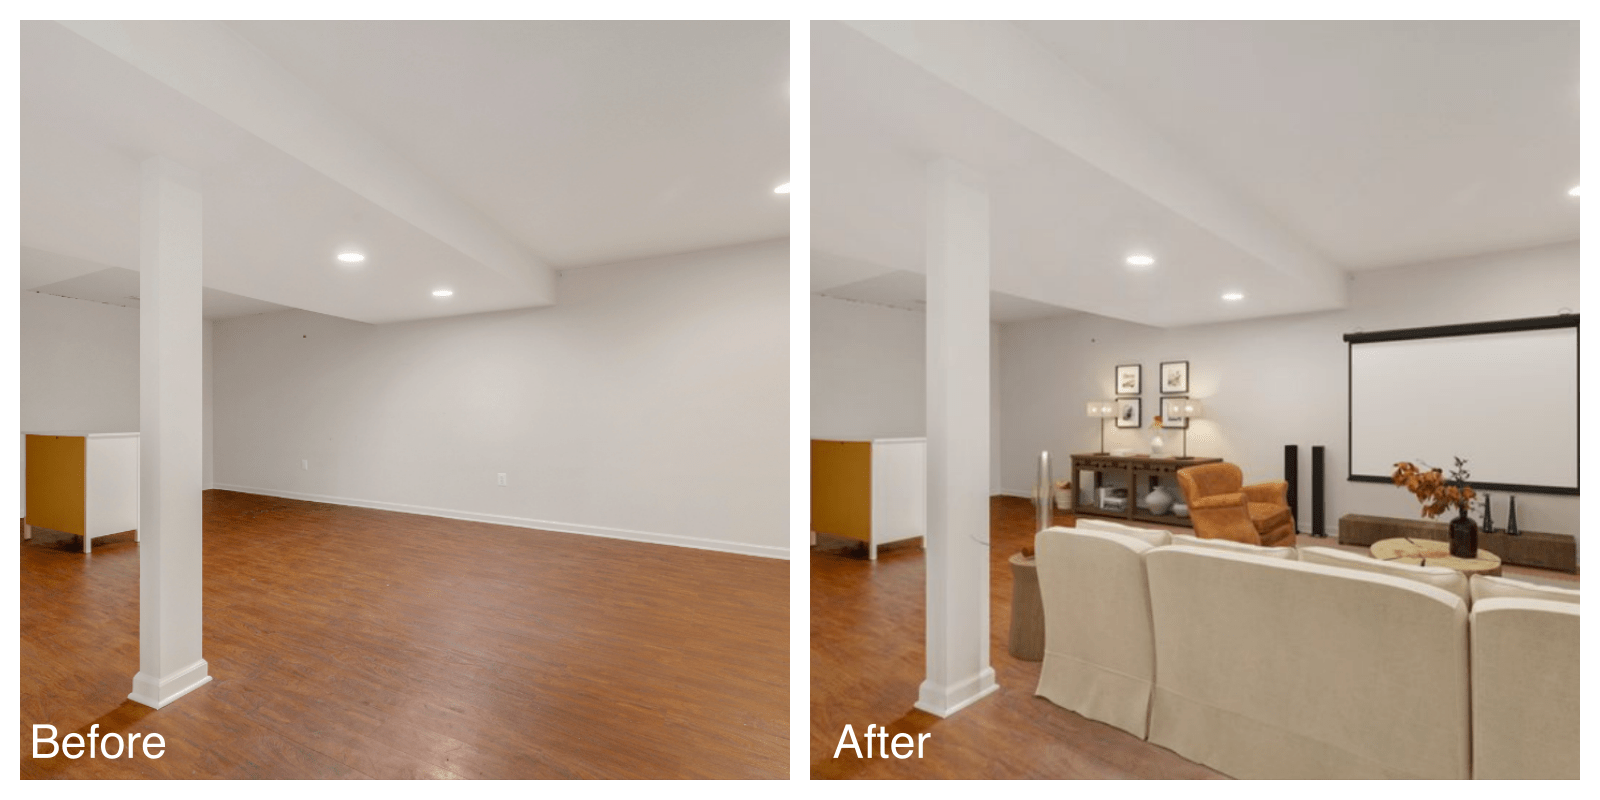
Home staging is the art of improving the property and areas’ appearance to appeal to possible buyers. It’s one of the best photo editing for real estate techniques to highlight the property’s potential. Virtual staging, especially when done by professionals, delivers the best results.
The process of real estate photo editing is an integral part of real estate marketing, so you should know the benefits beforehand. Remarkably, there are advantages, and this post will highlight those about time and money.
Why People Do Virtual Staging
The first question is why people use virtual staging in the first place. There are several reasons why property and home sellers use virtual staging before selling them online, mainly about saving time and money resources.
Here are some of the reasons why people rely on professional virtual staging:
- Privacy – most of the photos on listings stay there for an undefined period, which means it’s a security risk when you don’t stage the picture appropriately. People will see private information or house layout before the site visit.
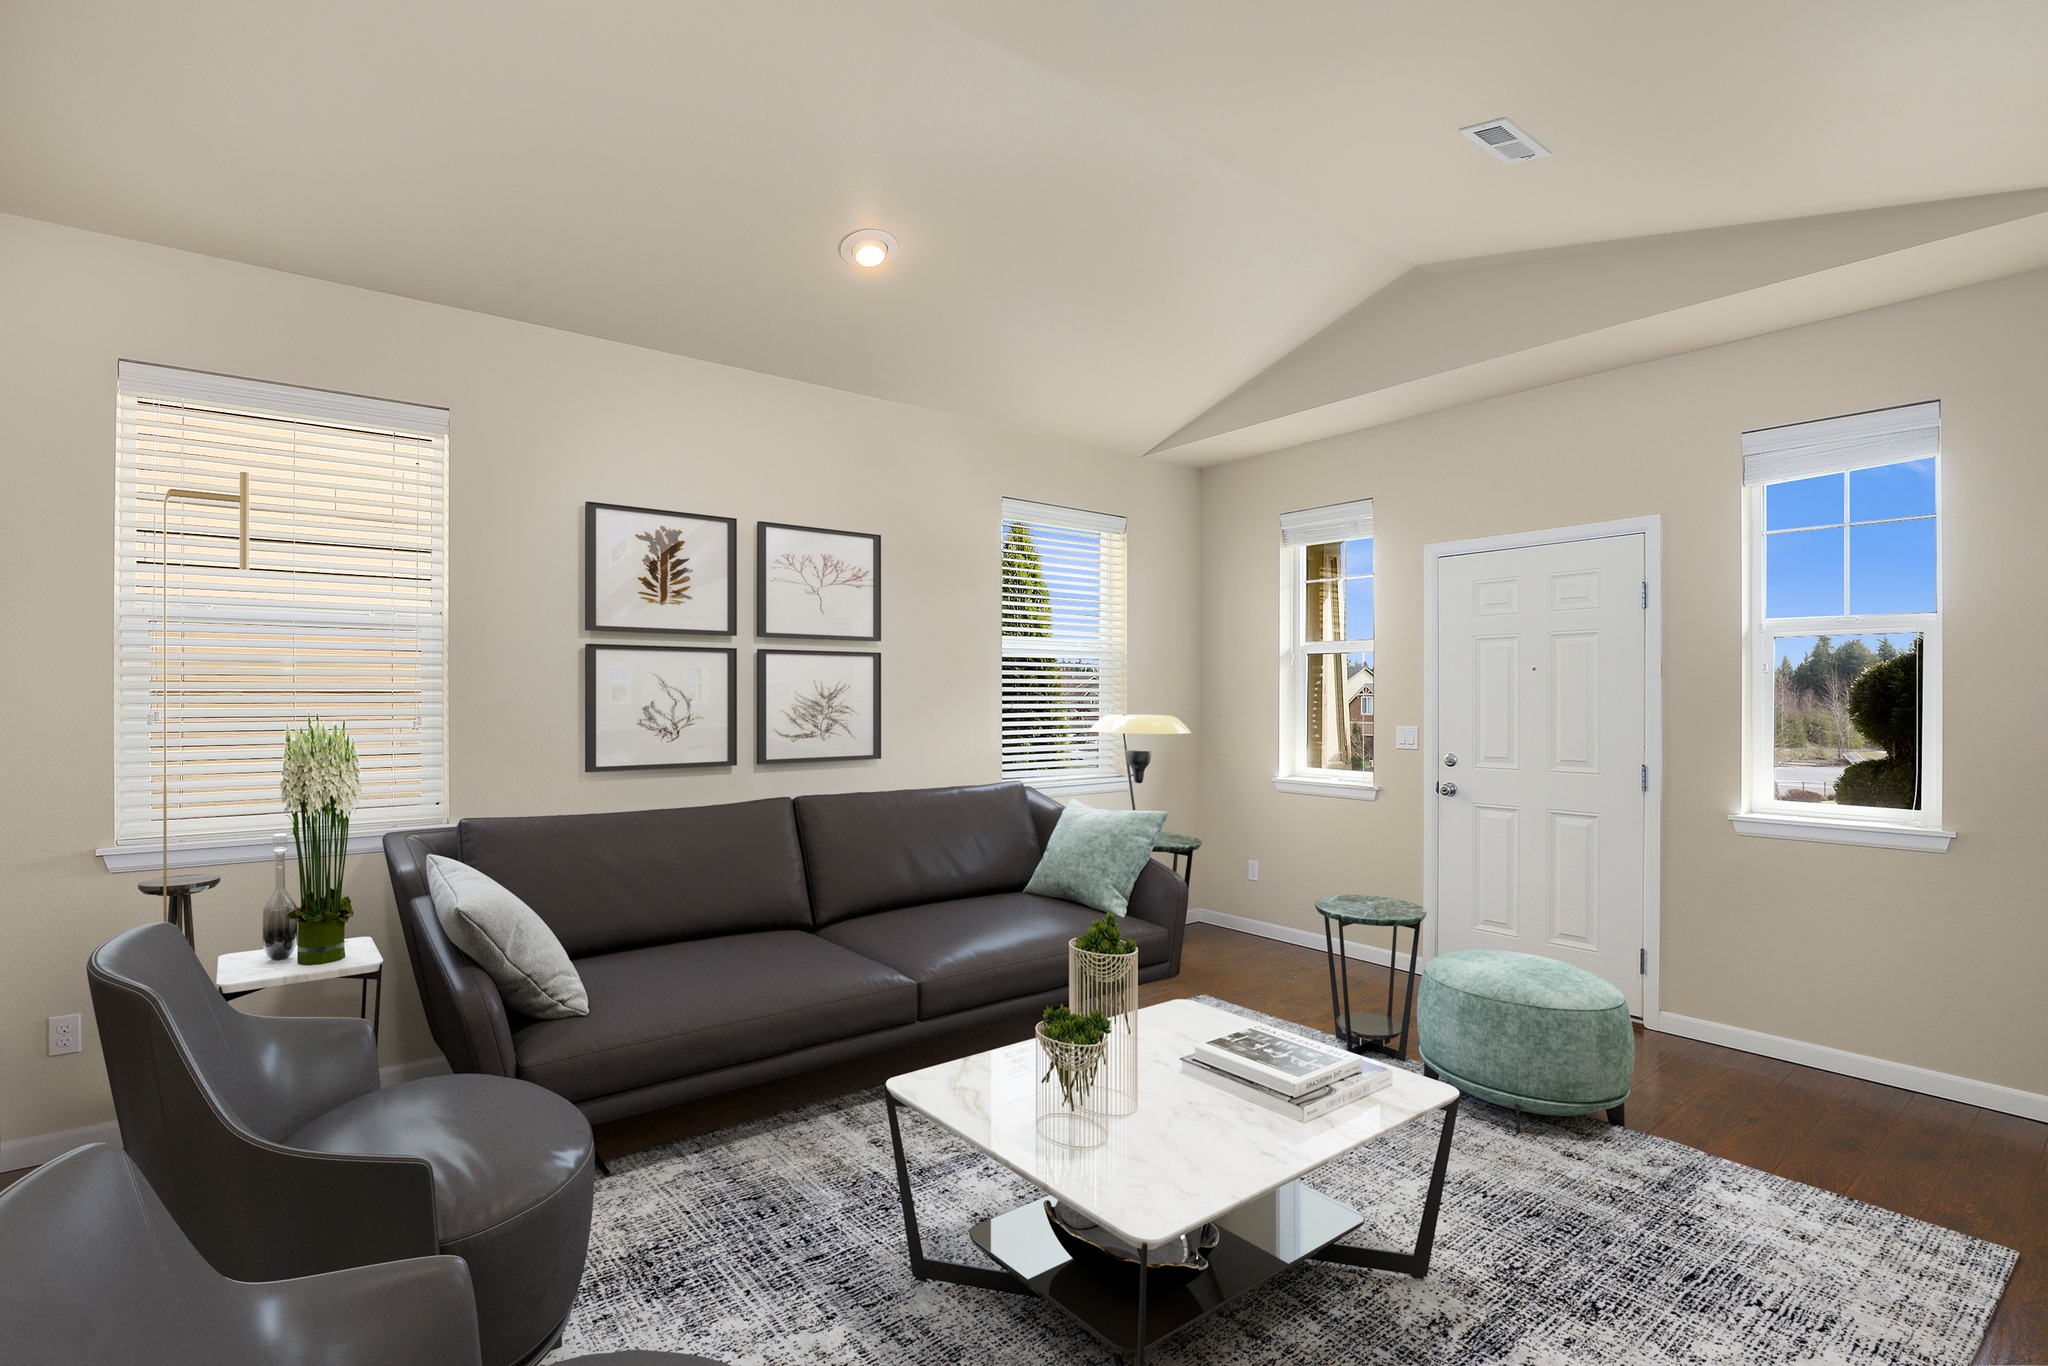
- Aesthetics – virtually staged photos look better than their unstaged counterparts. You can add furniture or decorations to any room without spending more money.
- Targeting demographics – part of real estate marketing is knowing your target audience and profiling which people are more inclined to purchase your house or property.
Expert virtual staging through a professional real estate editor can save you time by:
How Virtual Staging Can Save Time
Letting the clients experience the home before a site visit
Clients are inclined to invest in potential rather than absence thereof. One of the essential benefits is giving clients a sneak preview before visiting. Eight out of ten agents claimed that virtual staging made the purchasers visualize the listing as a potential homestead.
Professionally-done virtual staging as part of photo editing for real estate will result in a better experience for the client since they’ve already seen what they want and know how to achieve them.
Listings sell faster
The ultimate goal of photo editing for real estate is sales, and virtual staging is known for improving selling rates. Faster turnaround saves you time because you don’t have to wait longer, and it’s a good key performance indicator of a successful campaign.
You should hire a real estate editor with an eye for the market, especially one as competitive as real estate. You will find that real estate listings sell faster when the virtual staging team knows what it’s doing than those without real estate marketing backgrounds.
Flexible in your offers
One property has the potential to target multiple demographics, and efficient real estate photo editing allows you to stage them in various ways. The flexibility will enable you to save time by digitally composing the property differently for each demographic instead of having dedicated shots or staging done.
The versatility is a time-saving feature, allowing you to target different listings and present the same property in multiple ways. Your property is more likely to be sold when you talk to several demographics simultaneously.
Credibility and reliability
Potential clients are more likely to work with you when you have high integrity and credibility. One key benefit of virtual staging is promoting your property’s credibility and reliability metrics. Most customers will likely dismiss an agent’s reputation if the property photos are unkempt and not up to standards.
Professionally-done virtual staging can save you money by:
How Virtual Staging Can Save Money
Cuts losses brought by prolonged unsold listings
Properties that are unsold for a long time will eventually lose their value when clients finally come to visit due to limited upkeep and maintenance. The property owner will need to shoulder costs to keep it in tip-top shape, and agents will only have their commission later.
A real estate agent’s goal is to limit the cost of keeping a property listing on the market to demand excellent compensation from the homeowner, and that’s where photo editing for real estate comes into play.
Improves selling price
Aside from ensuring the property is sold fast, virtual staging benefits the seller by improving the selling price. According to data, one out of five agents reported an increase in the staged home selling price by up to 5%, which means that a $400,000 property could potentially get up to $20,000 just because of practical real estate photo editing and virtual staging.
An improved selling price means you will get a higher return on investment (ROI) if you sell the property as part of your asset portfolio. ROI directly translates to profit and allows you to invest in more properties.
Spending less money on promotions
Outstanding real estate photos are attractive, but virtually staged ones will attract the people who are most inclined to purchase the property. You won’t have to spend on promotions and marketing gimmicks when your photos will speak for themselves.
Virtually staging your photos is an excellent investment, especially for slow-moving properties and listings. By spending less on promotions, you can focus on beautifying the property and taking care of the potential client.
A fraction of an actual staging’s cost
Staging is considered an essential part of real estate promotions. One of the key benefits of virtual staging, instead of traditional home staging, is the cost of completing one photo compared to staging the room with new furniture or remodeling.
The digital enhancements cost less than new fixtures, wall paint, and decluttering expenses, which is a good deal if you don’t plan on selling the house to include the new furniture.
Final Thoughts
If you find yourself with slow-moving properties, consider getting it staged virtually. Every real estate editor wants to create the best possible listing images for quick turnovers. Agents, sellers, and event buyers will benefit from professionally-made staged photos.
Phixer’s real estate photo editing service allows you to improve the image quality and promote the property. You can even utilize virtual staging for photos that professionals didn’t take, improving the chances of sales.