Video editing can reconstruct ordinary videos into something different. Enjoying with your family on a trip for a well-deserved vacation, or attending special occasions with relatives and friends, or simply having real estate videography as your bread and butter, taking videos is totally a normal thing to do.
Today most of what we think of can be done at the tip of our fingers. Editing is one common job when it comes to video enhancement. Old images, photos and videos are the ones that are preferred to be edited. But there are enhancements that are done on new photos or videos, primarily to add missing important features.
With proper knowledge on video editing, it can be guaranteed that profits grow when done in a professional manner. Video editing is valuable because it is the only way to blend images and sounds to make the audience emotionally connected for real estate marketing. Video editing is one of the most sought after tasks when it comes to real estate videography.
Basic Real Estate Video Editing Tips
Before you edit your first video, you need to:
1. Close a real estate deal.Landing a real estate gig involves people that you are going to approach. It also requires you to present a strong demo video or portfolio. You must also be always available and give a quick turnaround time.
2. Create the right pricing
This depends how long you shoot the house and the skill level you have. Adding music and graphics are some add-ons for your price.
3. Pre-Plan
Schedule plans accordingly.
4. Know the camera type and proper settings.
The gear you use is basically very important because nothing will be edited without your camera. And, drones for real estate are necessary for your aerial footages.
5. Create good composition
Use wider lens to show wider area. Lines must not be distorted. Avoid pointing the camera too far up or too far down. Keep it at eye level and shoot the film between eyes and waist level.
6. Focus
Use the autofocus of the camera as often as possible.
There are also tips whenever a real estate video has been finished.
Use good music. Choose music that matches the house’s personality. Websites like www.soundstripe.com or www.audiojungle.net are great sources of good music.
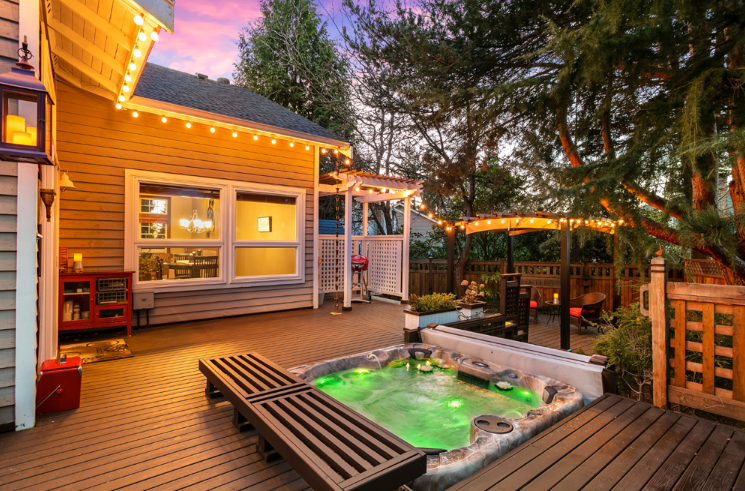
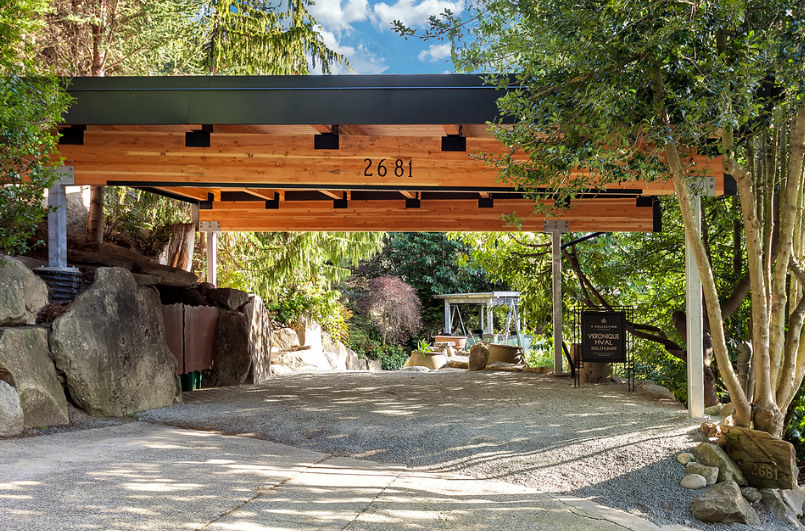
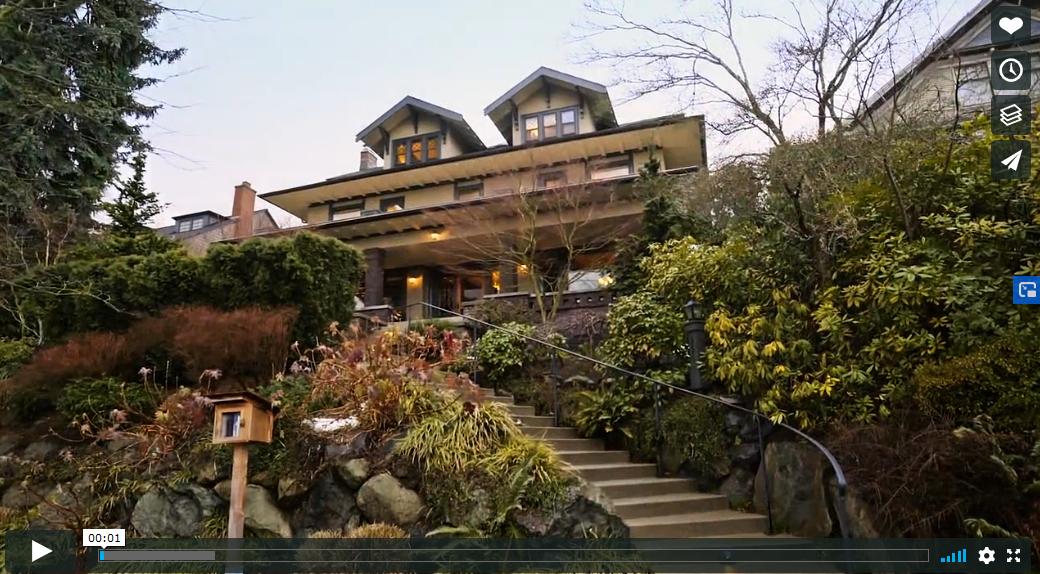
Start off with a strong establishing shot. If the house has a pleasant kitchen, start presenting the kitchen first then show the location of the property using drone. This shows the overview of what the house really looks like.
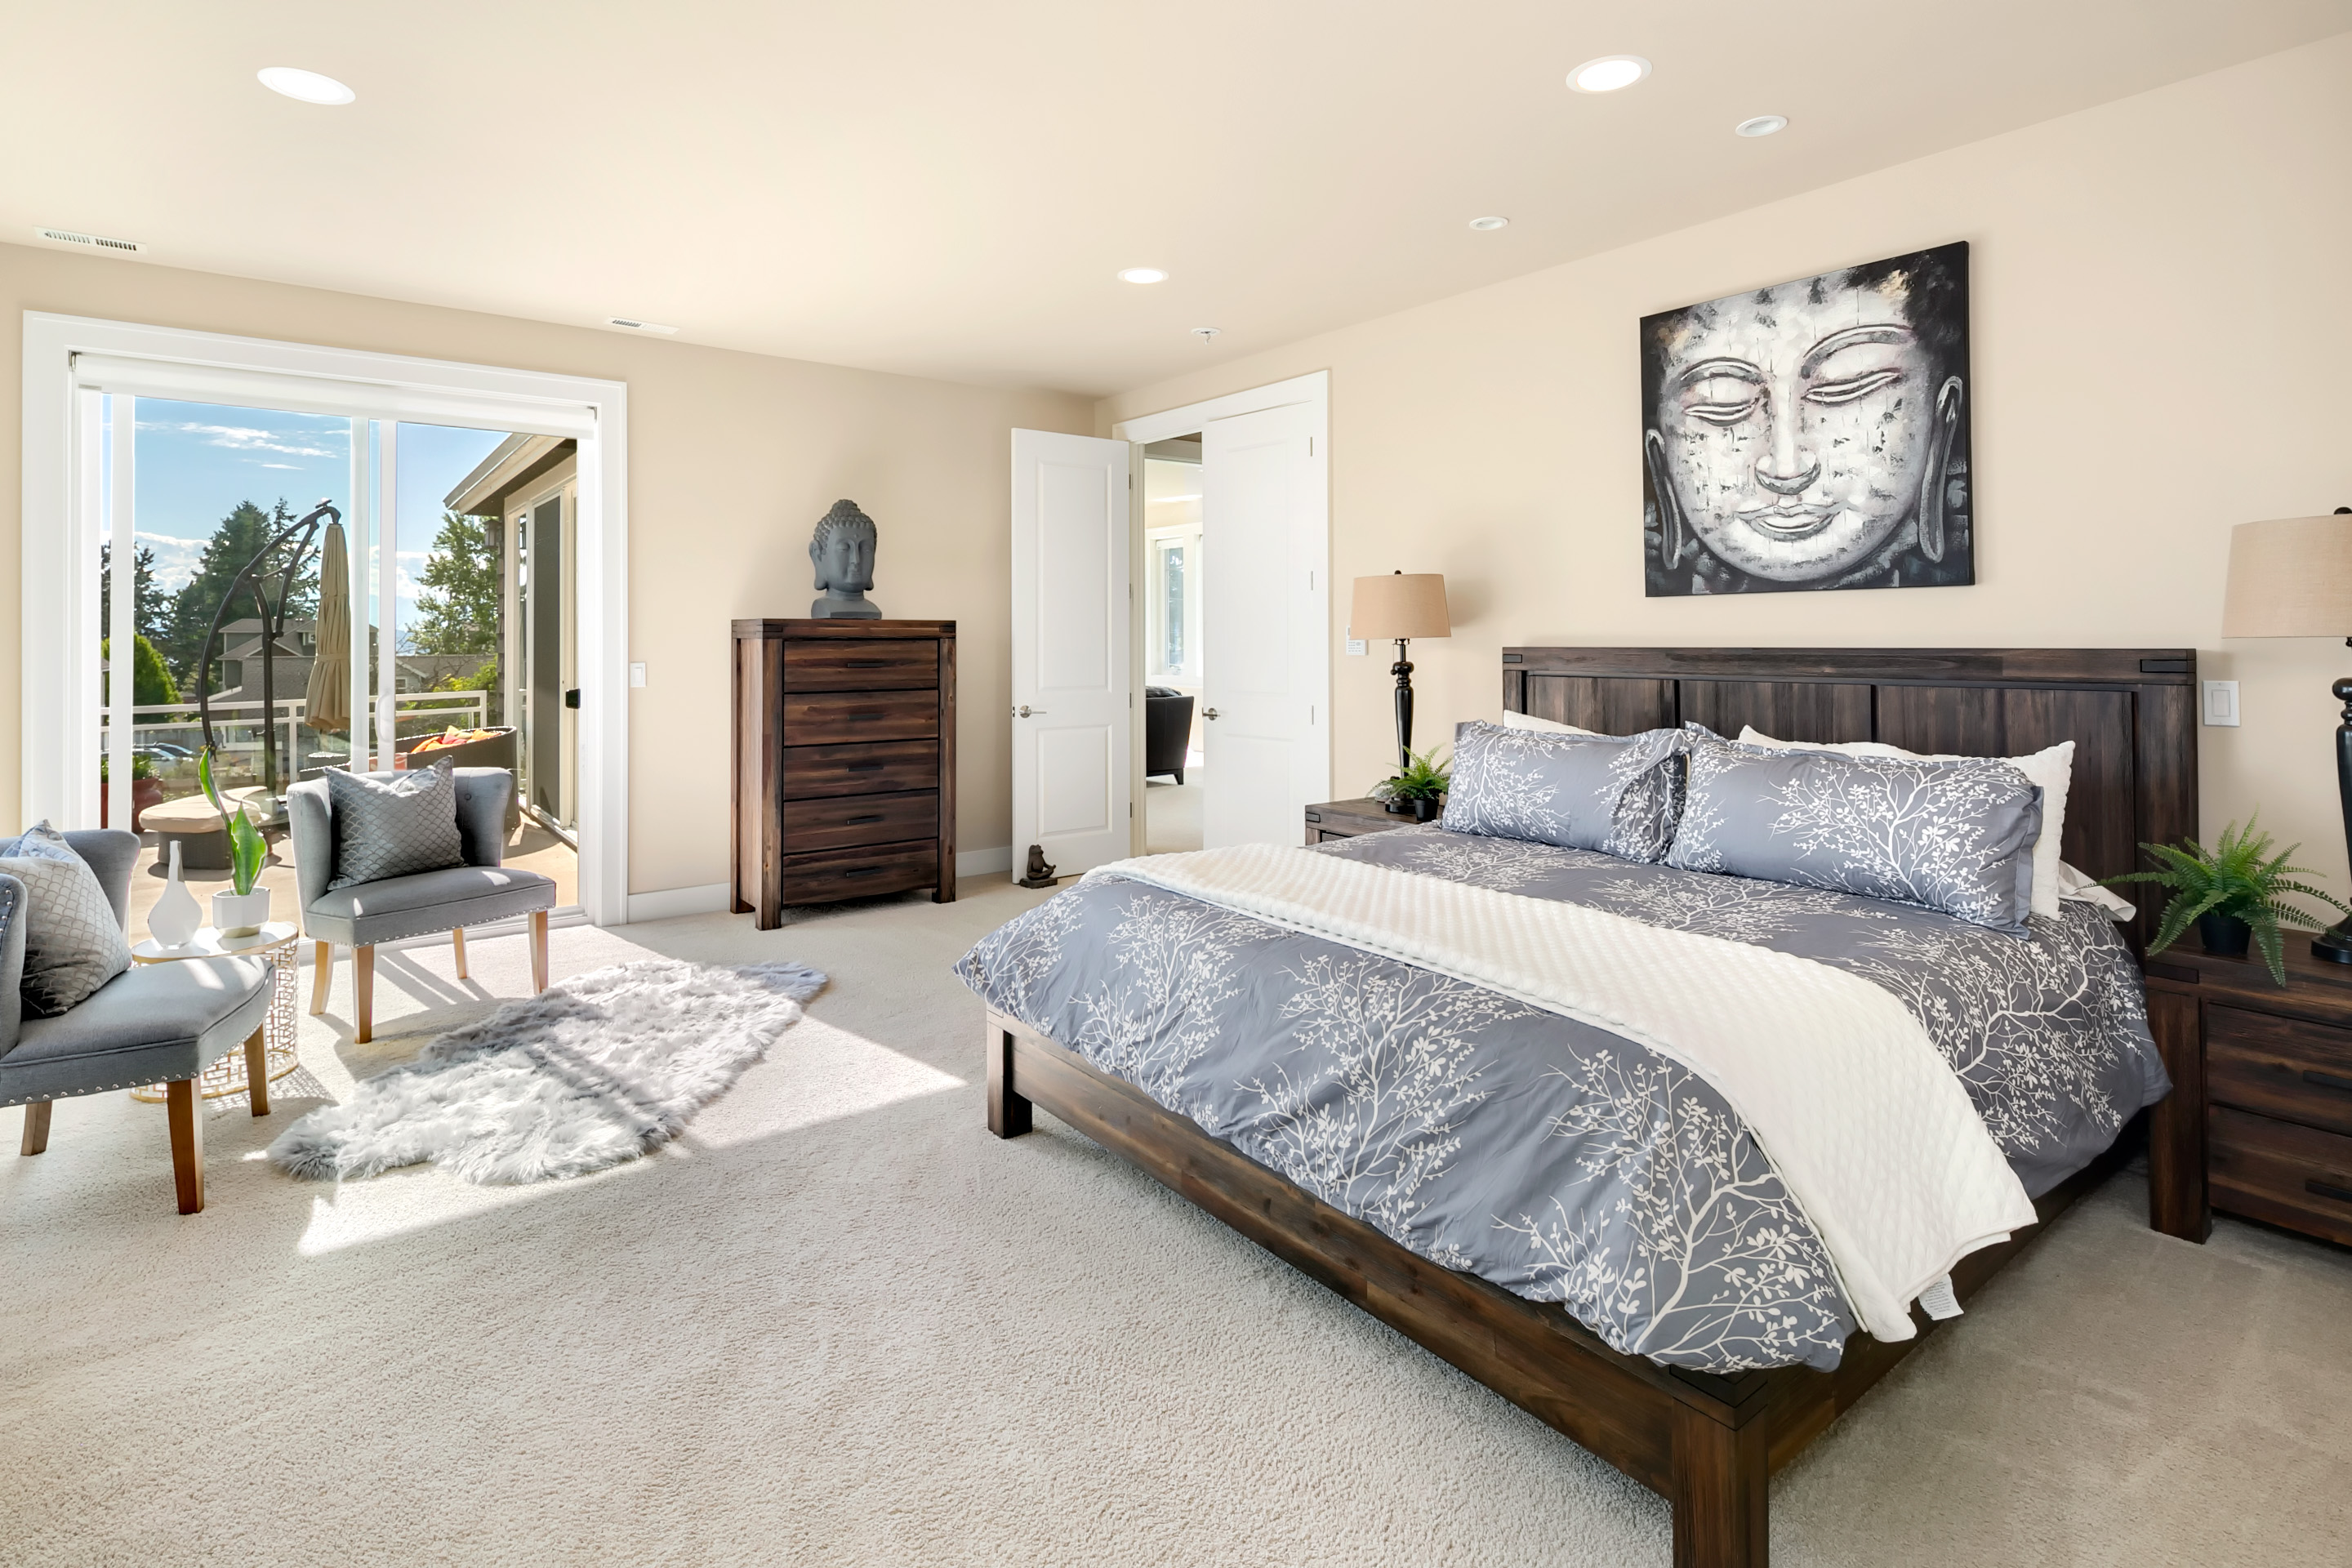
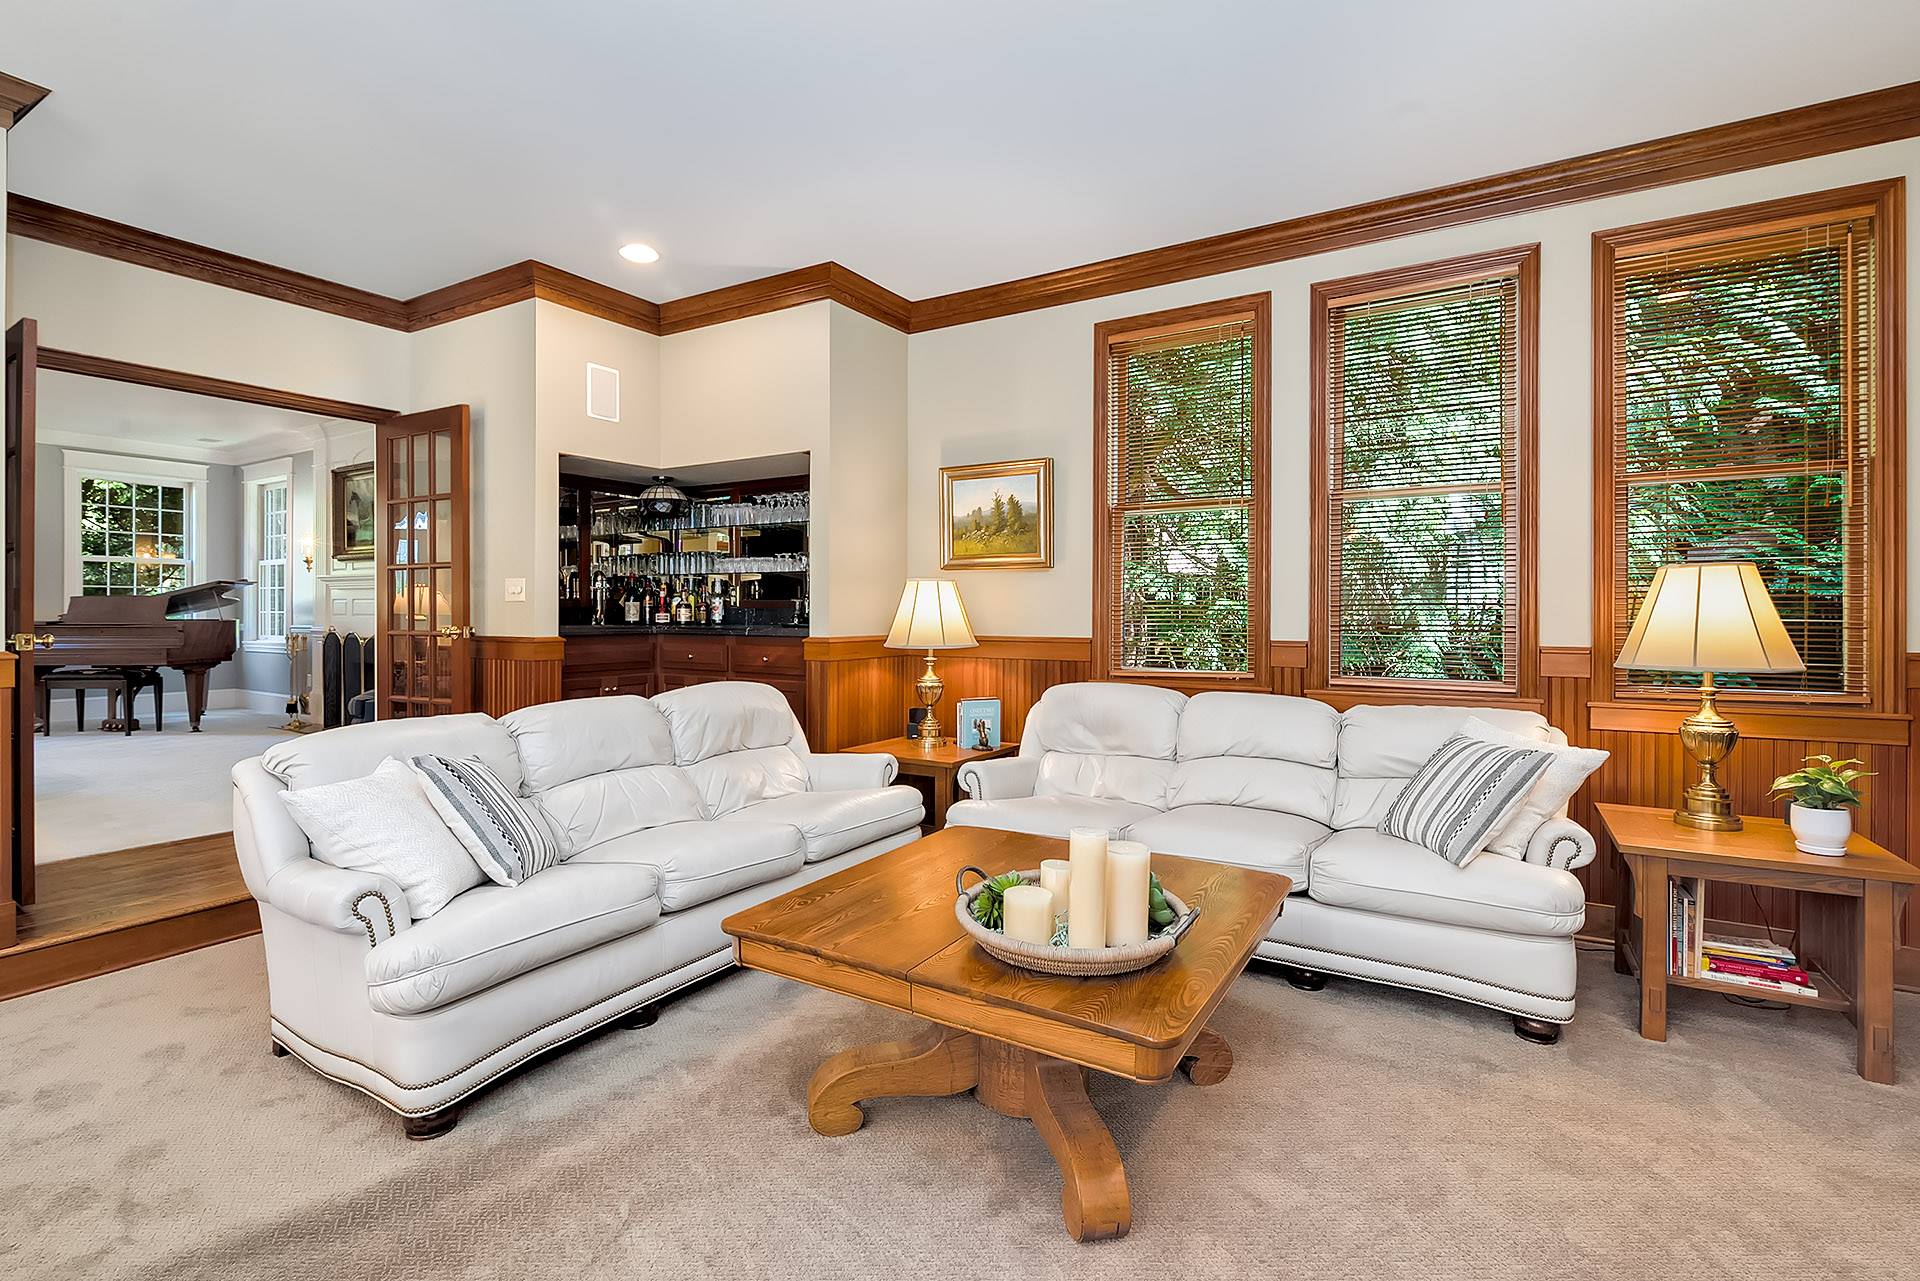
Make sure your clips flow. Video clips must be put together in order. Real agents and potential buyers like to see clips that video which starts from the entrance to the living room; from the living room down to the kitchen; from the kitchen to the dining room, etc. This should be the flow of your video. The purpose is to show the actual layout of the property.
Make sure you have good pacing. Avoid using long video clips because people will get bored quickly. One to two minutes video is quite long enough.
Make the property look bright. House videos that receive natural light are a lot better than having over-exposed videos.
Add some graphics. Be sure to add some animations in the video like the real estate agent’s basic information like website, email and a little bit of profile. You may go to www.motionarray.com and use After Effects Templates that can be downloaded from the Internet.
There are real estate videos that are primarily focused only on houses. When you are a videographer that focuses only on houses, these are some important tips. It is necessary to identify too, the type of camera and the setting used, and the skill on how to put and edit them altogether.
Note: In this set of tips, video was done using a Canon 80D 60 frames/sec which is converted to 24 frames per slow motion with a 16mm equivalent lens on the camera. Editor used the Adobe Premiere Pro timeline.
By using the Parallax Effect, panning all the areas inside a house is done by cutting together all your house videos and putting them together using the Parallax Effect. During the filming of houses, videographers should focus more on their amenities like the basketball court, picnic area, and the gazebo.
Keep in mind that videos must be done at a minimal time compact type so that people will not look for other short videos. It is advisable to take as many possible angles as you can especially if you’re inside a room.
- Cut all the clips together. The clips must include all the important rooms and spaces of the house.
- Always adjust the brightness and exposure levels to make the video consistent. You can select videos that are pleasing and drop them to the Timeline.
- Always look for the continuity of the shot because photographers like to tell stories in their video. You can visually join the selected scenes at the Timeline. Avoid disorientation of scenes.
- When videos are taken early in the morning grab the Sun Flare by stopping the lens at f8.
Add the proper sound effects like wind and chirping birds. To do this, the button is located at the bottom of the Timeline. - If you want to move in quickly from the front of the home, do this by putting in a Zoom-in Transition which punches in smoothly and cleanly inside the house. This also includes moving forward shot while your camera is panning. With this effect, your audience will be given a dynamic flow of your video. Because it is a video, turn everything ON that can be turned ON like lights, candles, televisions, fans, and anything that can move to add dynamics to the video.
- Wrap up the front of the home by using Motion Graphic Template from Rocket Stock 700 hundredth minimal preset. It is a drag-and-drop or plug-and-play type. Also fade the sound of the video as is always required at the end of any video.
Furthermore, when you use a Panasonic GH4, the following are the tips. This camera fits perfectly in a drone. Under this camera is a 7-14mm F/4 lens which is the widest-angled rectilinear lens that is an aperture zoom lens. For the settings, you may use ISO 200-800, f4-f9, 1/50 for indoor shoots and ISO 200, f22, 1/50-1/100 for outdoors.
In using GH4 camera setting you may try to:
- Avoid using Auto White Balance. You must only set White Balance manually. Camera will struggle if ever you are shooting a particular area in the house if different sources of light are coming in at it. This will particularly change the white balance during a shoot which can be very troublesome.
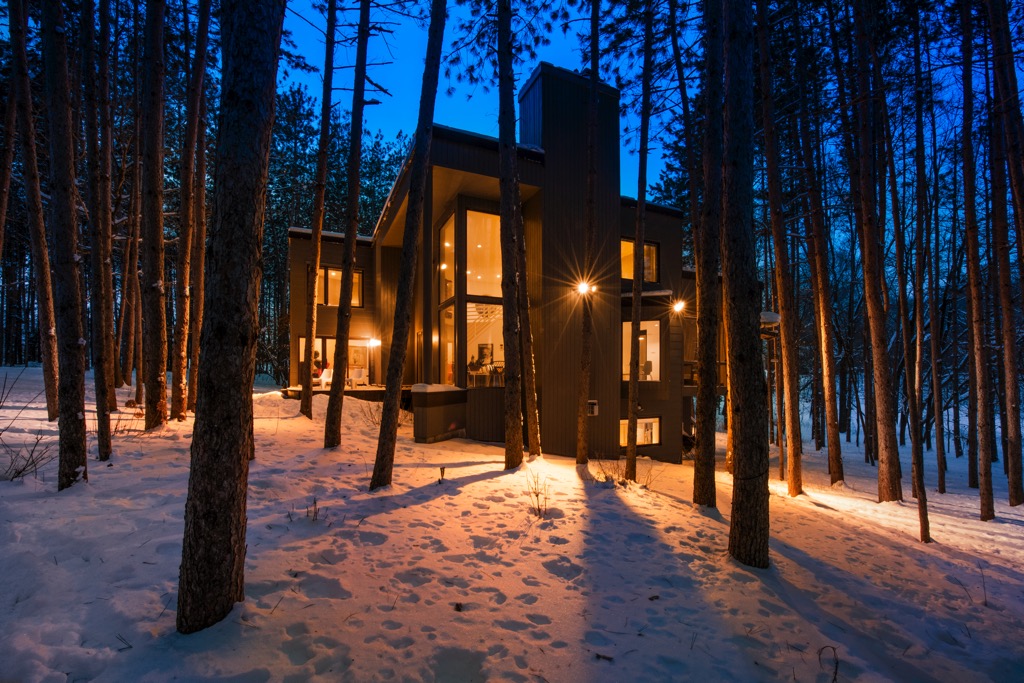
- Look for the best perspective and correct angle of the house that you are shooting. Typically start from the outdoors before proceeding inside. You can opt to go to the balcony afterwards. Finally you can finish your video with a big range shot.


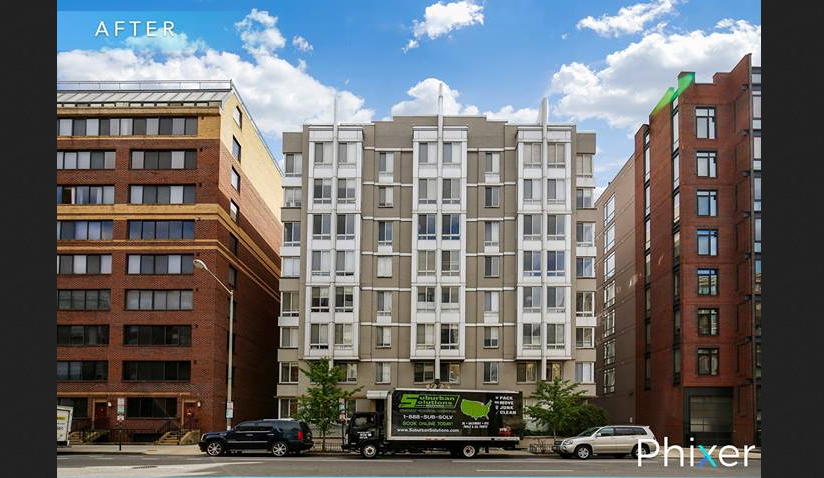
 Cropping is one basic requirement to improve many aspects of the picture.