As photography becomes a creative business, many photographers are becoming more enthusiastic about getting themselves like a real pro in this new venture.
Social networking sites are the good platform for promoting your works, but these are not enough on showcasing your amazing eye in photography.
A photography website is a great digital portfolio which is essential for any aspiring photographer. You don’t need to be an excellent photographer to build a photography portfolio website. People from all different walks of life can have a well-organized online site. This will very helpful to get clients.
Now, read further to know how to make a great portfolio website.
Decide which platform.
You need to choose what kind of platform you are going to use. There are two traditional ways to build one.
• Self-hosted such as WordPress and custom coded
• Hosted web building platforms
Fast-loading page
This is one of the biggest aspects when visitors or clients become interested in your portfolio. No one is going to be excited to check your website if your page is buffering and even not loading. Sometimes patience is not a virtue with them. Be sure to bring in an intense fast factor with enhanced photographs on your website.
Improve your photographs not only for size but as well for Search engines. Add alternate text to each photo. There is a possibility that some Search engines can’t read or load your photos. However, if you add alt text, your page will immediately display your photograph along with your information. This upturns the probabilities for photos to appear in image search tab in any Search engines.
Keep your digital portfolio on mobile effective as possible
In this way, all devices can have an access to your portfolio website. Many people nowadays are into tablets and smartphones than desktops or laptops.
Create status of your website with informational social influence
When your online portfolio mentioned or visited by credible people, your site will be in traffic because of numbers of visitors or let’s say, possible buyers. Comments and or suggestions are one way to boost your website status. So better provide review section on your page.
Add comprehensible contact information
Indicate your contact details noticeably and assure you are easy to contact with the info you give. To miss out on possible business is not your goal.
Allow social media sharing
Make use of social media by sharing widgets and tools on your digital page for interested visitors can effortlessly share your work. This is an advantage for you. It’s a free exposure for the advancement of your online portfolio.
Always make it updated
Keep your website up-to-date. Make your site more interesting by setting up the new design, exhibit your current images, and unfold new stories.
Furthermore, before sharing you how to officially create a site, you need to assess first some pointers for your photography portfolio website.
• Set objectives. Primarily because you need to prepare yourself for the future of your business. Are you aiming for more clients to purchase your work or to win appreciative awards? Whichever it is, your goal must be based on what you desire for your amazing works.
• Prepare your pictures. It’s a self-explanatory statement as a photographer. There some photographers improve their skills in this area. You can search and study how you will improve your work.
• But, don’t be fixated on the picture itself. You can enhance your photos and be in a good quality, but it is not just about those techniques to beautify and have sense to your photos. There’s more than that.
• Tell a story. This is one way to the previous pointer. Make your visitors intrigue with your photographs. Impart something from it.
• Always know your target audience.
And so in building a website, here’s a step-by-step procedure.
1. Format your website layout
• Pages – Is it up and down or landscape?
• Photos – In a grid or in single posting?
• Menu location – Left, right, center-aligned of the site?
• Fonts – Serif or creative?
• Color palette – Monochrome or Vibrant colors?
• Name and titles – Big or small?
2. Upload your photos
• Theme (e.g. portraits, landscapes, travel, fashion)
• Category of work (e.g. personal, business, editorial, documentary)
• Consumers (e.g. by client name or by kind of client)
• Tools (e.g. 35mm, 120mm, digital, video)
• Location (e.g. residence, park, etc.)
3. Construct a solid Web page
4. Add your bio
5. Add your contact details
6. Add keywords
7. Add your prices
8. Add where to buy
9. Share your website
Building a portfolio is not actually as complicated it seems. It always depends on you on how you want it to be. If you read all the pointers and instructions on this article, I assure you you’ll develop a good sensible online portfolio. Just be sure to set your goals and just do it. Try – it’s better to attempt than act nothing at all.
I hope this guide will be a great help for you to create a photography portfolio website you need. If you have more queries, feel free to drop a message.
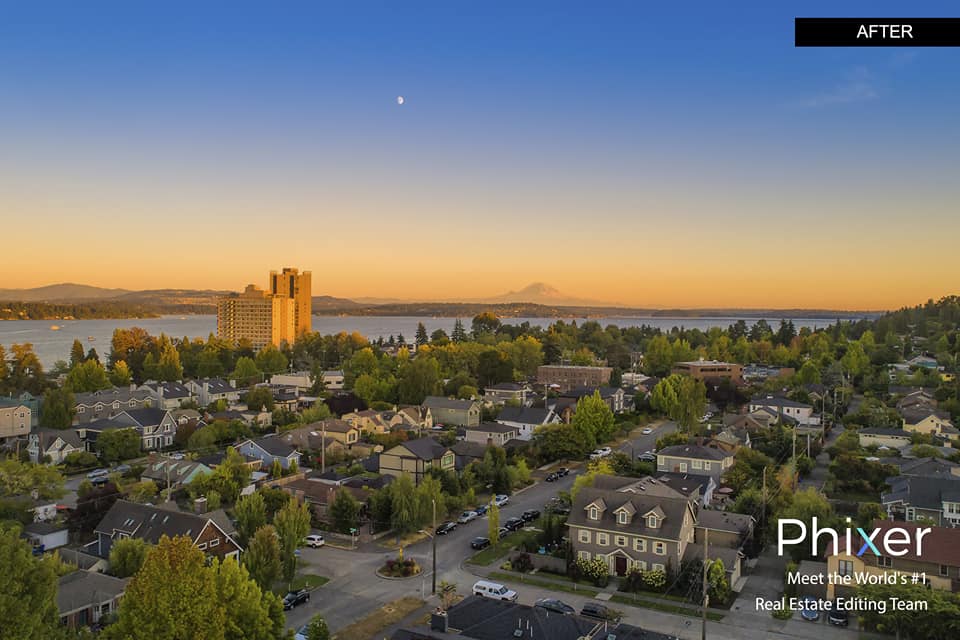
If you don’t want a hassle-free web designing and developing, you can contact Phixer to do the post-processing work for you.