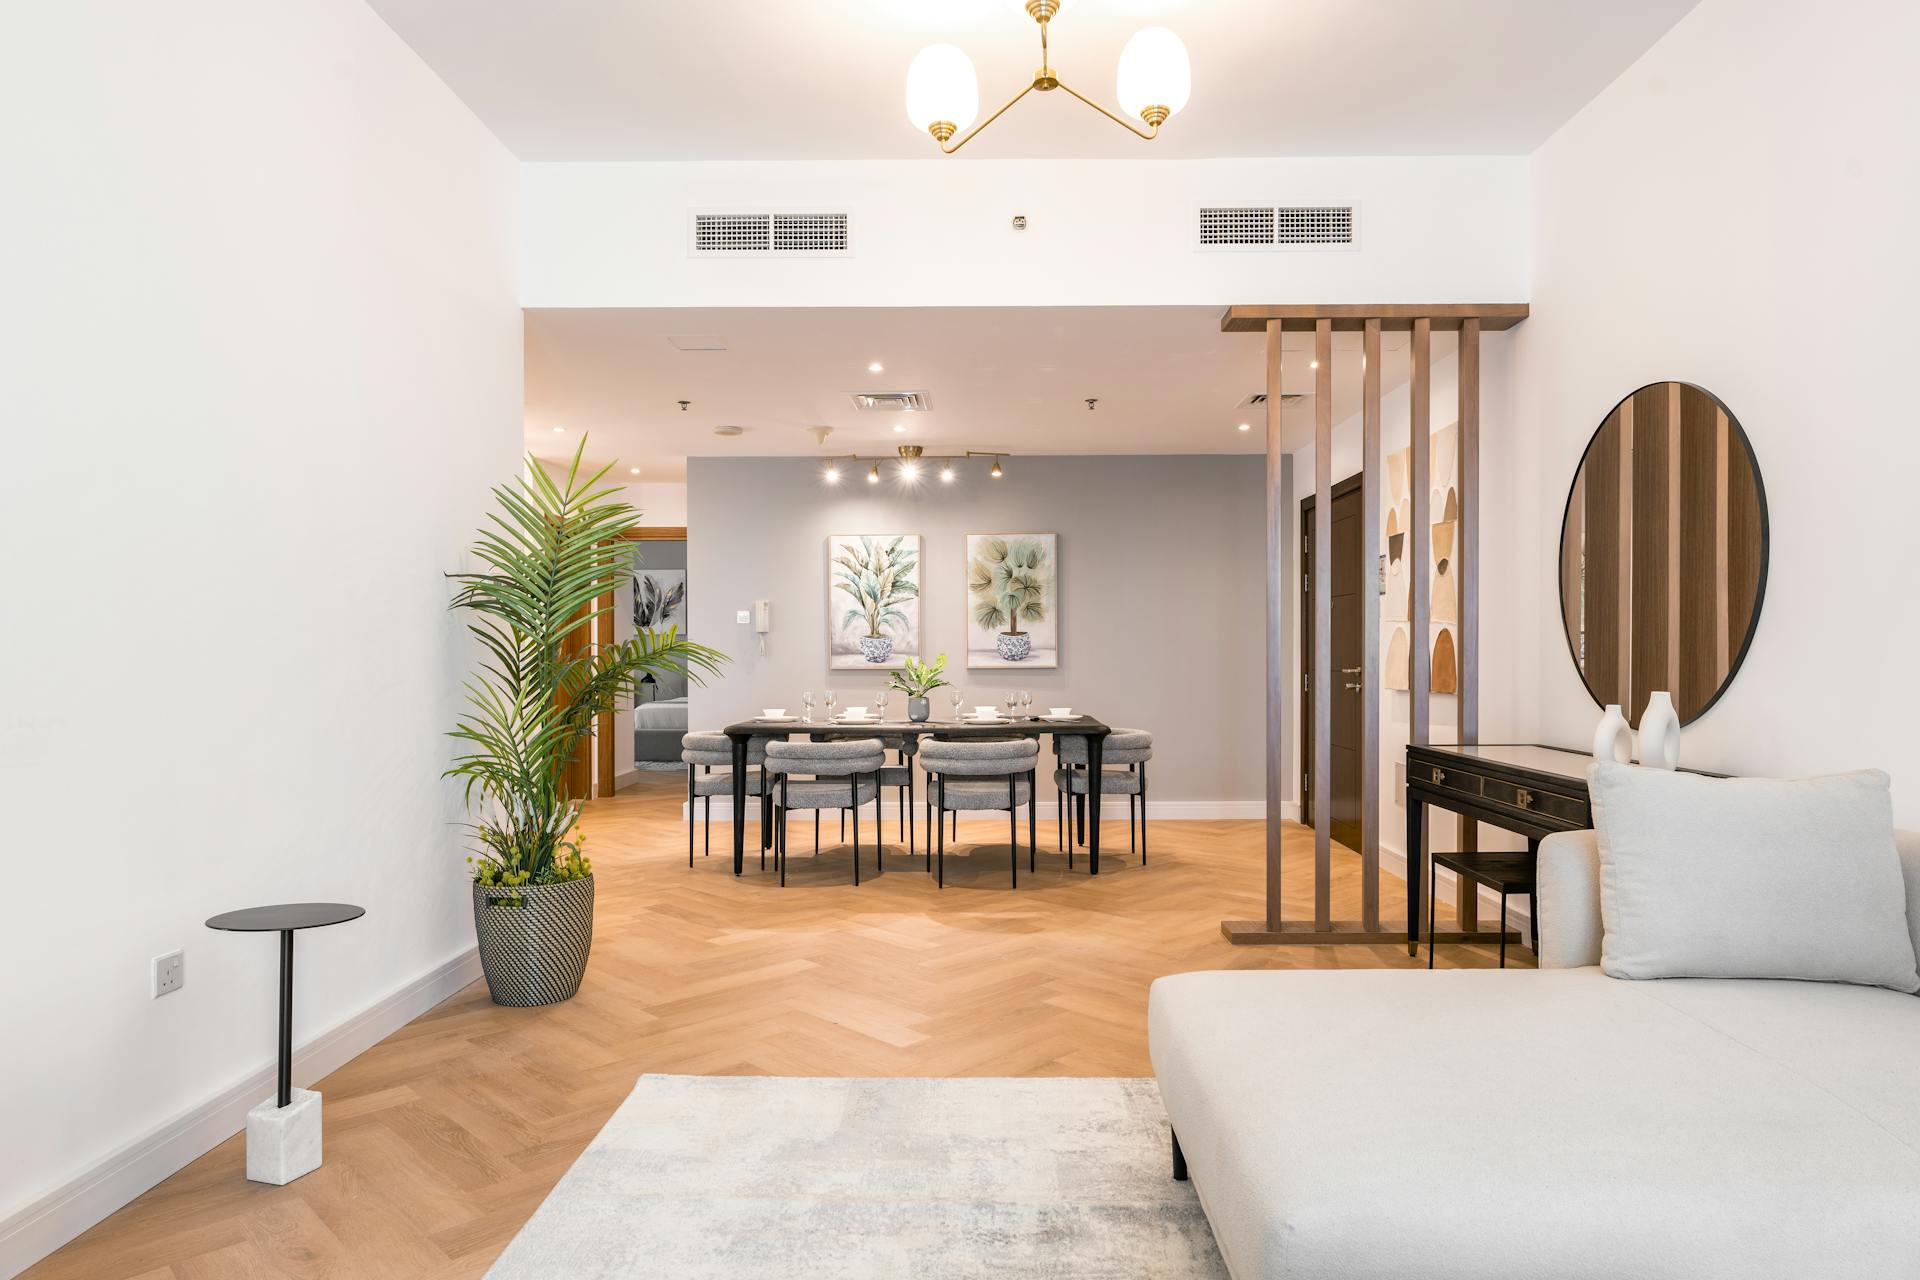
Lighting is crucial in producing high-quality photographs. Aside from determining the photo’s brightness and darkness, light also influences the mood, atmosphere, and tone of your real estate images. As a rookie real estate photographer, you should efficiently use lighting to your advantage.
How you play around with lighting can significantly influence the quality of your real estate photos. It will be easier for you to let professionals edit images to maximize the impact of the lighting in your raw shots.
To make the most out of lighting in real estate photography, take note of the tips below:
Master the Use of Natural Light
Natural light can do wonders for your real estate photos and is considered the best lighting source when taking pictures both indoors and outdoors. To become a successful real estate photographer, make a habit of opening windows and allowing the sun in when you start taking pictures.
You can master the use of natural light by following these tips:
- Schedule your shoot: When shooting for real estate photos, make sure that you’re doing it around midday, depending on where the property is facing. Avoid shooting indoors at sunset because the light changes color erratically during this time of the day.
- Open all windows and blinds: Allow natural light to fill the room when you’re shooting. Open all windows and blinds and net curtains as a way to reduce window contrast.
- Extinguish other light sources in the area: To avoid any color casts, turn off other lights when shooting indoors. This method also allows you to get uniformly white walls when editing your photos.
Use a Flash When Natural Light Is Unavailable
Natural light can transform any photos, but there are instances when this resource is unavailable. Use your camera’s flash to imitate natural light if you’re shooting on a schedule or location without natural light. This technique enables you to improve the property’s natural beauty without altering its accurate perception through real estate editing.
The secret behind this trick is to mimic natural light coming from a particular direction. For instance, if the room’s window exposure isn’t bright enough, direct your camera’s flash at the same wall to get soft yet ample diffused light coming from that direction. For realistic results, exclude the bright spot on the wall from your framing.
Turn on the Lights Indoors if They Add Character and Value to the Room
Real estate photographers should determine when to use light fixtures when shooting indoors. There are instances when turning on the lights can add more character and value to the room. When shooting with lighting fixtures turned on, make sure that you capture all the details in the room, including the highlights and shadows.
There are two ways to get the proper exposure, and the choice depends on your style and taste:
- The first method is to use natural light and a bounced flash to fill the shadows in the room. If the light from outside the window is too strong, you can close the curtains.
- The second method is to shoot multiple exposures and then merge them into one HDR image. This trick maintains all the details from the shadows and highlights of the room.
Learn How to Edit Photos
Your ability to play around with lighting is one skill, and your knowledge of using the best real estate editing software is another. These two skills are essential for producing the best real estate photos and becoming a successful real estate photographer.
Now that you know some of the most effective lighting techniques in real estate photography, learn to use editing software.

Leave a Reply
You must be logged in to post a comment.