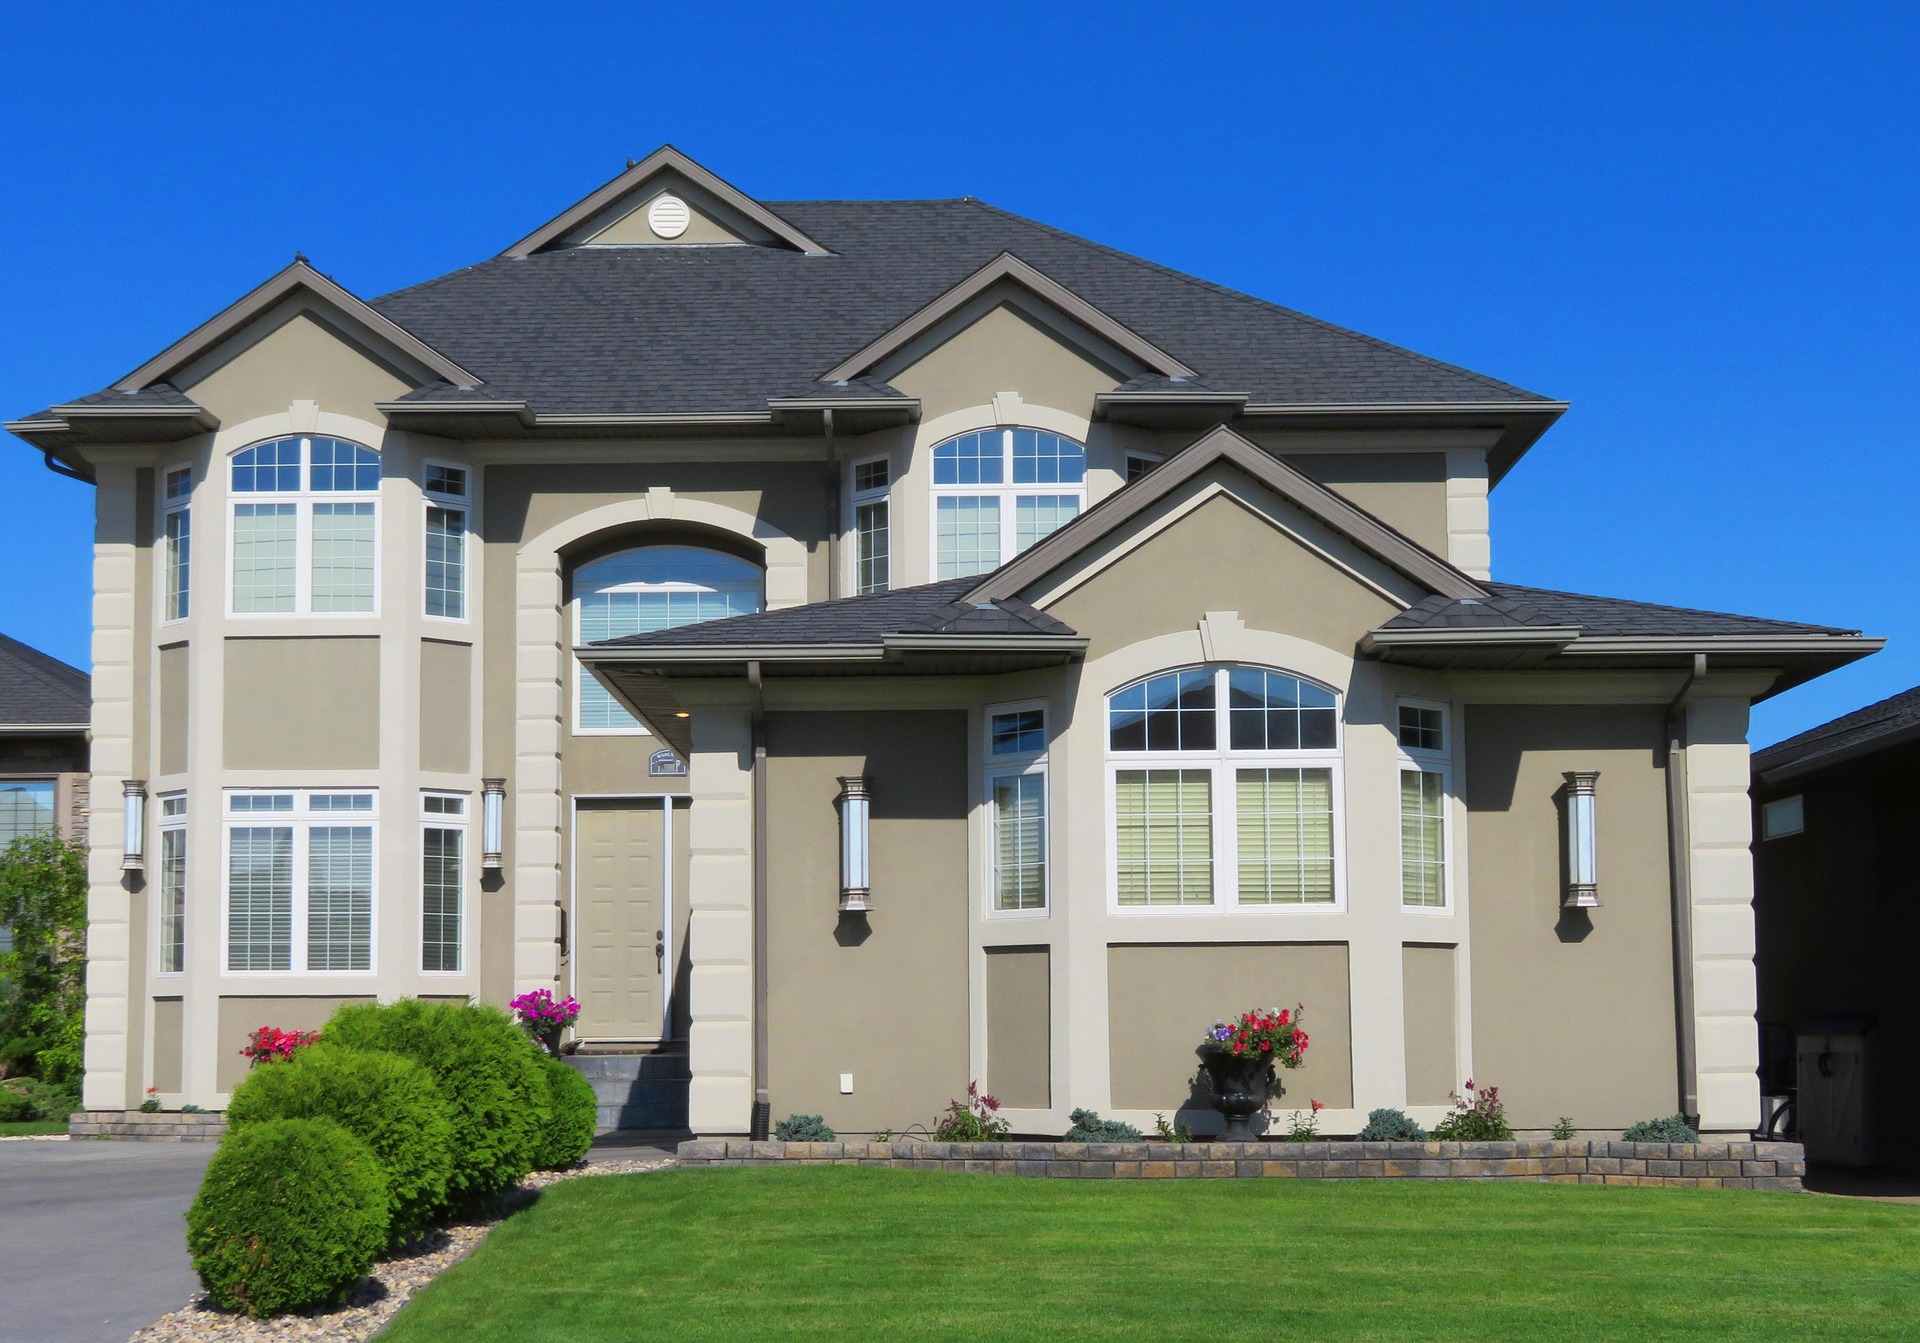
If you run a real estate photography business, or any photography business, you understand the importance of proper post-production and editing. Unedited pictures don’t look professional, and they can even have a negative impact on how people view the properties you’re trying to advertise.
This is why it’s a good idea to consider outsourcing to professional real estate post-production experts. While it might seem like an added expense for now, you might be surprised at the hidden return on investment you get through using these services.
Introduction: The Hidden Cost of Doing it All Yourself
It’s a cold hard fact in business that time is money, and everyone who has ever tried editing photos knows that it takes time.
All in all, photographers can spend up to 30-40% of their time post-processing.
The fact is that you have better things to do with your time. If you allow your photographers to focus on the photography part of their job, then you might discover some surprising benefits.
The Time Factor: From Bottleneck to Business Growth
First, it’s important to tackle the time factor. Depending on the photographer and the images, the average time for post-production typically ranges from about 5 to 30 minutes per photo. This doesn’t include culling or even the time it takes to import the photos to your photo-editing software.
If you translate that into a post-production session, this means that it can take about 3 hours to edit 20 photos, and some shoots might include a lot more than 20 images. Other sessions might be quicker or longer, but this essentially means you lose an extra shoot per day.
If you work with a professional editing partner, then you eliminate this time lost. Once the photos are taken, you can just send them off and move onto the next project.
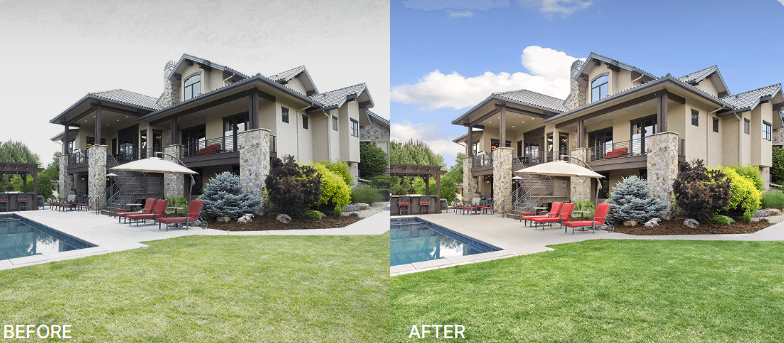
The Quality Advantage: Consistency Sells
Let’s say you have multiple photographers on your team, all of whom shoot and edit their own photos. While they might be equally talented and you might have a company policy for style, you will notice some variation in how they shoot and edit. Shooting differences can be dealt with, but if the edited photos look like they belong to different companies, your brand can weaken.
A uniform photo and editing style makes your real estate agency look far more professional. Post-production consistency isn’t an optional feature, it’s a must-have brand asset.
Your clients need to know what they’re getting, and photos that are consistently edited to a high level will deliver this message.
The Revenue Multiplier: Faster Turnaround = Faster Listings
So we’ve explored how professional post-production services can free up a lot of time for your photographers, but what does this mean for the rest of your agency?
As well as potentially saving money, which we’ll explore in more detail later, faster post-production can massively boost your potential income and profits.
Instead of waiting days for in-house editors to churn through hundreds of photos before you can list properties, you can get the edited photos back within 24 hours, meaning you can list the properties far more quickly.
More listings means that agents can generate more revenue by selling more properties, and photographers can also earn more by taking more photographs.
Essentially, you can deliver your services far more quickly, allowing you to scale it for more and more clients, all without sacrificing quality.
The Cost Efficiency: Outsourcing vs. In-House Editing
Let’s explore the two main options a real estate agency or photographer has. Either you can edit in-house or outsource to a professional post-production service.
In-house editing might seem like the more affordable option, but it has a lot of hidden costs compared to simply outsourcing on demand.
First, you should consider wages. In the US, a full-time editor can expect wages above $45K/year. Whereas outsourcing can cut this by up to 60%.
There’s also the added costs of training editors, especially if you want them to use a uniform style, acquiring the right editing software, and making sure that you have hardware that can handle a lot of editing.
The Intangible ROI: Reputation, Client Retention & Stress Reduction
If you break things down quantitatively, the ROI is clear. You could save thousands and potentially earn even more when outsourcing photo post-production.
But another potential ROI comes from softer benefits.
Editing isn’t easy, and it’s often the cause of burnout for photographers who have a large workload. By taking this part of the job off their hands, you can lighten the load for yourself and your employees.
You will also be able to deliver photos reliably, both in terms of quality and hitting deadlines. This means your clients will be happier and more likely to recommend your services to others.
Conclusion: The Real ROI of Letting Go
So, is professional post-production a good ROI?
The short answer is yes. The slightly longer answer is that it can save time, money, and even potentially boost profits while ensuring better quality.So, if you’re a real estate photographer or represent an agency, get in touch now to think about how to improve your post-production.