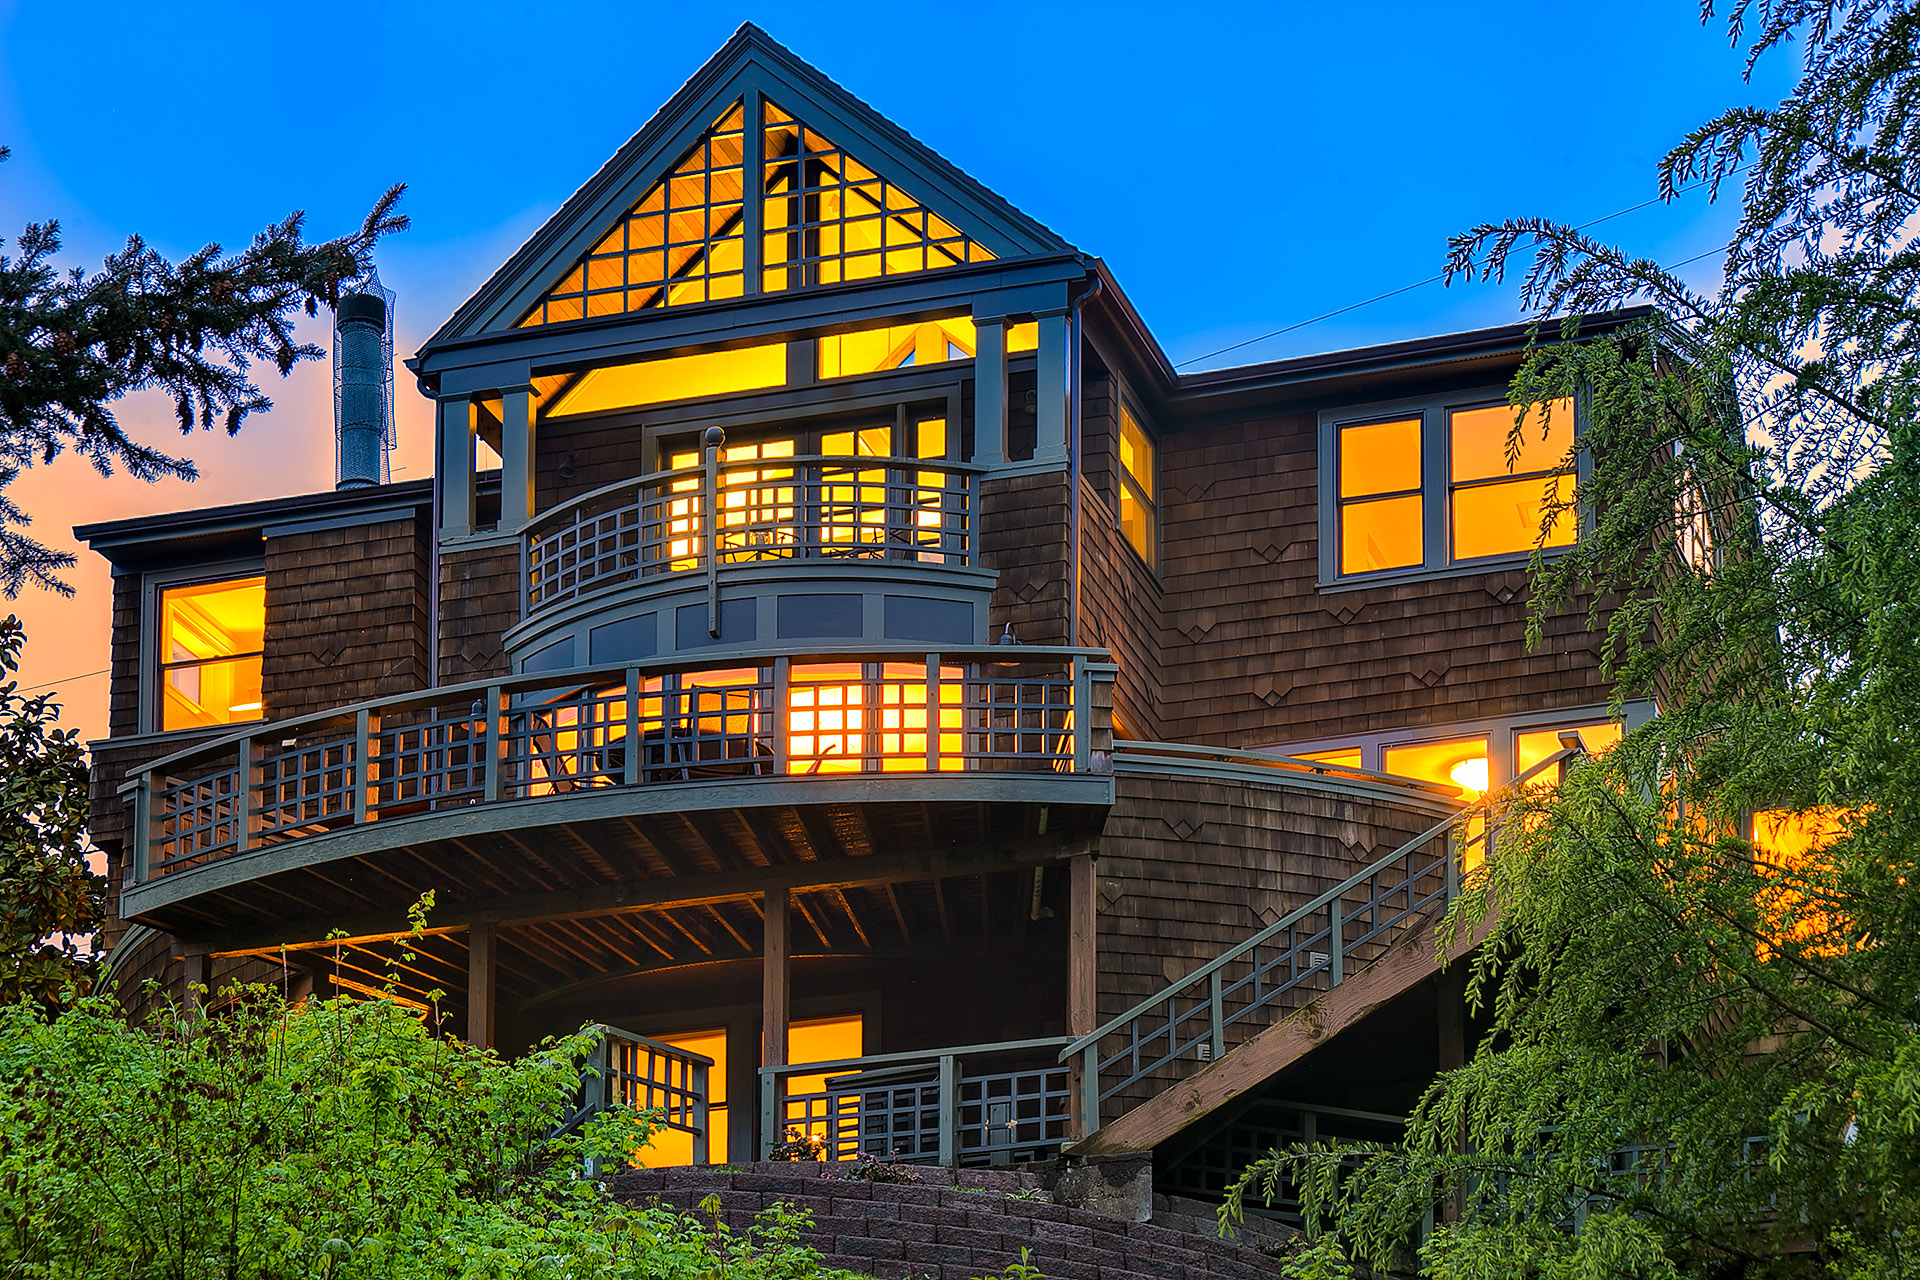
In ensuring that the images of the property on catalogues and websites can attract potential customers, the use of real estate photo retouching tools are very important. Even if it is for a fact that real estate business mainly focuses on skills on marketing and selling, maximizing the use of the different techniques in enhancing real estate photos is another interesting strategy to increase sales.
There are customized services that can offer high quality real estate retouching jobs in order for your business to have the edge in the market. In utilizing the assistance of these services, it does not only aim to deliver high quality services to customers. Because these photos can capture the attention of buyers, it also helps increase sales.
Real estate retouching process are techniques using different software applications. Adobe’s Photoshop and Lightroom are two of the most common software applications used to enhance and recreate captivating photos for the business. These are two powerful applications for photo restoration, retouch, photo masking, and more.
To recreate photos means many things. Recreating photos can be the removal of undesired objects, color enhancement, tidying up the area, balancing of light sources, just to name a few. For a real estate photographer, he will only shoot the property the best possible way and leave all the retouching works to the editors.
Likewise, for real estate agents and brokers, edited real estate photos can attract more buyers because they will be presenting attractive property images. Buyers would like to see spacious areas. This is the reason why there was a removal of unwanted things during the editing process. In this way, it pushes up the selling process because the photos will be presented with those unwanted things eradicated.
Statistics would reveal that high quality photos of homes sell 32 percent faster. Furthermore, homes with more photos also sell faster. Eighty-nine percent of homebuyers who used the internet are likely to be looking for photos. These photos, according to study, are the most useful and powerful feature of most of real estate websites. Many sales agents believe that a single photo can sell a thousand homes because, ultimately, photos attract buyers.
It is always a good option for photographers and editors to make the photos attractive so that listings are always fresh. This can be a reason for them to avoid reshooting and make their business stay at the top of the game.
How to Take Crucial Shots to Sell Homes the Quickest Way
For a photographer, he has these innate tricks on how to make shots correctly. In reality, he has no control over what he wanted to include in his photos and what he does not want. There are things that he needed to highlight but he does not know how. This is where the tricky works of a real estate photo editor come in.
Below are some of the techniques on how to capture shots for your listing needs that will help sell homes the quickest way.
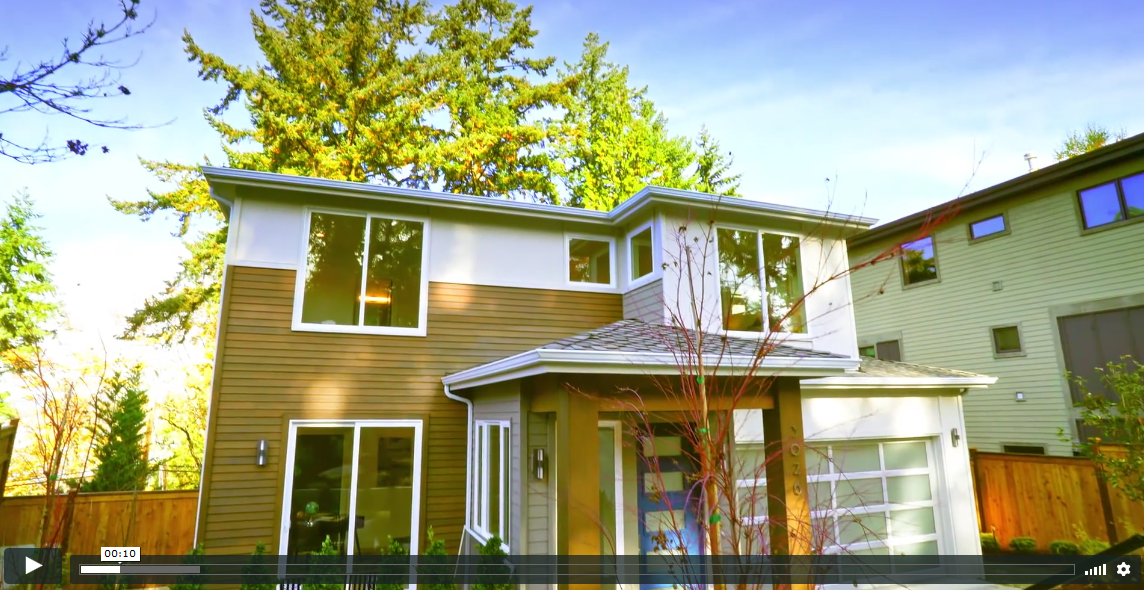
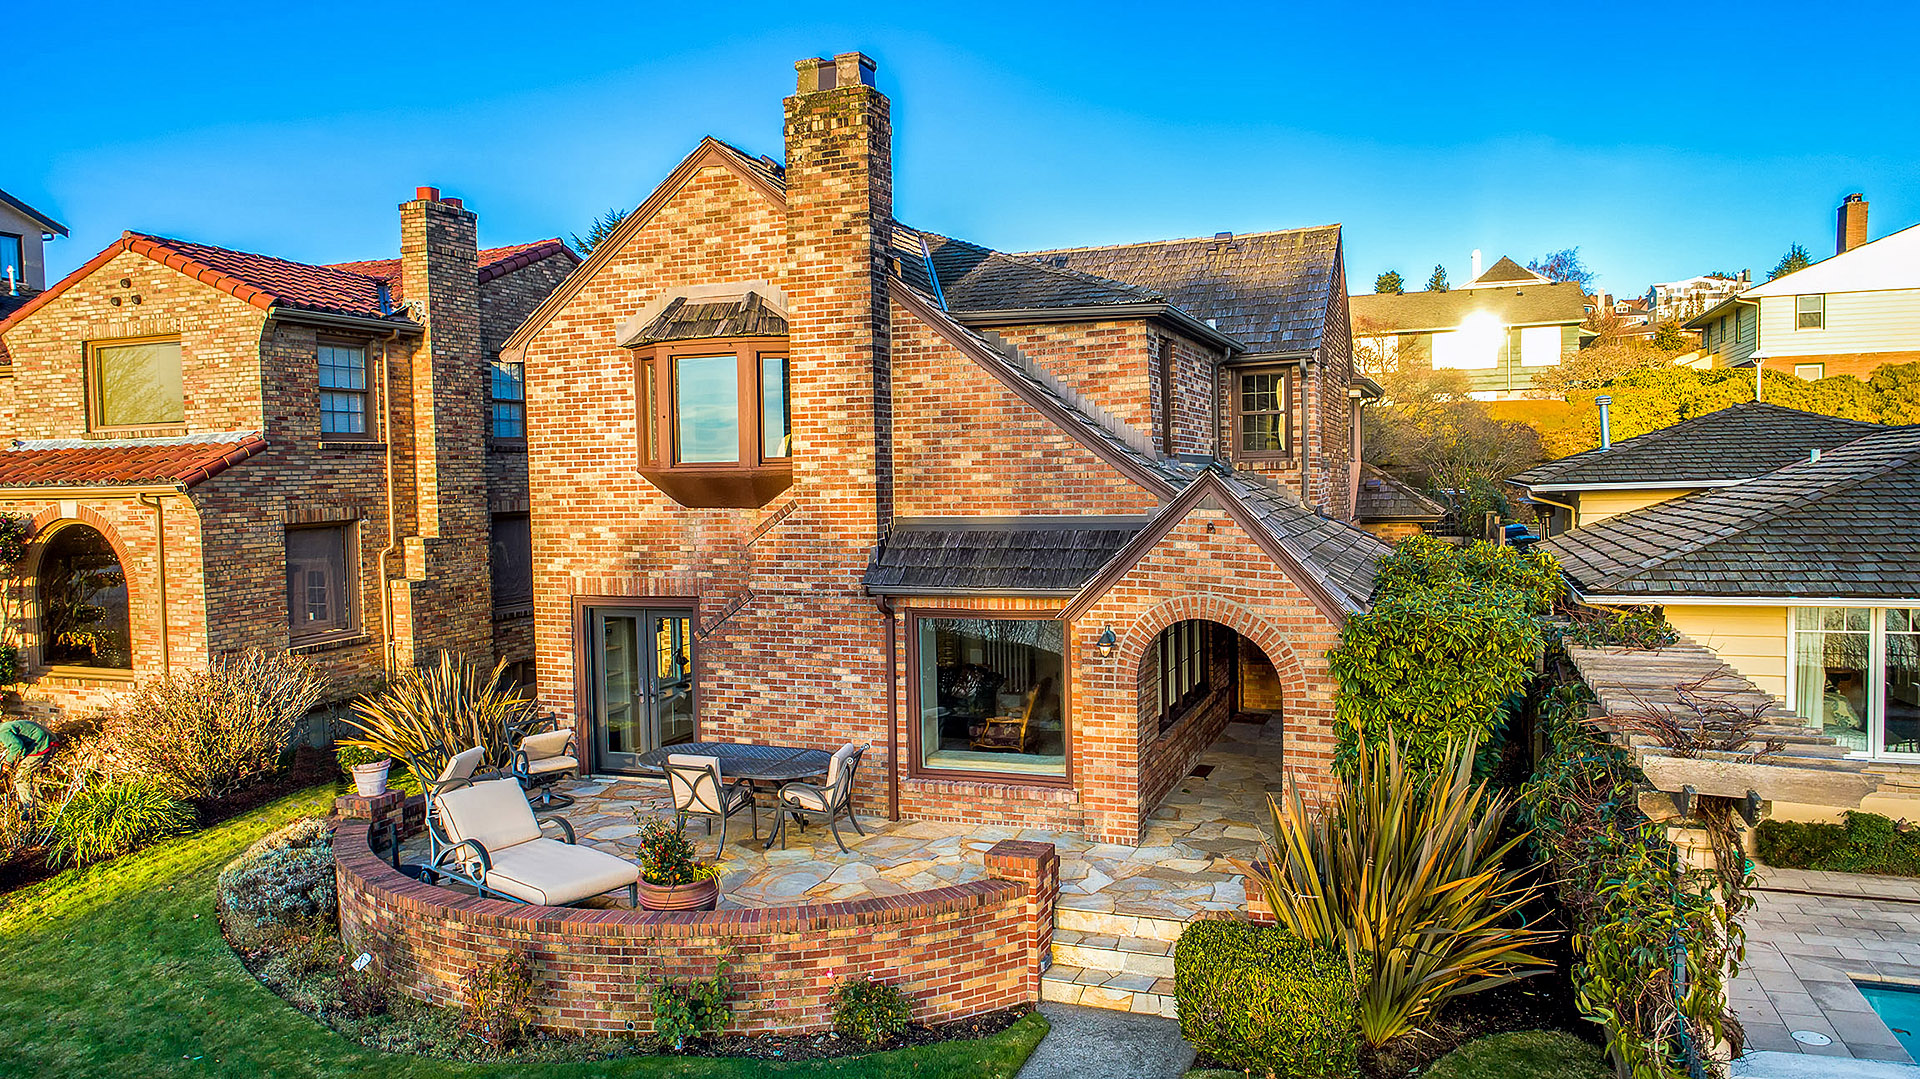
1. Make the curb appealing
This is the foremost consideration to gain an excellent impression. One of the most common ways to do this is by simply removing the vehicles in the driveway. The street leading to the house must always be clear of anything including trash bins and other unnecessary things that will cause buyers’ withdrawal from the transaction.
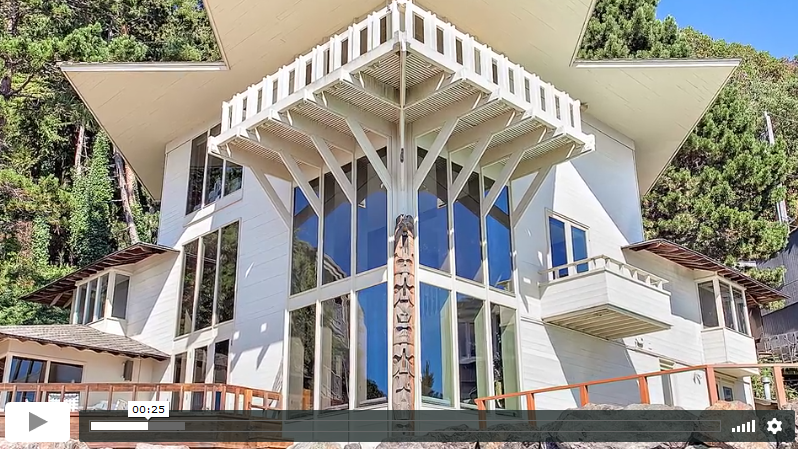
2. Create a room with a view
To ensure buyer’s interests, focus the attention in making the rooms with views. Make sure that the windows can capture the views outside. In addition to this, always create spaces of the exterior landscapes.
3. Shoot the biggest bathroom
This is the tone-setter of any house, a great hiding place, and perhaps the most important room of any house but is sometimes, taken for granted. When you want to shoot the biggest bathroom, take the shot right from the doorway. One way to make the bathroom big is using lots of white – from tiles to paint to any other elements inside your bathroom.
4. Showcase the master bedroom
When taking images of the master bedroom, pull up the blinds. For curtains, make sure that it is styled in a pleated way to show views from the outside. Also, ensure that covers are free from creases and folds, and pillows are in their proper places.
5. Make the ambience of the living and dining rooms perfect
Before taking shots at the dining area, ensure that the chairs and tables are spaced evenly to create a better atmosphere. The living room is another area that is a separate zone from the dining area. Accent type of lighting is a good alternative when shooting a living room. As for the furniture, it is important to straighten out sofas and must face away from the dining area.
6. Kitchen
Just like the dining area, the kitchen needs to be free from any unsightly objects. Ensure that chairs and stools are arranged properly.
7. Backyard and entertainment room
When shooting the pool or the patio, always position at the rear-view to obtain two different angles in a single frame. This technique is a common practice among real estate photographers.