Technology continues to amaze us because of the creative visual options it offers. Aside from this, life becomes easier because it responses to the changes and challenges of the modern world through the help of the different technological innovations these days.
In real estate business, many clients are likely to favor virtual tour as their guide to property search instead of traveling to its exact location. Virtual tour, as many agents fondly call it, exposes a vast range of possible client listing because it is an important visual tool to complement the listings especially in the social media.
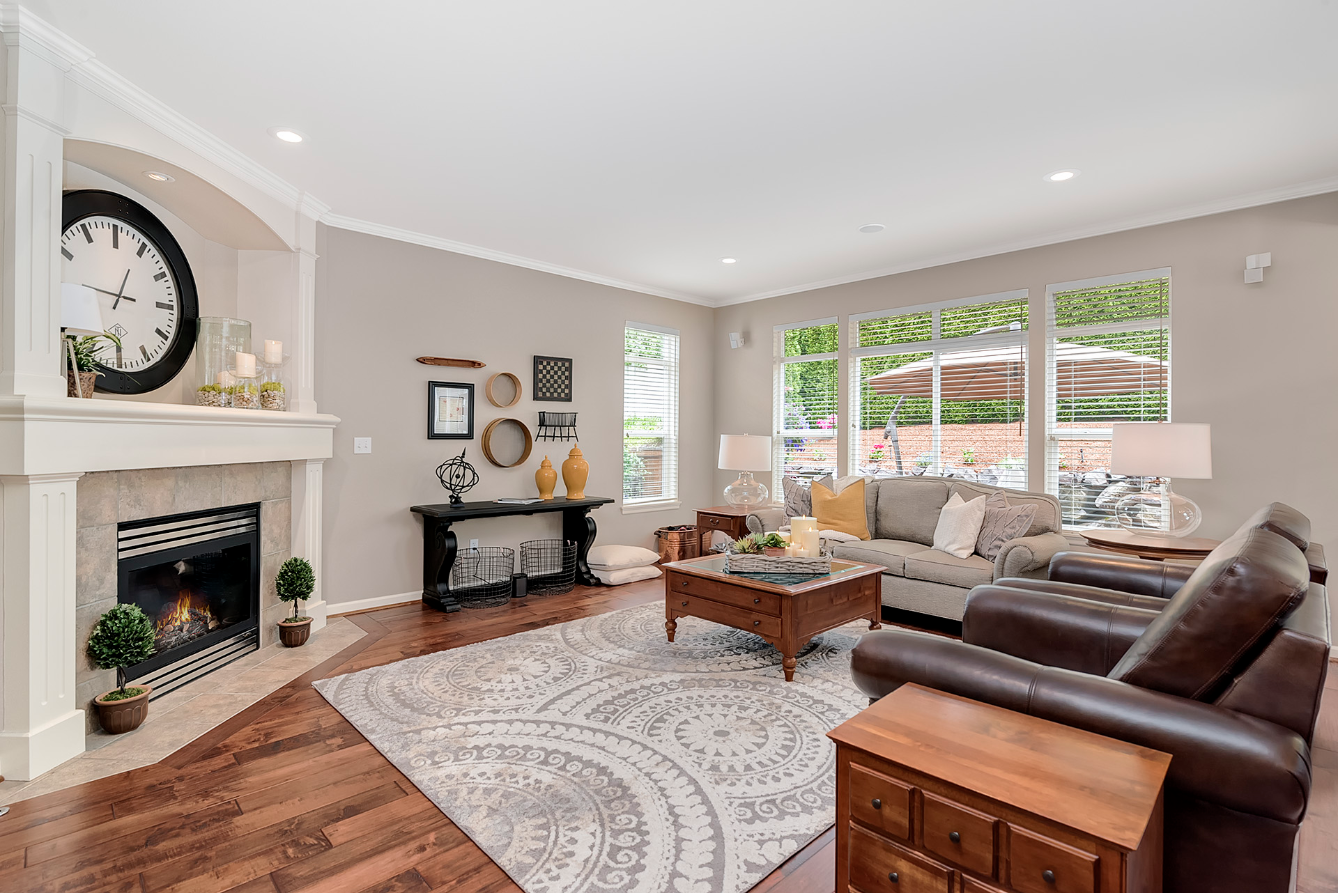
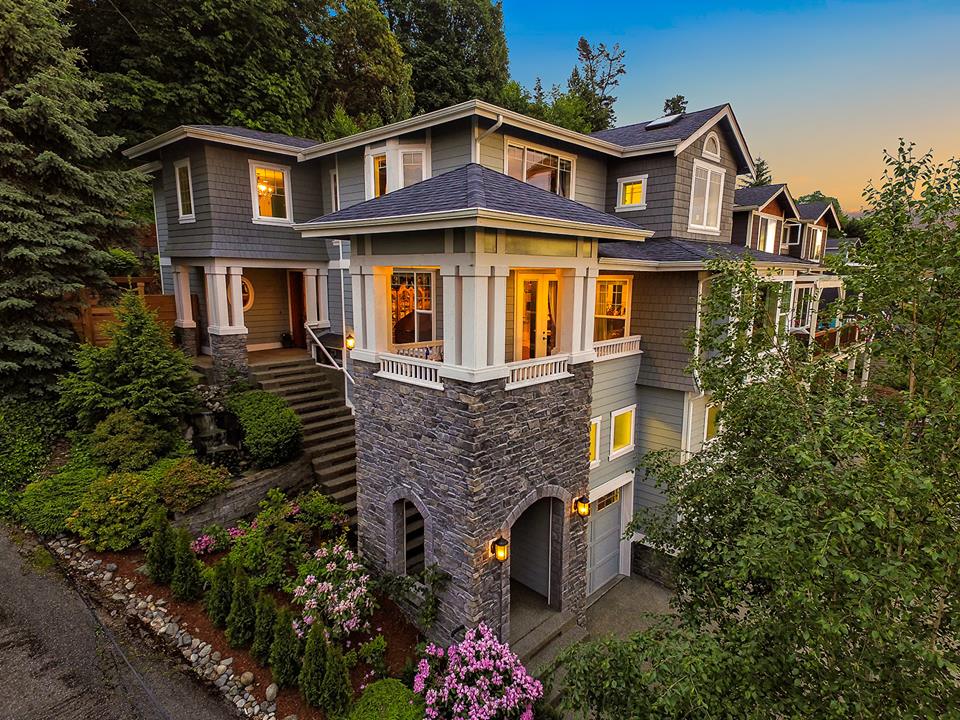
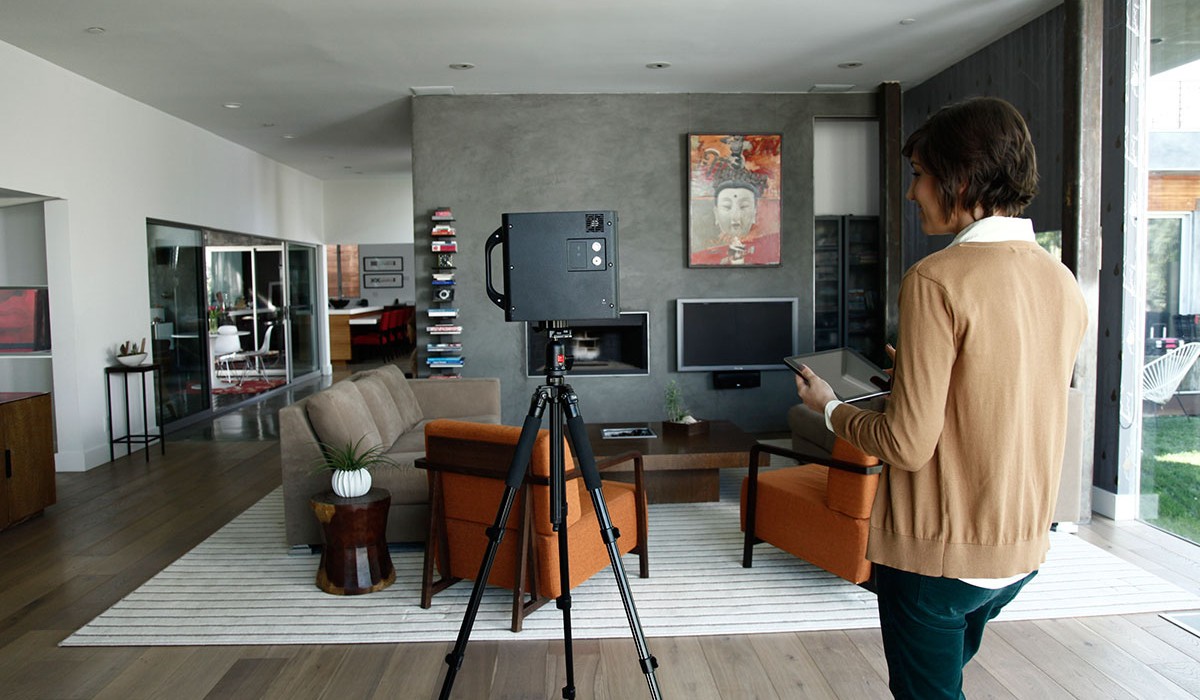
The orientation and the quality of the image can be everyone’s weapon in presenting to clients the different properties that are for sale in a very astonishing 3D style. When it comes to houses and condominiums, a decent shoot for each room can be one of the biggest breaks of an agent. This is one of the very important aspects of giving virtual tours to clients as photographers must prepare every room they plan to shoot.
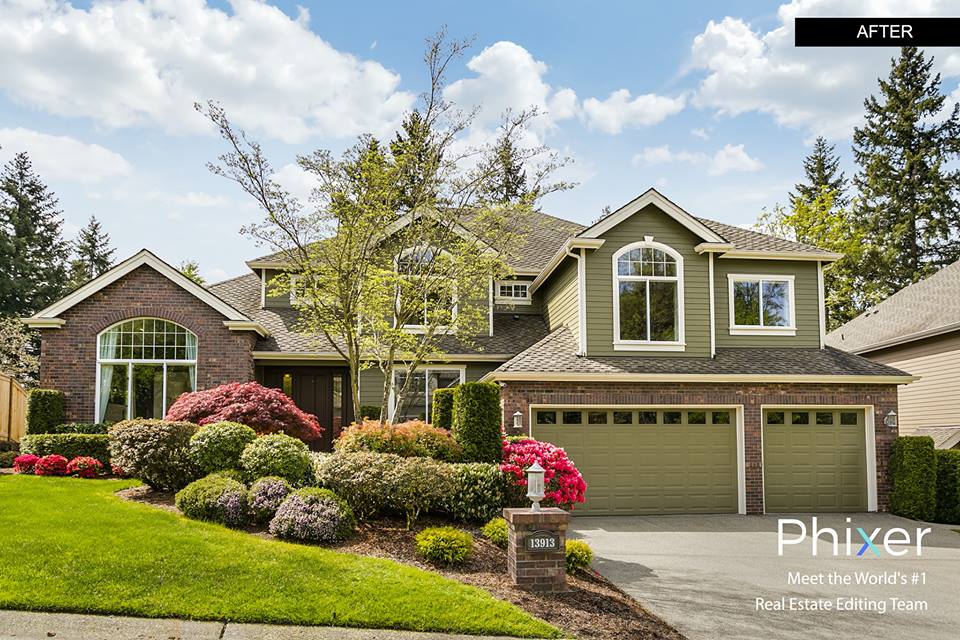
In Seattle, WA, photographers always emphasize the best feature each room possesses. They think that a great photo of every room can be the best selling point in every transaction. They always come up to the idea of capturing photos of rooms exposed in natural light, aside from considering the space availability of which the buyers may be curious to see.
[lwptoc]
List of Seattle’s Finest Real Estate Photographers
Below is a list of some of the best real estate photographers located in Seattle. They are as follows (random order):
1. NAME: Andrew Buchanan
WEBSITE: www.subtlelightphoto.com/
SOCIAL SITE: https://www.linkedin.com/in/subtlelightphoto
Andrew Buchanan’s architectural expertise made him popular in the surrounding areas of Seattle. His photography includes a wide array of architectural and interior services. He is also familiar with land and aerial photography. His being popular earned him to be one of the best persons for design, marketing and advertising projects.
2. NAME: Chuck Sires
WEBSITE: http://cjphotonw.com/
Gallery: http://cjphoto.zenfolio.com/residential

CJ Photos is a photography service firm owned by Chuck Sires that focuses on action photography, professional headshots, event photography, aside from real estate photography. He is sometimes called Jack of all trades because he knows how to mingle to whoever he is with. His photoswere featured in Seattle Magazine and Ibuki.
3. NAME: Matt Edington
WEBSITE: claritynw.com/
SOCIAL SITE: https://www.facebook.com/ClarityNorthwest/
Clarity Northwest Photography is a leading architectural and aerial photography in Bellevue. He has served all kinds of clients from local to nationwide. Having specialized in architectural and real estate photography, Clarity Northwest aids their clients of intriguing but compelling images
4. NAME: Ilya’sMoshenskiy
WEBSITE: ilyaphoto.com/
SOCIAL SITE: https://www.facebook.com/ilyaphoto/
Owned by IlyaMosheskiy, Ilya’s Photography is a full-time photography servicing firm that also specializes in architectural, commercial and even in event photography. For at least 35 years serving the surrounding areas of Redmond, WA, the Ilya has traveled nationwide, making it one of the foremost names in real estate photography business.
5. NAME: Jesse L. Young
WEBSITE: http://www.realestatephotographerseattle.com/
SOCIAL SITE: https://www.facebook.com/jesseyoungphotos/
Jesse L. Young is involved in residential as well as real estate photography. His company is located at Kirkland, WA, where its service is also felt in the nearby areas. Jesse L. Young likewise gives package of having photo tour websites, same day photo delivery and virtual home tours. The firm’s effective services have made it a perfect choice for real estate photography.
6. NAME: Joel Dames
WEBSITE: www.joeldamesphotography.com
SOCIAL SITE: https://www.facebook.com/Joel-Dames-Photography-196331813745407/
Located in Shoreline, WA, the he is expert in portraits, real estate and commercial camerawork. He is also involved in servicing special occasions like weddings, events and photo albums. The quality of work is high and Joel Dames owns high-end photography equipment.
7. NAME: John Wilbanks
WEBSITE: jwphoto.com/
SOCIAL SITE: https://www.facebook.com/jwphotoinc/
This particular photographer is a household name in the area of Bellevue, WA. Aside from providing 3D photography guiding materials, its services also include aerial, residential and stock photography. John D. Wilbanks is also involved in giving professional services in terms of creativity, reliability and high-quality services.
8. NAME: Katherine Gooding
WEBSITE: www.katherinegooding.com/
SOCIAL SITE: https://www.facebook.com/KatherineGoodingPhotography
An expert photographer by profession, Kathering Gooding serves clients in Seattle, WA and takes pride in shooting images of restaurants, commercial businesses, architectural designs, and real estate properties. She also works as a creative photographer to her customers and she knows the basic needs of her clients in terms marketing materials.
9. NAME: Robert Wachtendonk
WEBSITE: www.rwphotography.biz/
SOCIAL SITE: https://www.facebook.com/pages/Robert-Wachtendonk-Photography/394280597249218
The proprietor, Robert Wachtendonk is a professional photographer who specializes in product and real estate photography. He also includes sports photography as one of the services his company offers. He uses great communication and involves in shooting efficient photos.
10. NAME: Jules Frazier
WEBSITE: julesfrazier.com/
SOCIAL SITE: https://www.linkedin.com/in/julesfrazier
Jules Frazier is a photographer whose services include real estate photos, small business images and marketing and advertising products. Because of the craftsmanship Frazier possesses, his photography business results in profitable sales and excellent marketing endeavors.
11. NAME: Megan Swann
WEBSITE: www.meganswann.com
Megan Swann is a real estate photographer who owns her photography business – Megan Swann Photography. Aside from real estate, she is also involved in a wide array of photography landscape like corporate and culinary event photography.She has also served as photographer and photo editor of a famous magazine.
12. NAME: Shawn Nichols
WEBSITE: shawnhnichols.com
A Pacific Northwest native, Shawn has captivated people’s attention. She offers a host of photographic services like real estate photography, portraits, corporate, products and events. She is a member of the North Seattle Chamber of Commerce and the Seattle Metropolitan Chamber of Commerce.
13. NAME: Megan Ingram
WEBSITE: https://meganingramphotography.weebly.com
SOCIAL SITE: https://www.facebook.com/megan.ingram.169
A professional real estate photographer, she creates sales using the realtors to make the buyers enjoy their potential dream home. She likes to bring out the character in every shoot she makes. Her real estate photos are all fulfilling that becomes part of any buyer’s future possibilities.
14. NAME: Ryan Castoldi
WEBSITE: https://www.ryancastoldi.com/
SOCIAL SITE: https://www.instagram.com/rcastphoto/
Ryan is one of the photographers who seemed to have possessed a natural skill in camerawork. He understands how to use contrast and brightness of light properly. He has all the equipment and having been in the photography industry for 20 years, he has known everything – from the minute details of the business to all other possibilities the industry can throw at him.
15. NAME: Emily Kistler
WEBSITE: emilykistlerphoto.com/
SOCIAL SITE: https://www.facebook.com/public/Emily-Kistler
Emily is a talented real estate photographer whose goal is to create portraits that will be cherished by generations to come. She is involved in photography including commercial and products, events, and sales and promotions.