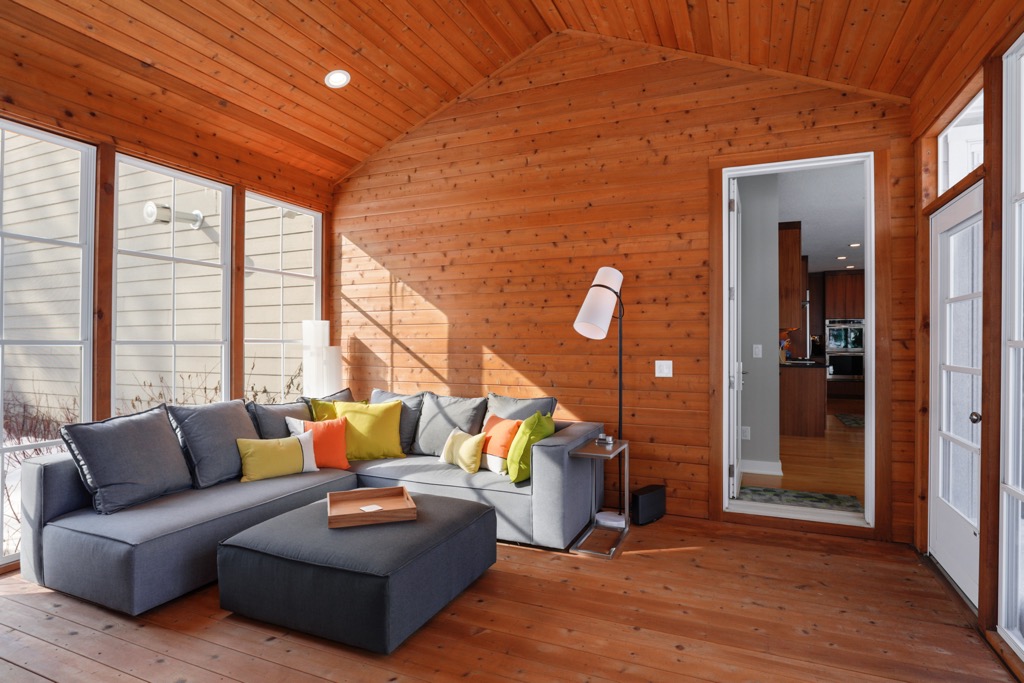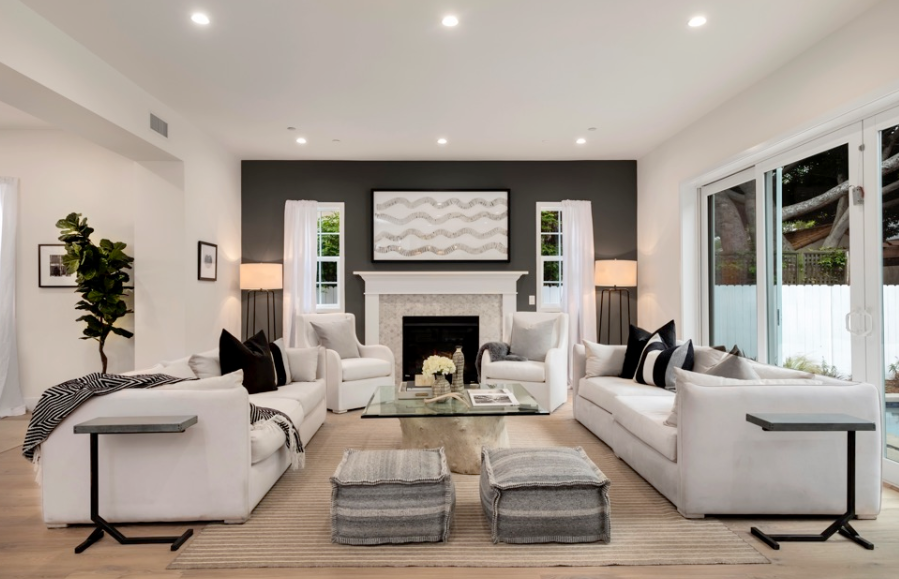
Aside from the attractive innovation on the traditional home staging method known as virtual staging, there is another useful and highly regarded technique in the real estate marketing scheme that has proven its worth over time – virtual renovation.
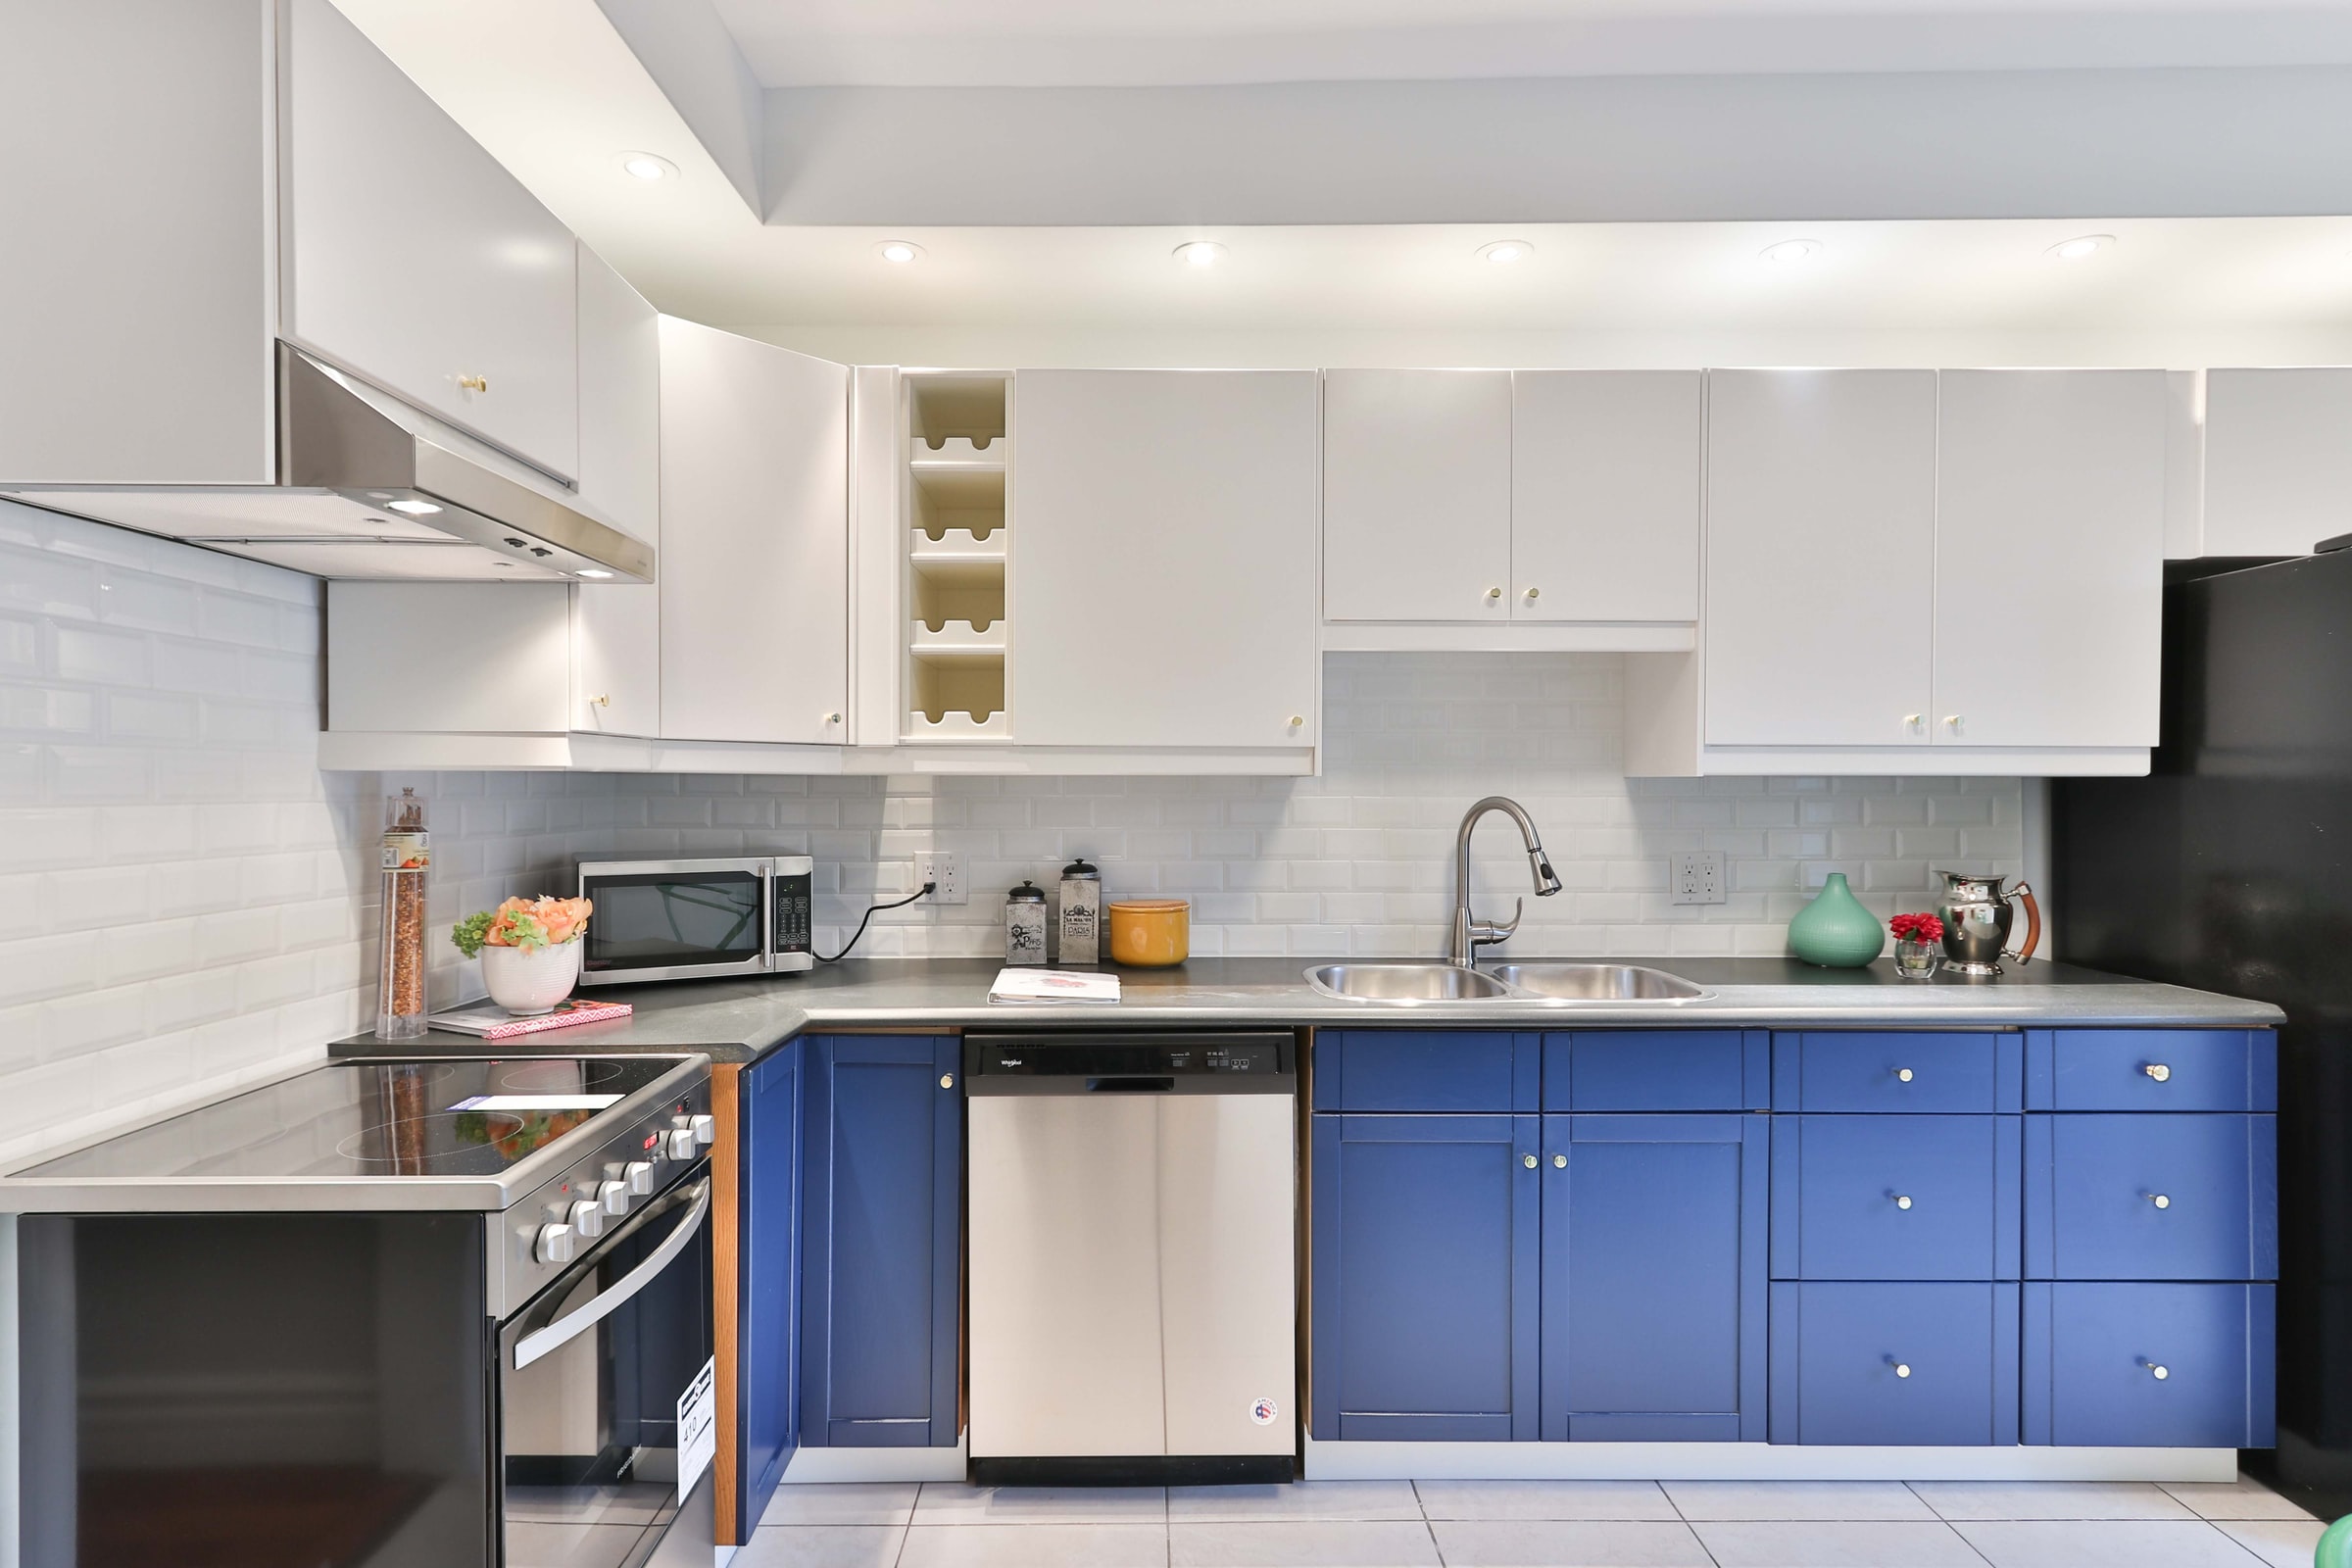
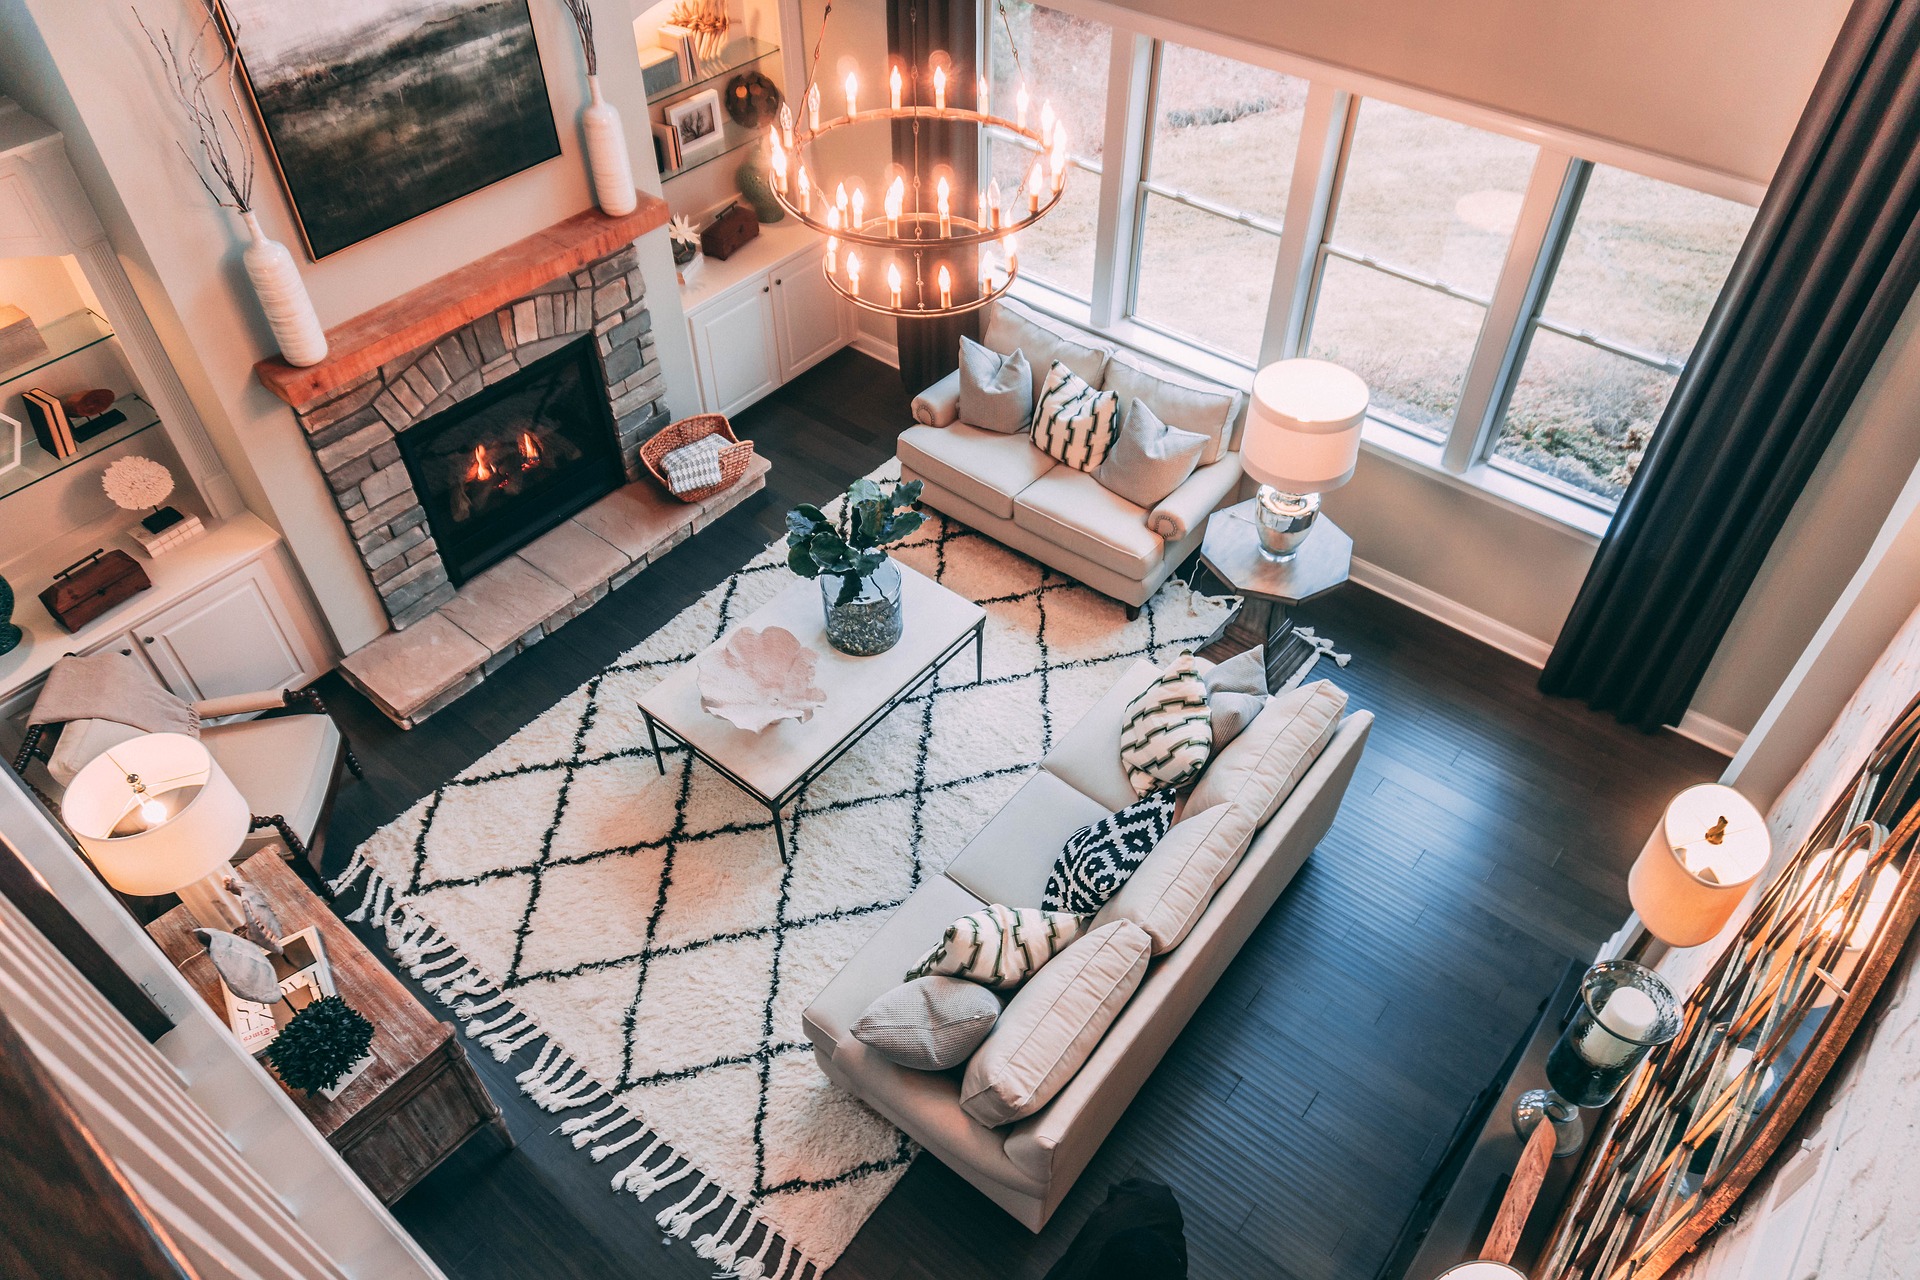
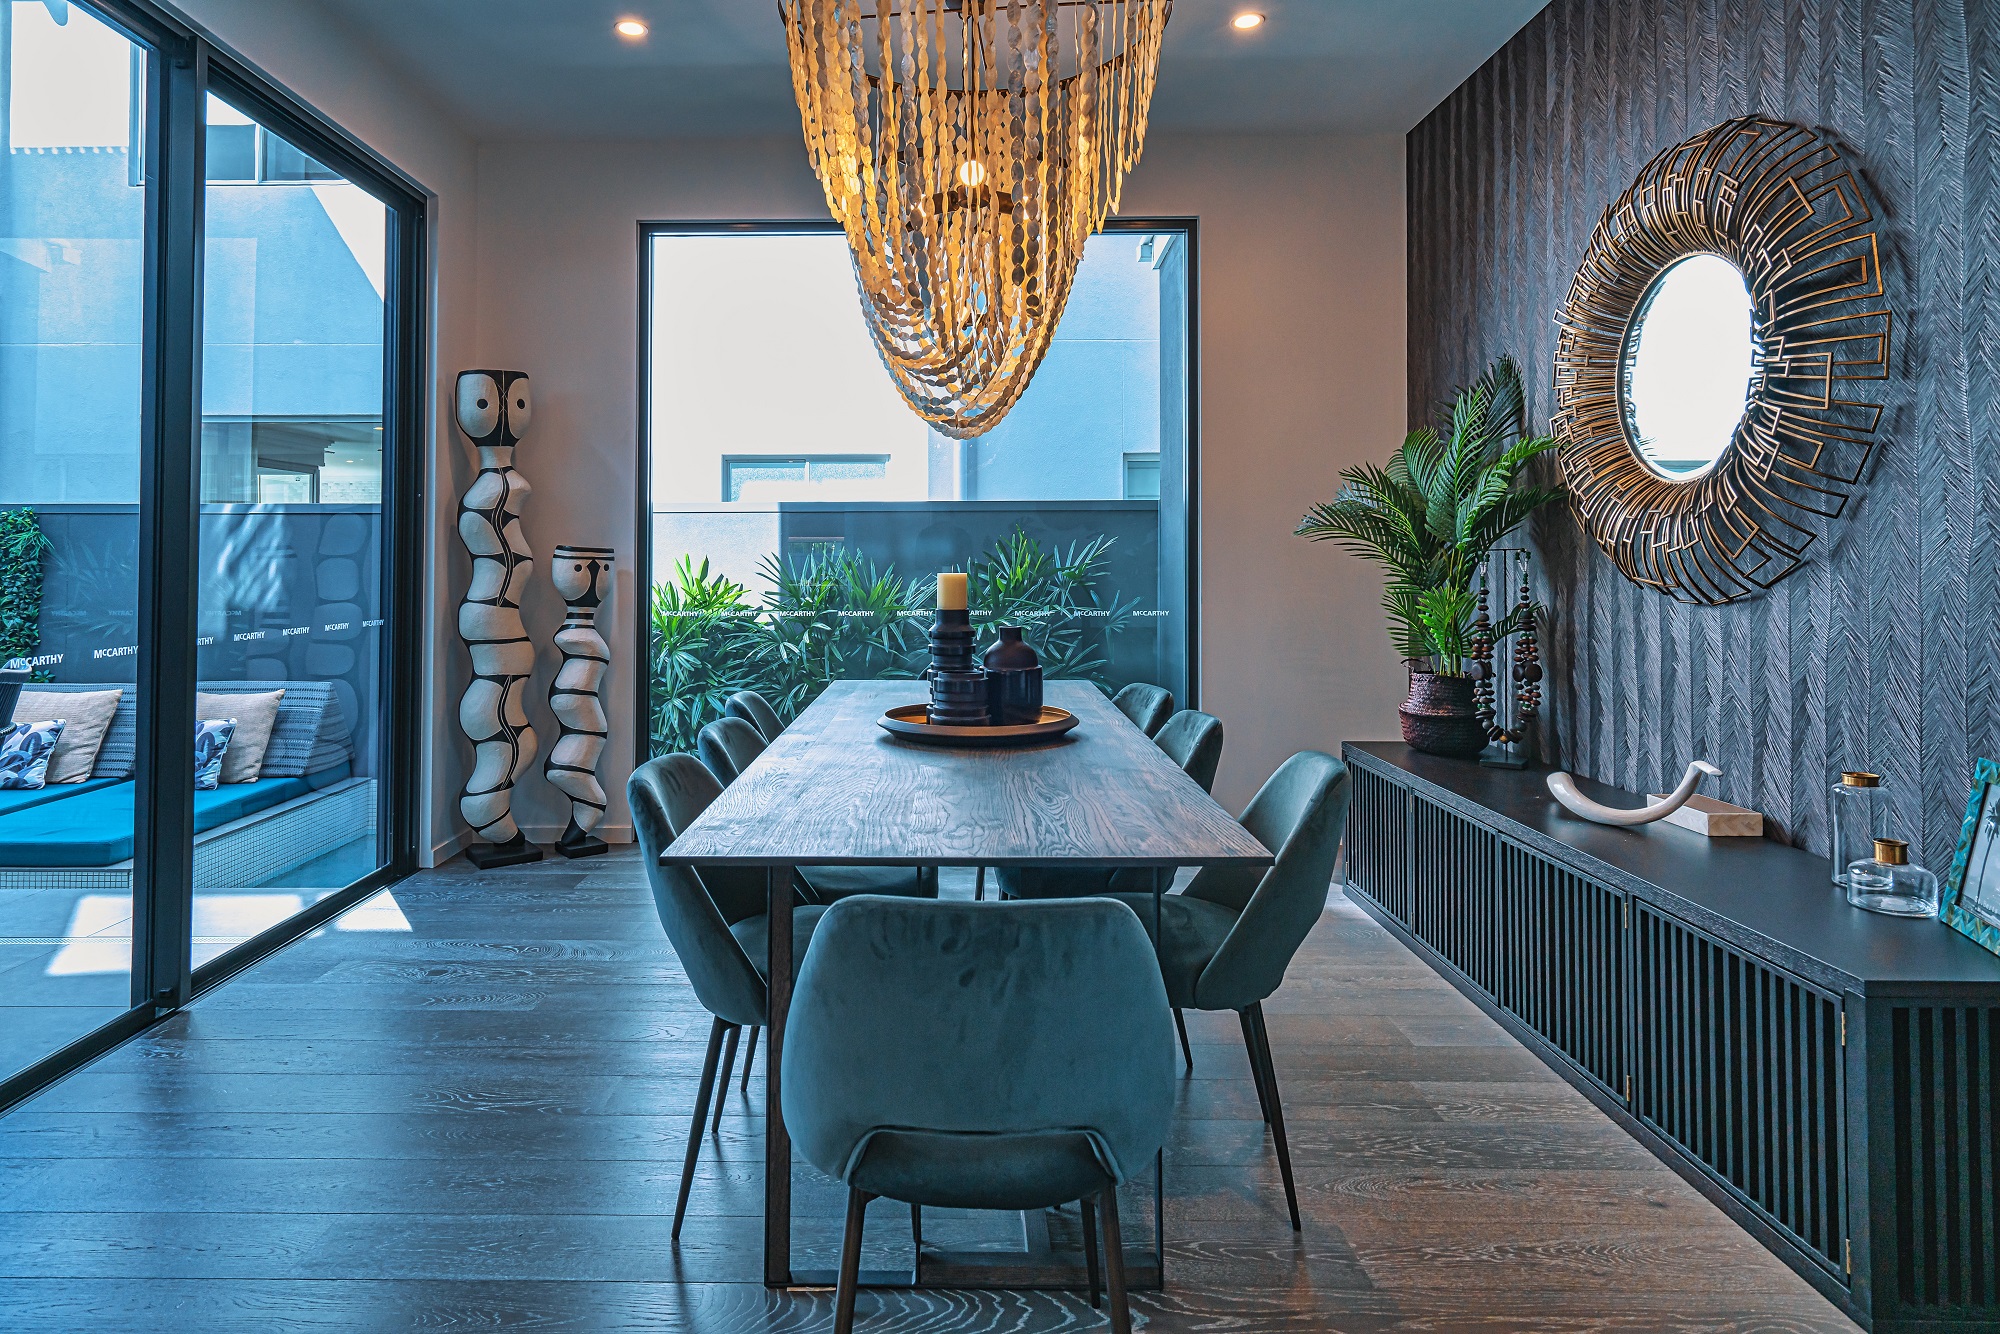
The idea of this method is very similar to virtual staging, except for the purpose. Technically, virtual renovation is a form of real estate photo editing that uses 3D designs to polish images with “virtual things” such as furniture and fixtures (usually done in virtual staging) inserted into the pictures. However, in the virtual renovation, it is not about how to fill a space. Instead, it is all about how future homeowners can visualize the home renovations the original owner is planning to accomplish.
This technique is a lifesaver for realtors, mainly if the property to sell needs a major revamp, but needs to have some prospective buyers already. The not-quite-real shots are meant to show the house’s potential to a buyer with a renovation budget to bring it to life. This method helps future buyers see what the property will look like finally with all the necessary changes in the yard or garage, primary room revamp, additional furniture, wall paints, etc.
Yet, how effective are virtual renovation pictures when it comes to selling? Here are some facts that support the effectiveness of inserting virtual renovation photos in an online listing.
An efficient tool for selling homes
If you are wondering if this technique is useful, the answer is a big “yes.” With home staging’s popularity, buyers now have a way to imagine what the place might look like if it is empty or if the furniture is unattractive. Then, virtual renovation takes the guesswork out of homes that need massive renovations. Even with the need for repairing some parts of the house, buyers still find them fascinating because of the value it creates after all the work is done.
Gives homebuyers time to decide and have enough budget
Adding some renovation photos in the listing allows buyers to evaluate their choices based on their capability and budget. The realtor’s job is to make them aware that a particular property needs this kind of restoration and know if they are willing to shoulder the proposed repair expenses. This paves the way for a more transparent transaction and helps the buyer make a more sound decision.
Builds realtor’s credibility and partnership
Over time, some realtors build their credibility through the way they deal with buyers. By providing renovation photos, they can clearly show that they are selling the property in good faith by not hiding any possible repairs that the buyer may have to do as soon as they become under their responsibility. Moreover, realtors and real estate photo editing companies can strengthen their existing partnership, since more trusted clients will be seeking the realtors help already.
Helps home buyers find their dream home
Sometimes, home buyers do not have enough funds to buy a brand new home. In this case, they are eyeing for an alternative option in fixer-upper houses or those properties that need repairs. Buyers on a strict budget often choose this kind of stuff because they can still save a lot of money, even with all the renovations compared to buying a new home.
In the end, doing a virtual house renovation is an enticing option for both realtors, homeowners, and prospective buyers. It benefits them in a way or two, makes house renovations easier, provides better visualization available for viewing, and is cost-effective since it does not require homeowners to spend more dime in doing the actual renovations beforehand.