Category: Real Estate Photography

  • Top 3 Real Estate Photography Lighting Techniques: A Must Read For Beginners

    Top 3 Real Estate Photography Lighting Techniques: A Must Read For Beginners

    Lighting is crucial in producing high-quality photographs. Aside from determining the photo’s brightness and darkness, light also influences the mood, atmosphere, and tone of your real estate images. As a rookie real estate photographer, you should efficiently use lighting to your advantage.

    How you play around with lighting can significantly influence the quality of your real estate photos. It will be easier for you to let professionals edit images to maximize the impact of the lighting in your raw shots.

    To make the most out of lighting in real estate photography, take note of the tips below:

    Master the Use of Natural Light

    Natural light can do wonders for your real estate photos and is considered the best lighting source when taking pictures both indoors and outdoors. To become a successful real estate photographer, make a habit of opening windows and allowing the sun in when you start taking pictures.

    You can master the use of natural light by following these tips:

    • Schedule your shoot: When shooting for real estate photos, make sure that you’re doing it around midday, depending on where the property is facing. Avoid shooting indoors at sunset because the light changes color erratically during this time of the day.
    • Open all windows and blinds: Allow natural light to fill the room when you’re shooting. Open all windows and blinds and net curtains as a way to reduce window contrast.
    • Extinguish other light sources in the area: To avoid any color casts, turn off other lights when shooting indoors. This method also allows you to get uniformly white walls when editing your photos.

    Use a Flash When Natural Light Is Unavailable

    Natural light can transform any photos, but there are instances when this resource is unavailable. Use your camera’s flash to imitate natural light if you’re shooting on a schedule or location without natural light. This technique enables you to improve the property’s natural beauty without altering its accurate perception through real estate editing.

    The secret behind this trick is to mimic natural light coming from a particular direction. For instance, if the room’s window exposure isn’t bright enough, direct your camera’s flash at the same wall to get soft yet ample diffused light coming from that direction. For realistic results, exclude the bright spot on the wall from your framing.

    Turn on the Lights Indoors if They Add Character and Value to the Room

    Real estate photographers should determine when to use light fixtures when shooting indoors. There are instances when turning on the lights can add more character and value to the room. When shooting with lighting fixtures turned on, make sure that you capture all the details in the room, including the highlights and shadows.

    There are two ways to get the proper exposure, and the choice depends on your style and taste:

    • The first method is to use natural light and a bounced flash to fill the shadows in the room. If the light from outside the window is too strong, you can close the curtains.
    • The second method is to shoot multiple exposures and then merge them into one HDR image. This trick maintains all the details from the shadows and highlights of the room.

    Learn How to Edit Photos

    Your ability to play around with lighting is one skill, and your knowledge of using the best real estate editing software is another. These two skills are essential for producing the best real estate photos and becoming a successful real estate photographer.

    Now that you know some of the most effective lighting techniques in real estate photography, learn to use editing software.

  • How to Make Images Look More Twilight for Real Estate?

    How to Make Images Look More Twilight for Real Estate?

    When it comes to real estate sales and marketing, the quality of your photographs plays a significant role. If you’re looking to elevate your property images and make them stand out, utilizing techniques like virtual staging, object removal, and digital twilight effects can be a game-changer. In this article, we will explore how to enhance the twilight atmosphere in your real estate photos and create a captivating twilight aesthetic that captures the attention of potential buyers.

    Twilight photo editing is the key to achieving stunning twilight imagery. By following a few expert tips and techniques, you can enhance the dusk or sunset vibe in your images and create a mesmerizing twilight look. Let’s dive into the details:

    Plan Ahead for the Perfect Shot

    Planning is crucial for capturing breathtaking twilight photos. Check the weather forecasts and choose a day with clear or partially cloudy skies, as this can enhance the twilight effect. Avoid shooting on days with rain or storms, as they can interfere with the desired lighting conditions. By selecting the right day, you set the stage for creating stunning twilight visuals.

    Embrace the Golden Hour

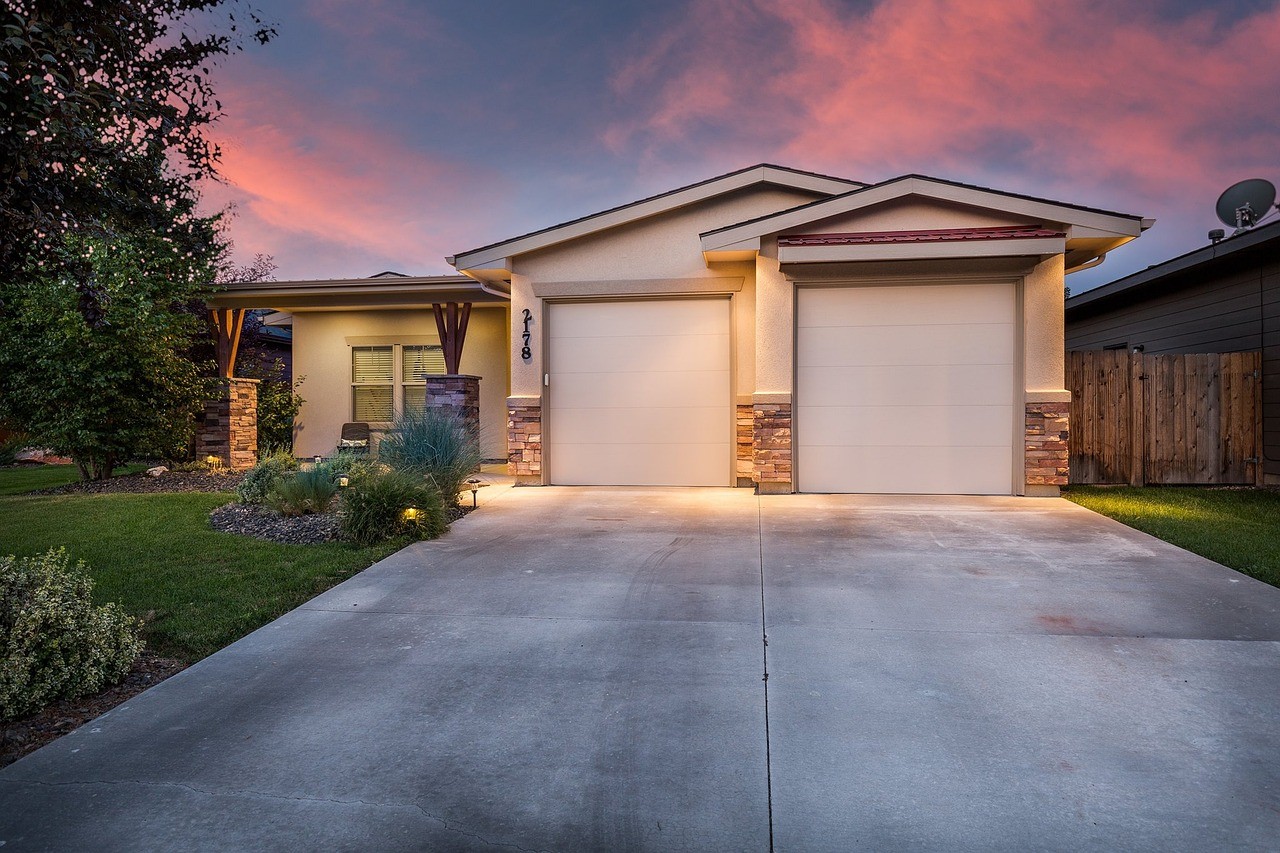
    The golden hour, which occurs shortly after sunrise or before sunset, is the ideal time to capture twilight images. During this magical time, the natural lighting is softer, warmer, and bathes everything in a golden hue. Take advantage of this period to shoot your photos and capture the enchanting lighting contrasts that define twilight.

    Master Your Camera Settings

    To achieve the perfect twilight look, it’s important to adjust your camera settings accordingly. Use a low ISO to minimize noise and ensure clean, sharp images. Opt for a wider aperture (lower f-stop value) to create a shallow depth of field, which adds a dreamy and romantic quality to your photos. Additionally, consider shooting in RAW format to have greater flexibility during the post-processing stage.

    Enhance Colors and Contrast

    During post-processing, you can enhance the colors and contrast to make your images look more twilight. Adjust the white balance to create a warm tone that reflects the natural lighting of twilight. Increase the saturation and vibrancy of the colors to bring out the richness of the sky and surrounding elements. By adding contrast, you can create a captivating and dramatic effect that highlights the different lighting intensities present during twilight.

    Graduated Filters for Dramatic Skies

    To intensify the twilight atmosphere in your photos, experiment with graduated filters. These filters darken specific areas of the image, such as the sky, while maintaining the correct exposure in other areas. By applying a graduated filter to the sky portion of your twilight images, you can enhance the colors, add depth, and create a visually stunning scene.

    Utilize Post-Processing Software

    Post-processing software, such as Adobe Photoshop or Lightroom, can be powerful tools for achieving a twilight look in your real estate photos. Experiment with adjustments like levels, curves, and selective color editing to fine-tune the atmosphere and overall aesthetics. These tools allow you to have complete control over the final result, enabling you to bring out the desired twilight vibe and create captivating visuals.

    Pay Attention to Composition

    Composition is key in creating a captivating twilight aesthetic in your pictures. Look for interesting elements within the frame, such as silhouettes of trees or buildings against the colorful sky. Utilize leading lines or framing techniques to guide the viewer’s attention and create a visually engaging composition. By carefully composing your shots, you can enhance the overall ambiance and create captivating visuals that draw viewers in.

    By following these expert tips and techniques, you can elevate the twilight atmosphere in your real estate photos and create captivating visuals that leave a lasting impression on potential buyers. Whether you’re shooting residential properties or commercial spaces, mastering the art of twilight photography can make a significant difference in the appeal and marketability of your listings.

    In conclusion, by understanding the techniques and nuances of twilight photo editing, you can transform your real estate images into captivating visuals that highlight the unique charm of dusk and sunset. With careful planning, shooting during the golden hour, adjusting camera settings, enhancing colors and contrast, utilizing graduated filters, leveraging post-processing software, and paying attention to composition, you can achieve a mesmerizing twilight aesthetic in your real estate photos. These expert tips will help you create stunning visuals that captivate viewers, increase interest in your listings, and contribute to the overall success of your real estate sales and marketing efforts.

  • The Best Mirrorless Cameras to Use for Real Estate Photography

    The Best Mirrorless Cameras to Use for Real Estate Photography

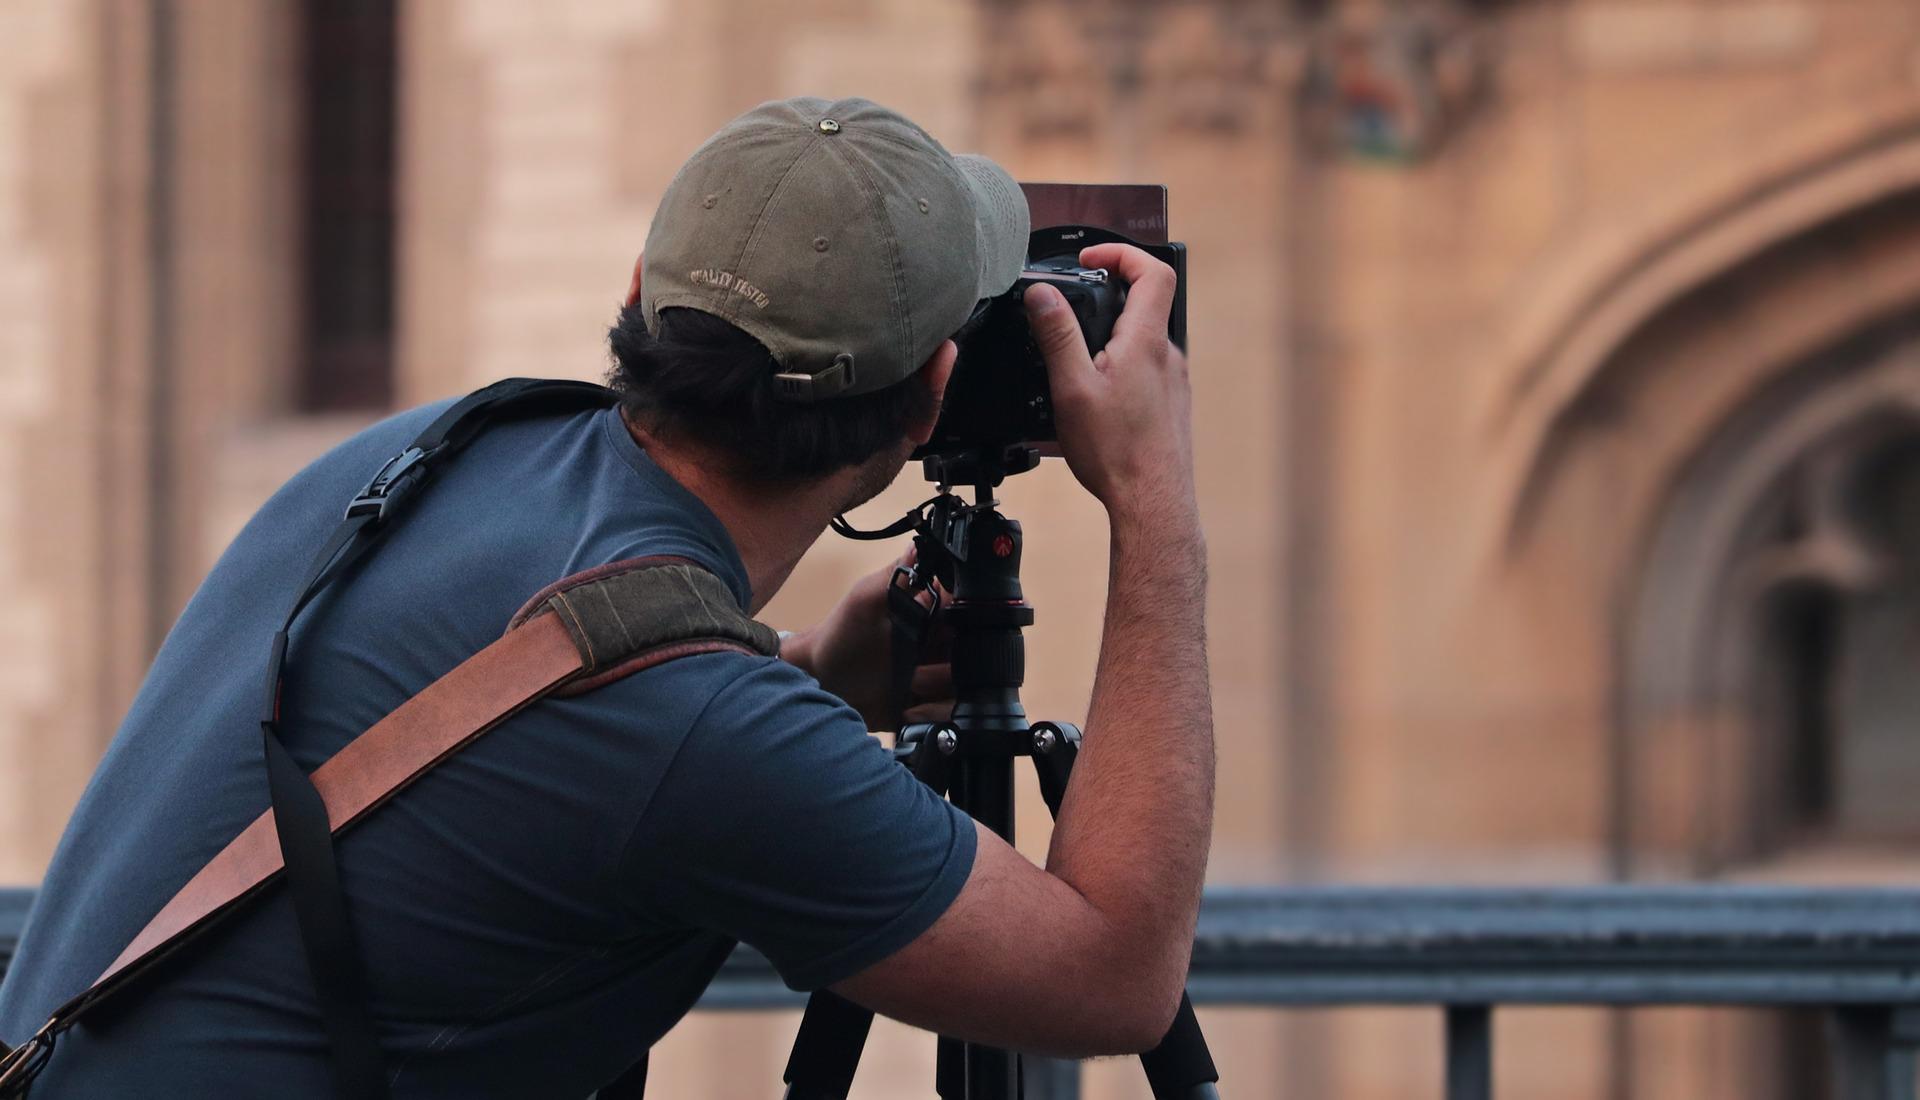
    Real estate photographers use various equipment to capture properties in the best possible ways. This includes a tripod for more stable photos, multiple lenses, and, most importantly, a camera. After all, one cannot begin a career in real estate photography without preparing the right tools to help them achieve the best results for their clients.

    Whether you are an aspiring or experienced real estate photographer, getting the right camera for your projects is essential. Buying a mirrorless camera is among the best options for this task for many reasons. The first is that they’re lightweight, thanks to their lack of a reflex mirror. This makes them highly portable for multiple shoots or bigger properties. Additionally, these display a digital preview of your composition on the electronic viewfinder—unlike DSLRs—letting you see what your shot would look like before capturing it. This lets you change your settings to achieve a better photo and reduce editing time.

    [lwptoc]


    TL;DR: If you’re looking for a mirrorless camera for real estate photography, here are the best options on the market:

    Sony a7R III


    The Sony a7R III is one of the most popular mirrorless cameras today for good reasons. It has a 42.4 MP sensor for exceptional image quality, perfect for highlighting property details. It also has 5-axis in-body image stabilization, a feature which effectively reduces camera shake—especially for handheld shots. This is advantageous when moving around to get the best angles of a room or property. Finally, it can focus quickly on its subject, allowing for faster image-capturing time and less manual focus on your part.

    These features, along with its compact design, make the Sony a7R III one of the best options for real estate photography.

    Nikon Z7 II


    The Nikon Z7 II is an all-arounder. It has a wide range of settings to adjust, such as getting the correct exposure when a room has low lighting. It also has a low-base ISO of 64, making it great for extremely bright interiors. ISO settings are important to consider when getting a camera for real estate photography, as they enable you to adjust its light sensitivity. This is crucial for your career since there are instances when you can’t choose the time of day to take photos of a property.

    Aside from these, the Nikon Z7 II has a 45.7 MP full-frame sensor for excellent image resolution and good build quality, ensuring durability for multiple shoots.

    Canon EOS R6


    Featuring a 20.1 MP full-frame sensor and Dual Pixel CMOS AF system, the Canon EOS R6 is a full-frame mirrorless camera that promises high-quality images with great detail. This results in sharp, well-focused photos of properties and their details, such as bathroom hardware and wood accents. It also has an ISO range of 100-102400, offering flexibility in various lighting conditions for both indoor and outdoor property photos.

    Thanks to its high-end performance capabilities, this camera is one of the best for real estate photography.

    Panasonic Lumix S1R


    This camera’s 47.3 MP full-frame sensor delivers stunning images that accurately capture colors and details. It has a touchscreen LCD electronic viewfinder for quick controls and camera setting adjustments suitable for photographers who frequently experiment with different settings. The Panasonic Lumix S1R also has Bluetooth and WiFi connectivity for fast photo transfers to a phone or laptop, making it convenient for on-the-spot editing or showing photos to a client in real-time. Overall, this camera ensures high-quality images for real estate photographers.

    Getting a mirrorless camera for real estate photography promises exceptional image quality, portability, and convenience for photographers. Choose among these options today to upgrade or start building your equipment.

  • 5 Exceptional Ways to Shoot Real Estate Photos with Your iPhone 14 Pro

    5 Exceptional Ways to Shoot Real Estate Photos with Your iPhone 14 Pro

    Real estate marketing has mastered the art of understanding how photography influences the minds of potential clients. Buyers sift through thousands of online photographs, so your photos must instantly capture their attention when they see it. Consequently, real estate photo editing is one of the most crucial elements in selling a home on social media or through listings.

    The iPhone 14 Pro enables you to effortlessly capture a picture of the home or property for sale and share it with prospective buyers. However, it can be challenging to capture a standout shot that isn’t too out of the ordinary, even with the assistance of professional real estate editing services.

    iPhone 14 Pro Camera Features

    The iPhone 14 Pro is equipped with a 48MP primary, a 12MP ultra-wide, and a 12MP telephoto lens on the back camera, each offering different features that impact zooming and the capture of details, whether through photography or video. Ways to shoot real estate photos with your iPhone 14 Pro include utilizing these lens options to capture various perspectives and enhance the overall quality of your images. Once you’ve taken the photos, it is important to get them edited correctly, imagine the luscious image you’ll have when combined with real estate editing services.

    In addition to its versatile camera setup, the iPhone 14 Pro also boasts a high dynamic range (HDR), which provides a wide range of hues and colors compared to the standard dynamic range (SDR). This feature, coupled with Dolby Vision for videos, allows for stunning visual results that real estate photo editors will surely appreciate.

    To make your real estate photography experience even better, consider using accessories like tripods and gimbals. These can assist you in capturing steady shots and making the entire photo shoot process easier, particularly if you’re working alone.

    How to Take Marketable Real Estate Photos with Your iPhone 14 Pro

    Of course, the tool is only half the work. Having an excellent smartphone can only take you so far, and it is essential to have the right skills and mindset when taking photos. Your skills will help you maximize your device’s potential for the best results.

    To achieve practical and beautiful real estate photos, it is important to cover the basics and understand how to use your iPhone 14 Pro effectively:

    1. Walk around the home before you start shooting

    As a realtor, you may have seen hundreds of homes; however, each property is unique, and the location may appear new or unfamiliar to you.

    To get the most appealing shots for your real estate photo editors and clients, you need to feel comfortable with the property. Additionally, this will help you connect more clearly with the property’s value, enabling you to better understand why you need specific types of photographs.

    Before editing real estate photos, it’s important to thoroughly explore the entire home or property. This will allow you to stage it effectively and prepare for your shoot. By doing so, you will know which angles to capture, the best time of day to make your property stand out, and which post-production techniques to employ.

    2. Declutter

    Your iPhone 14 Pro may have great camera features, but more than that is needed to shoot real estate photos. Powerful imaging is critical to a successful deal, and removing irrelevant elements before going to real estate editing services is essential.

    For example, photographing the bedroom with socks hanging down the edge of the bed may be a turn-off to potential clients. It’s a great thing that you can digitally declutter photographs should there be any missed spots.

    The goal of photo editing for real estate is for the viewer to feel happy, comfortable, and safe; having that sense of security makes the property look appealing and trustworthy. They will feel inspired or safe about buying if the rooms look put together even before you shoot real estate photos with your iPhone 14.

    3. Take different angles of shots

    Never underestimate the appeal of variety, especially when shooting with an iPhone 14 Pro. It may appear redundant; nevertheless, this will significantly help you select the best photo for your photo editing for real estate.

    Taking different angles of shots is essential as it shows other emotions and portrays additional details of the property in a big way. Different angles or perspectives are complicating your real estate editing services since choosing the perfect picture with the proper angles creates a remarkable photo aspect.

    4. Utilize natural light and flash

    Lighting creates perceptions of items in photo editing for real estate, so learning how to use it to your advantage is essential for compelling photography. The iPhone 14 Pro camera’s preview also shows you what it looks like with the proper lighting.

    Real estate photo editors must balance the light to help convey feelings to potential clients since different lighting types are set the mood. There’s a technique that most photographers use wherein they combine a soft natural light and contrast it with one shot with a flash.

    5. Edit the photos that you captured

    The iPhone 14 Pro is capable of taking great high-definition photos, making things easier for real estate photo editors. If you want to know how to shoot real estate photos with your iPhone 14, you do not need to download additional photo editing software to make your images perfect. Feeling like you can’t get the most out of your pictures when capturing them alone is fair. Choose the photo, modify the brightness and color, and rotate or flip the image according to the desired orientation.

    If the lighting is awful that day, you can use iOS filter effects to make the picture appear more vibrant. The iPhone camera has a built-in filter that is designed to make life easier for real estate photo editors, using manual override under harsh lighting conditions.

    Editing the photos that you have taken is necessary. The quality of photo editing for real estate is also important as it helps your business as the outputs look more professional, and you will showcase your real estate photography skills.

    Bottomline

    You can create stunning real estate images with the assistance of real estate photo editors. In addition to that, it is essential to capture the perfect angles and prepare the property before the photo session to attract a larger number of buyers. However, the iPhone 14 Pro simplifies these tasks and provides various features that effortlessly enhance the photographs, making them appear beautiful.


  • The Top 4 Best Photography Filters for Beautiful Real Estate Photos

    The Top 4 Best Photography Filters for Beautiful Real Estate Photos

    Modern technology has enhanced the quality of digital filters to improve the appearance of plain photographs. Nowadays, you can easily edit images on your smartphone with creative preset app filters for various purposes like social media posting or marketing.

    Most available filters are whimsical, imaginative, and romantic, so they’re not great for post-production of real estate images. If you’re fond of social media, you may use some filters to add spice or excitement to your selfies and video calls.

    You need the best filters for real estate pictures; but initially, you have to know why filters are essential in the first place.

    The importance of using filters

    There are different natural elements affecting photographs that you can’t control, like sunlight brightness or UV rays. You may not have enough time to wait for a favorable temperature or setting, so filters can help you achieve good color, saturation, and temperature balance.

    You should use filters that are as natural as possible if you want a suitable photo filter for selling house. After all, one of the primary reasons why you have to make excellent real estate photography involves bringing in sales, improving marketing efforts, and completing conversions.

    Filter shapes

    You may be ready to purchase your first filter but don’t know which is the best filter for home photos. Before going into the different filters for real estate photography, let’s address the filter shapes. Currently, circle and square are the two standard filter shapes available in the market. 

    Circular filters

    A circular filter can be attached directly in front of your lens, so purchase one that fits the corresponding lens diameter; this information is available on your lens cap backside. If you want your filter to accommodate different camera diameters, you can purchase a step-down or step-up ring.

    Square filters

    Square filters can sometimes come in square or rectangular form and are part of an attachable contraption, typically in a bracket attached to a round ring that you can screw in front of your camera lens. A square or rectangle filter is stackable and easy to change, making it an excellent photo filter for selling houses. You need to plan if you want to purchase the bracket or filter system so that you don’t end up wasting money on it. Eventually, you’ll develop your style and technique using different filter combinations.

    You may wonder what filter do real estate photographers use to create successful listing images. Here are some of the primary camera filters for beautiful real estate photos:

    1. Ultraviolet (UV) Filters

    The Ultraviolet (UV) filter is perhaps one of the essential filters newbie photographers use. Ultraviolet light has shorter wavelengths than visible light, and the Sun releases a full ultraviolet radiation spectrum defined as UV-A, UV-B, and UV-C. Even though it is almost unnoticeable to the human eye, it can cause blue tones in photographs. Before using a Photoshop filter for selling house, you must ensure that your photos don’t have unnecessary bluish tones that would ruin the composition and color balance.

    Here are the pros and cons of UV filters:

    • Reducing UV light exposure
    • Protecting lens from scrapes and scratches
    • Protecting lens from liquids, dust, sea salt, and other elements
    • Slightly lowering image quality
    • Not protecting the camera from internal damage
    • Reducing the light passing into the camera

    A UV filter is one of the essential real estate photography filters, especially for those operating under harsh sunlight, like outdoor real estate photographers.

    2. Circular Polarizer (CPL) Filters or Polarizers

    Photographers often use a circular polarizer filter (CPL) for landscape, outdoor, and street photography. The CPL is one of the best filters for real estate pictures, especially when shooting outdoor real estate property listing photos.

    Here are the pros and cons of CPL filters:

    • Reducing reflections
    • Increasing saturation
    • Enhancing cloud details
    • Allowing limited light
    • Not ideal for indoor shoots

    A CPL filter is useful when shooting in high sunlight and not ideal when shooting images for virtual staging.

    3. Neutral Density (ND) Filters of Varying Densities

    Adobe Lightroom presets could improve any image, but the next item on the list is one of the most versatile and arguably the best filter for home photos. Photographers use a neutral density (ND) filter to create a shallower depth of field, create motion with a slow shutter speed, and reduce light over the whole picture. ND Filter comes in square and circle variants.

    Here are the pros and cons of ND filters:

    • Capturing a beautifully shallow field depth using a wider aperture
    • Producing motion blur and long exposures for a more extended duration using a slower shutter speed
    • Creating dramatic effects for lawn, foliage, sky, fog, and cloud scenes

    There is more than one ND filter type with different densities for advanced photographers, so feel free to experiment and explore which suits your style best.

    4. Graduated Color Filter

    If you want that wow factor in one of your real estate listing photos, you can use the graduated color filter to help achieve the best real estate photographs. This filter lets you get creative with the skyscape and brings you the same effect as a twilight replacement edit. It allows you to enhance the color on one half of the photo and retain the normal lighting condition on the other.

    When you ask what filter do real estate photographers use, the graduated color filter is not at the top of the list since it presents a more creative approach than the usual realistic property listing photos. It has a specific purpose, mainly to enhance outdoor views such as the sky or sea. 

    Conclusion

    Filters improve real estate photographs, whether a photoshop filter for selling house or a camera filter, especially when you’re up against millions of real estate listing photos. Most of the ones mentioned in this list are filters ideal for outdoor property images.

    If something is wrong with your raw shoots, you may consider getting filters on your digital single-lens reflex (DSLR) camera. Phixer and most post-production professionals know what kind of filter works best for specific real estate listings.

  • How Excellent Exterior Shots Make Huge Real Estate Difference

    How Excellent Exterior Shots Make Huge Real Estate Difference

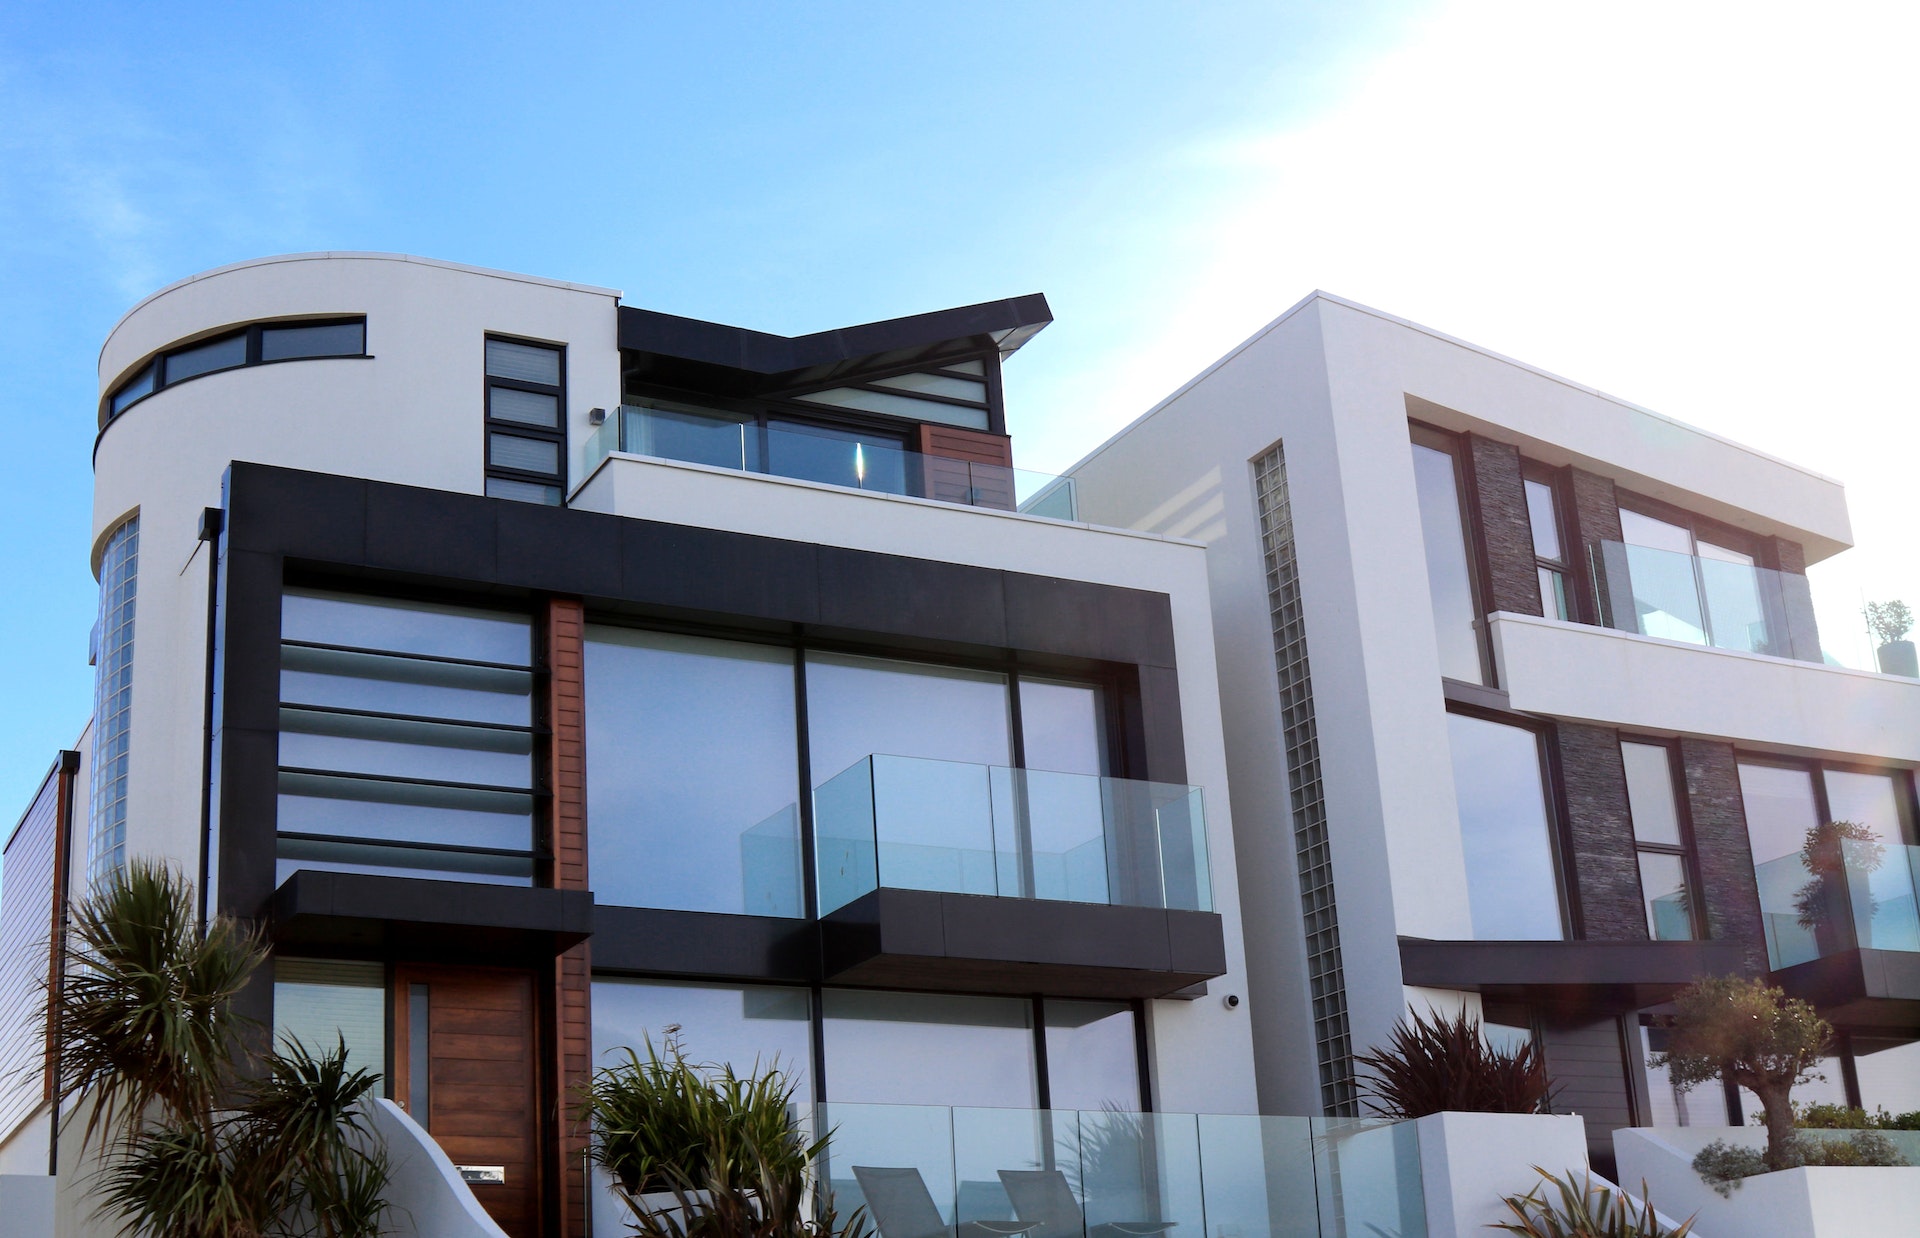
    Most of the time, real estate clients decide whether they would pursue further or not just by seeing the exterior shots of a listed property. Thus, showcasing the facade of a house, office building, or apartment is an agent’s make-or-break opportunity.

    It is also important to back up a stunning photo with realistic expectations shall the prospective client decide to visit the property personally. Still, the first phase of getting leads and possible sales relies heavily on head-turning imagery. Here are the hows and whys about using excellent exterior shots in real estate.

    [lwptoc]

    Customer’s First Impression

    Wherever you list properties, the law of first impression applies. Using the main image, the goal is to make prospects see a picture of themselves and their family living in that house. It should give a lasting impression that it is an ideal place for living before laying out other perks in an attempt to close the sale.

    However, many clients in real estate knew the tricks behind these over-enhanced photos. Hence, staying honest with presenting the property and combining this magnificent showcasing with truthful description is crucial.

    The Challenges Of The Market’s Short Attention Span

    As mentioned, leaving a remarkable impact on the listing’s main picture keeps your prospects glued and open to your pitches. Although they are spellbound, it won’t last very long because other property listings will try to grab their attention.

    Hence, you need to figure out a way to survive the consumers’ quick attention span. Marketers know that one of the best ways to counter this is a constant reminder through email and other channels. Fortunately, you can make it more effective with brilliant headlines and more fantastic exterior photos of the property they’ve previously seen as its content.

    The Added Luxury Vibe: Shoot That Pool!

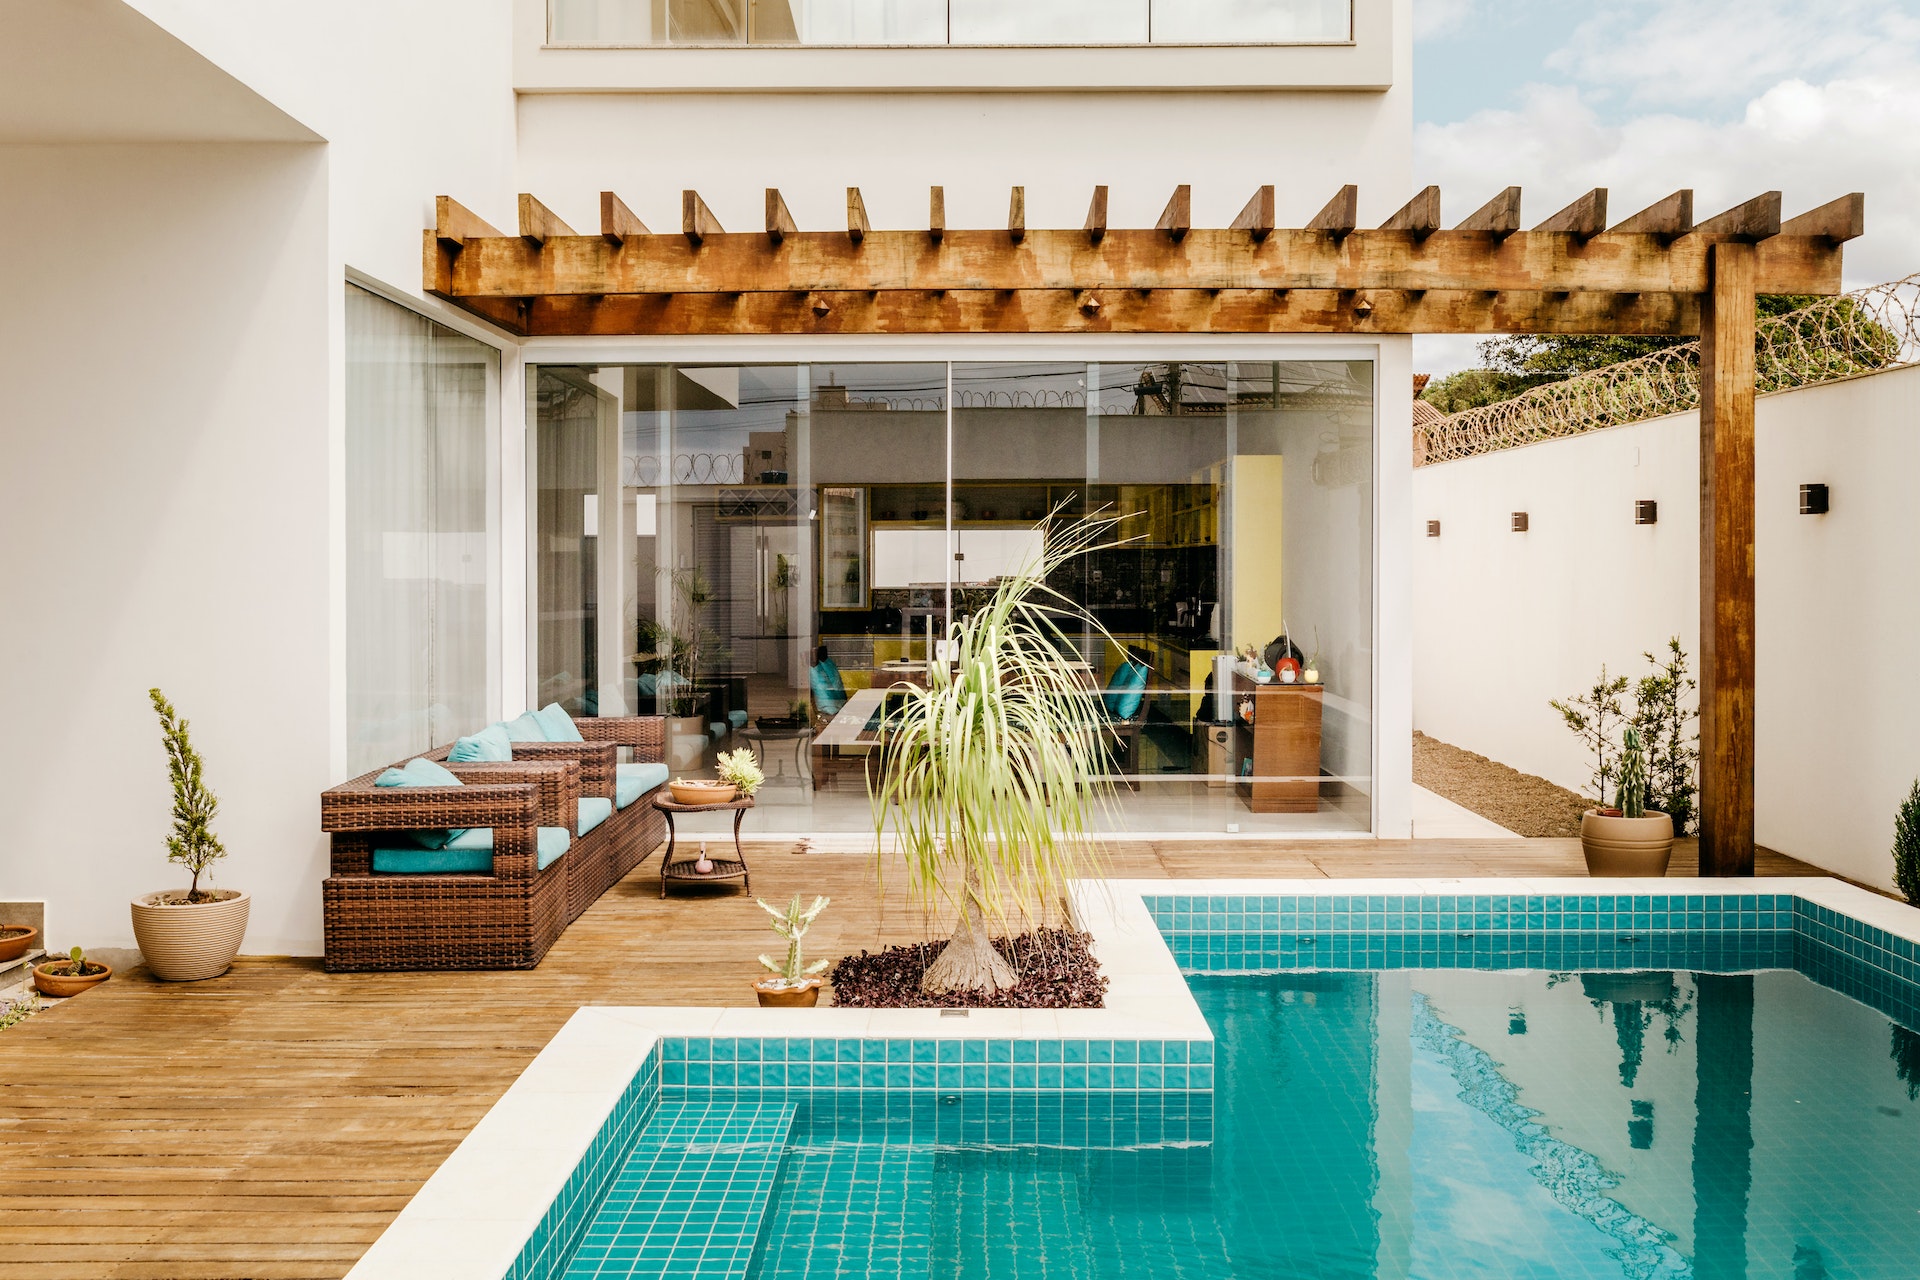
    Some real agents have discovered the allure of a pool in its pristine condition. Thus, top-performing listings in terms of clicks and lead generation were from inventories that showcased exteriors of properties that included a clean swimming pool.

    Compared to the image of a sloppy lawn, both underground pools and above ground pools emit a luxury vibe. This scene strongly conveys that the property is a perfect deal for a buyer seeking gratification from a magnificent real estate purchase.

    While shooting pool sceneries is not difficult, it still requires precise execution for the best results. Experts would advise cleaning up the setting and offering good lighting to capture a visual material that will yield fantastic sales and lead generation outcomes.

    Takeaway

    If set side by side with listings that display bathrooms, entertainment areas, and living rooms, presentations that involve exteriors as the welcoming image perform a mile better. As such, not exhausting the faculty of excellent exteriors is a missed opportunity for any veteran marketer or salesperson utilizing today’s digital channels.

    Incorporating exterior photography with your arsenal of sales abilities is a good start in establishing a gap between you and your real estate rivals. As the competition becomes tighter, it is essential not to miss any chance that could put your presentations above others.

  • Top 5 Ways to Begin a Career in the Real Estate Photography Business 2022

    Top 5 Ways to Begin a Career in the Real Estate Photography Business 2022

    Photography is one of the industries that will never go out of style as long as digital visual media exists. You may be wondering, “is real estate photography profitable?” especially when faced with intense competition from people thriving in the industry for decades, like post-production specialist Phixer. You may be intimidated to enter such a field at this stage.

    The good news is that it’s never too late to start your real estate photography career, especially with rising demand and market movements as people go from urban to rural and vice-versa. The pandemic has shifted people’s priorities, and the reopening of communities has improved real estate value.

    Read on to learn more about how to become a real estate photographer 2022.

    Here are the top five methods to start a real estate photography career:

    1. Start with a Goal in Mind

    According to Benjamin Franklin, failing to prepare is preparation for failure. One of the first methods how to get into real estate photography is to create a plan or strategy to ensure you know how to go from start to success. A solid plan will help you build an excellent real estate photography career foundation.

    A simple way to set your plans is through the SMART goal-setting:

    • S – Specific. Specify your career direction from what you’re going to start on to what specialization you want to pursue (outdoor properties photographer, photographer for virtual staging, etc.)
    • M – Measurable. Measure your success metrics by bookings or projects per month.
    • A – Attainability. Check if your goals are achievable according to the current market activity and projections.
    • R – Realistic. Compare your plans with other real estate photographers you know to determine if they’re realistic.
    • T – Time-bound. Set a deadline for all of your efforts to ensure timeliness.

    When you have a reasonable goal with the right expectations, you can efficiently work toward it without distractions or discouragement. Just put your mind to it, and focus on your objectives. You might start slow, but you’ll eventually book more projects.

    2. Prepare the Tools You Need

    Investment in the right tools is how to make money as a real estate photographer and build a long-lasting career. Your equipment will help determine your success in the industry, and you don’t have to buy the most expensive camera as long as your know your camera settings.

    Here are some of the things you need to succeed in your real estate photography career:

    • Photography equipment. You need photography tools like Digital Single-lens Reflex Camera (DSLR) cameras, lenses, lighting, tripods, and drones for aerial shots.
    • Website or social media page as a portfolio. It would help if you had a portfolio to store your shots and samples for future clients.
    • Marketing strategy for promotion and sales. You need to promote your photography business for profit and sustainability.
    • Post-production software, application, or company. You should edit your photos according to real estate standards. If you’re too busy to do post-production, you can hire experts in the field.
    • Industry best practices and language. Several terms are exclusive to real estate photography, like virtual staging, twilight editing, and lawn replacements.

    You can work with what you currently have, as long as you don’t forget to upgrade your equipment from time to time. In photography, you can start with the basics and work towards specializations and better instruments.

    3. Network with Real Estate Professionals

    Having an extensive network of real estate professionals is one of the key ways how to become a real estate photographer 2022. Your friends and acquaintances in the industry will be your clients, or they will introduce you to people who would book you for projects.

    It would help if you were well-acquainted with how they operate and when they need your services. Since real estate professionals often communicate with their peers, one good recommendation could open doors for you.

    4. Understand the Principles of Shooting Great Real Estate Photos

    Practicing and improving your skills are some ways how to get into real estate photography. People don’t instantly become successful niche photographers overnight, so you should give yourself enough room to start, understand the basics and improve according to growing demand and developing standards.

    Here are some of the principles you need to understand while pursuing a real estate photography career:

    • Considerations for excellent outdoor property photography
    • Factors for beautiful indoor home or building photography
    • Shooting angles, lighting equipment, and camera lenses to use
    • Camera settings like dynamic range
    • Marketing value of your photos
    • Real estate photography industry standards
    • Familiarize real estate listing photo compositions or presentations

    You must understand the market needs to fulfill them successfully since your clients will request one or more of those shots. You must also communicate in the language real estate professionals speak, so familiarize yourself with their terminologies.

    5. Take Care of Post Production

    Post-production is one of the critical steps in real estate photography, and if you’re good at it, it’s one of the many ways how to make money as a real estate photographer. You don’t have to do it yourself, and there are apps available for real estate agents that help edit photographs. You can also collaborate with editors who can do the task better and faster.

    However, you will get more clients if you provide final photos ready for posting. Because of this, some photographers opt to hire real estate photography editing experts while others learn to do it themselves. If you master real estate editing, you could also start a real estate photo editor career.

    Conclusion

    Most people would ask is real estate photography profitable before pursuing a career in real estate photography. The answer lies in how well you create the foundation to build your career and develop your real estate photography skills to match growing and upgrading standards.

    As long as you continue practicing and improving your craft, more clients will book you for real estate shoots. As technology improves, you can also provide real estate virtual tours, augmented reality, and virtual reality photography services.

  • 6 Photography Tips to Best Sell Your Property

    6 Photography Tips to Best Sell Your Property

    For most buyers, nothing beats a live viewing to really appreciate a property for sale. However, it’s expertly shot photos that catch people’s attention and get them interested in the first place. This is why photography is a big part of real estate.

    Indeed, the importance of great pictures in promoting a listing is also why some real estate recruiters keep track of agents with photography and design backgrounds. Check this out if you want to know how meticulous the recruitment process can be for real estate agents. It may reassure you to know that recruiters and brokerages do all they can to help you sell your home for the best price.

    [lwptoc]


    With all of the above considered, however, you still need to learn how to take good photos of your property for sale. After all, you may not always have the money to hire professionals to do it for you. You can sometimes rely on real estate agents to help you with this, but remember as well that they also handle many other matters.

    Here are some tips to get you started on taking good photos of your property that will attract potential buyers:

    Focus on the Best Selling Points

    It can be tempting to take photos of every corner of your house to showcase it, but it would be better to focus on a few rooms. Ask yourself this question: what is or are the best selling points of your house? Perhaps it’s the big but cozy living room that’s perfect for family gatherings. Maybe it’s the ultra-modern kitchen that will excite budding chefs.

    By picking just a few things to focus on, you can create a more unified theme for your photos. You can even use these photos as a storytelling medium, which can boost the appeal of your property to your target market.

    Open the Windows

    Windows are a great selling point for many properties, particularly for homes with views. Another reason is that more windows mean more natural light, which is good for the body’s circadian rhythm and vitamin D production; it can even improve your mood!

    When it comes to photography, natural light is your best friend. So throw open those windows and before taking your shots—you’ll be surprised at how much better they look! You can also get creative with the windows, such as using them to frame the outdoor scenery. Of course, make sure that the windows are clean before your photo session.

    Take External Photos During the Golden Hours

    Speaking of natural light, it’s a good idea to take photos of the exterior of the property during the so-called golden hours: before sunrise and right after sunset. The lighting that these times of day provide can provide a unique flair, highlighting features such as a well-tended garden or even a unique-looking front door. You may also want to include shots of the neighborhood, in case this is a big selling point of your property.

    Depersonalize

    To get the best shots of your property, remove as much clutter as you can. A clean and organized space is much easier to photograph. You should also minimize the number of personal accessories, such as family photos or collectibles. This will depersonalize the space, so it’s easier for the buyer to imagine them filling it with their own furniture and decorations. Cleaning things up also gives you a better backdrop to showcase what you want to showcase.

    Take Corner Photos

    The best way to present a space is showing its entirety. If you take multiple photos, potential buyers still have to imagine what these separate elements look like together. This can affect their perception. At the same, it can be difficult to capture an entire room in a single photo. Even panoramic shots using digital cameras or smartphones are tricky to get right.

    To deal with this dilemma, try taking a photo from a corner. This will allow you to capture as much of the space as you can, as well as make the room look bigger. If the room has windows, open them or at least pull back the window treatments. The natural light will make things look brighter.

    Choose the Best Ones

    Strictly speaking, this isn’t a photography tip but it still needs to be said: don’t overload your listing with hundreds of photos. Yes, you should take as many photos as you can but this is so that you can choose the best ones to upload. Putting up too many pictures can also overwhelm the buyer and decide not to look further into your ad.

    Consider the photos in your for-sale listing as a movie trailer, something that highlights the most exciting, most interesting parts of the entire film. Post just enough photos to create that initial curiosity, so buyers will want to see the property in person. If you want, you can ask your real estate agent for advice regarding the number of photos and which ones you should post.


    Good luck on selling your property! We hope that these photography tips can help you find the best buyer.

  • How to Correctly Use a Gimbal?

    How to Correctly Use a Gimbal?

    A gimbal works as a cinematographic assistant device that helps you stabilize your video footage. It’s an essential tool if you’re an aspiring blogger or cinematographer.

    What is a gimbal?

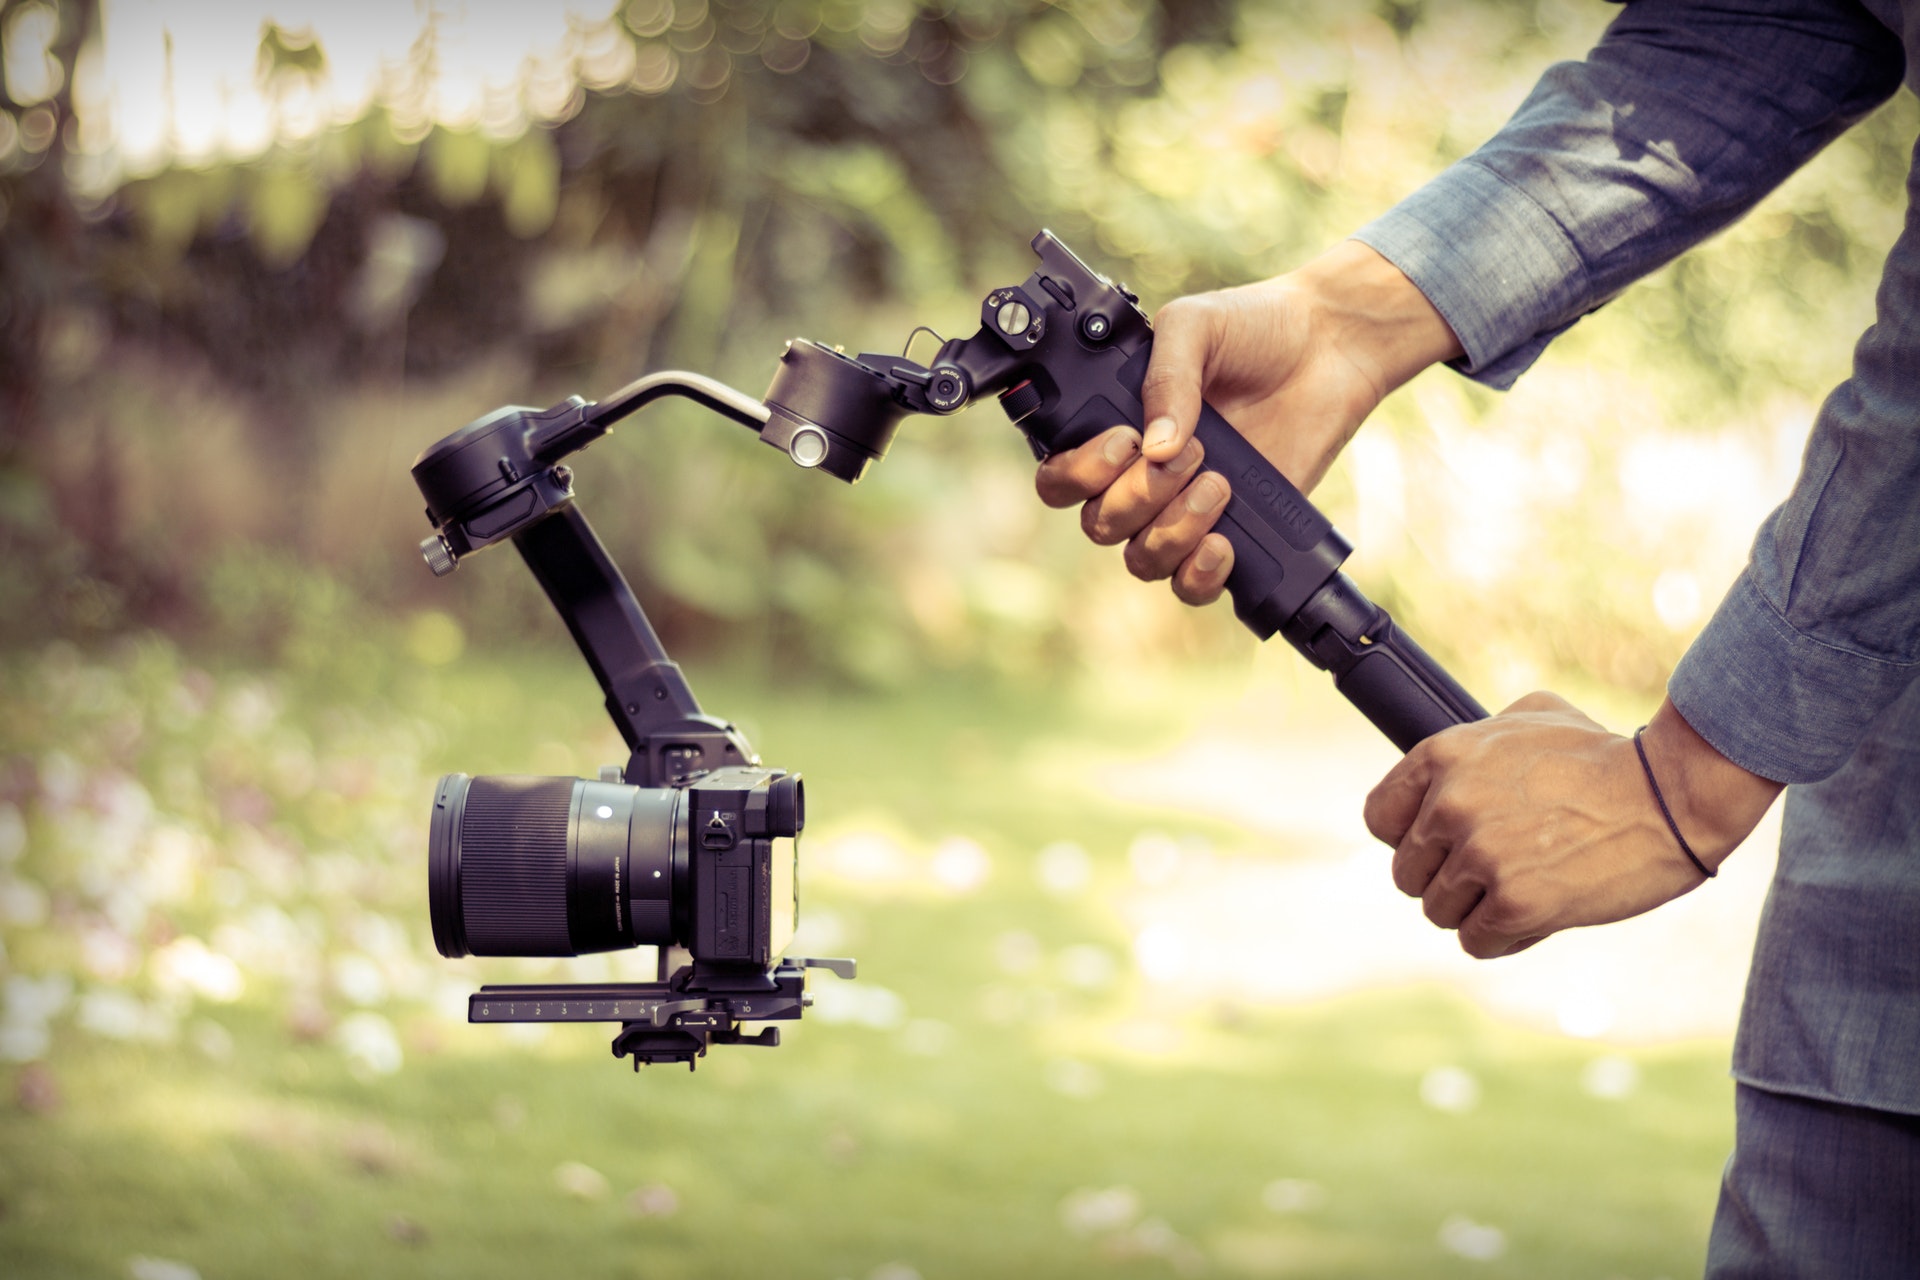
    A gimbal is a tool that provides support to stabilize the video footage in any desired angles. It has 3 common motors/axis, which allows you to mount the camera, and it helps you to record footage from different angles while moving or standing still.

    Sounds simple enough, right? However, it’s more complex than it sounds. And if you used it then you’re already aware of it. No worries, we got your back. As we’ll share several essential tips.

    [lwptoc]

    How Does A Gimbal Work?

    gimbal components

    As we mentioned earlier, the gimbal is consist of 3 motors such as:

    • Pan motor/axis. (goes Left to right)
    • Roll motor/axis. (goes side to side)
    • Tilt motor/axis. ( goes Up and down)

    Each of these motors helps you get different angles for your footage. They’re controlled by the gimbal’s inbuilt settings. Now, how does it work? Simply put, a gimbal helps to keep your camera steady while shooting.

    In other words, when you’re capturing footage, the gimbal helps you keep the focus steady and allows you to shoot from different angles with the help of the different angular motors.

    Take a Sony camera for example. Suppose you’ve got a Sony a7iii. Sometimes no matter how good the camera is you can’t get the right footage from the correct angle, right? For such cases alone, you can use a gimbal for sony a7iii to get the desired footage.

    What Makes A Gimbal Better Than A Handheld Stabilizer?

    In many ways, a gimbal is much better than your regular old handheld stabilizer. As you know, a handheld stabilizer is great for getting steady footage.

    However, it doesn’t provide any support to keep the shoot steady, you need to hold the stand in a stable manner to get the right footage. Honestly, sometimes it gets irritating, also it’s not always possible to keep it in a stable place.

    On the contrary, with a gimbal, you get support from three different motors. They not only just keep the footage steady but also, get it from your desired angle with ease. This alone makes the gimbal more reliable than a handheld stabilizer.

    Essential Tips To Use A Gimbal Correctly

    gimbal usage

    As you know by now, the gimbal is an essential tool for any cinematographer/ videographer. However, it can be overwhelming the first time, and it’s for good reasons. Because needless to say, the gimbal is a serious upgrade from your handheld stabilizer.

    Although it’s for the same purpose, to get steady footage. However, its functionality is completely different. One of the reasons is it has 3 different axis motors. So here we’ve shared several tips below, that will help build a core foundation and a basic understanding of using a gimbal. This will help get some dope content.

    Let’s get started.

    Set The Balance

    Getting your camera balanced in the gimbal is the most crucial point of using it. First, you need to attach your camera to the gimbal mount, you’ll find all the necessary tools inside the box. After that, remember you shouldn’t turn on the gimbal before balancing the camera manually.

    Otherwise, the gimbal motor has to work harder than it needs to, which drains its battery fast and might cause problems with motors as well. Now to balance it, you should consider the weight of the camera. Try using a tripod while balancing the gimbal.

    Finding the right balance on tilt motors is the crucial point. When you’re done mounting the camera see which way it tilts first, front or back. Either way, it falls means that the side is heavier.

    Try to adjust the tilt motor so that your camera doesn’t fall to either side. Then rotate it upwards to see if it can hold the camera in one place or not. If it does fall to either side adjust it a bit more. If not then your camera is perfectly balanced on the gimbal mount.

    Note– always buy a gimbal according to your camera’s weight. If the gimbal can’t take the weight of your camera then it might cause you more harm than good.

    Autotune

    After balancing the camera on your gimbal mount, you can turn it on. As a new gimbal user, we recommend you try using the autotune settings. It provides additional support for users.

    To activate it, just go to the gimbal settings, scroll down and you’ll find the motors settings. In there just turn on the autotune. Then the gimbal will auto-correct the mount’s weight to the motors. And it’ll automatically use the right amount of force while operating the gimbal.

    It’s only to get used to the gimbal first. After you get used to it. You can use custom settings that suit your needs. You can set a custom motor layout from the motor settings.

    Doing so you can provide much more power to the motor while working. It’s much more efficient. Whenever you need your switch between autotune and custom layouts.

    Practice with Freestyle Shots

    If you have any idea about cinematography, then you know that it’s not an easy job. You need to be creative and have a good imagination, which isn’t developed in a day. You need to give it time.

    For beginner level, you can start by taking freestyle shots. It’s great practice for you. It will give you the freedom to do as you please. Just walk around places holding the gimbal in hand, and take shots of things you like.

    Don’t worry about the footage quality, just try to get a better angle as much as possible. Because when you get used to finding the right angle, you’ll automatically develop taking quality footage.

    After that, you can move on to the next level. Always remember, everyone has their own pace of learning things. Don’t rush it, take your own time to get to the next level.

    Plan Your Shots

    To develop your videography, you can try to plan out your shots. That doesn’t mean you’ve to plan like making a blueprint and thinking through every outcome.

    It’s for a much later time. But you must start from somewhere, right? You can’t just wander around places which thing what footage to take or not. It won’t do you any good. So must have a plan of action before your recording.

    To do that you can try selecting a specific subject. Try recording the subject from different angles. Try out different subjects like humans, nature, and different objects. It will give you a general sense of shooting, and with time you’ll know which angle will be better for one specific subject.

    Get Close

    When you’re new to a gimbal, you feel hesitant to take close-up shots. You might think it won’t be as good as a long-angle shot. But if you don’t try, how will you ever know, right?

    No matter how fresh or old you’re at cinematography/photography, if you don’t try you’ll never succeed. So don’t be scared while shooting close-up shots. Get as close as you need to be.

    But be mindful of personal space. Otherwise, you might make the subject uncomfortable.

    How To Get Good At Gimbal Shoots

    How To Get Good At Gimbal Shoots

    If you’re using the gimbal to get good content for videography or cinematography, it’s natural you want to get good at shooting. But as a beginner you don’t know which direction to go with it exactly, right?

    In that case, you might find the next bit really useful, as we share a few styles of gimbal usage. It will surely help you shoot like a pro. However, you might or might already know about these just didn’t know the technique’s name that’s all.

    Let’s begin, shall we?

    Push-In Shots

    The first one here is the push-in shot, it’s where you’re pushing through something or towards something while moving with the gimbal. If you want to take footage for real estate, you can use the push-in shot technique.

    While taking a push-in shot, remember to measure the distance first. It gives you an idea about the way you need to push in towards or through the footage.

    Follow Shots

    The next one is the follow-shot, where you follow your subjects while moving forward or backward. But while taking a backward follow-shot, be mindful of your surroundings.

    Otherwise, you might trip over and not only ruin your work but also cause damage to yourself and your camera & gimbal. However, it’s a simple move to do, where all you have to do is move while capturing the subject’s backside or front side.

    Dolly/Tracking Shots

    The dolly/tracking shot is pretty similar to the follow-shots. All you have to do is rotate the tilt to 90 degrees and move along with the subject and film it from the side. This technique is largely seen in production houses.

    Parallax Shots

    The parallax shot is by far the coolest technique on our list. With this technique, you can make your subject look cool while the world is moving around them. All you have to do is, keep the subject in the frame and move sideways around the subject.

    It gives the shot an illusion that the subject is standing still while the world is moving around. This technique is mostly used in action films.

    Note- while taking any footage, keep in mind if you want to take slow-motion shots, always keep the FPS at least 60. Otherwise, the footage will feel laggy.

    Last Views

    After going through the above segment, surely you’ve understood the value of the gimbal. If you want to become a great content creator or cinematographer, you really need to get the hang of it and to have a best video output.

    Remember you won’t become a pro on the first day, it might seem easy but it’s not. Having to operate the gimbal with perfection takes practice and time.

    Good luck, stay creative and if possible go out and shoot some dope footage.