Photography is one of the industries that will never go out of style as long as digital visual media exists. You may be wondering, “is real estate photography profitable?” especially when faced with intense competition from people thriving in the industry for decades, like post-production specialist Phixer. You may be intimidated to enter such a field at this stage.
The good news is that it’s never too late to start your real estate photography career, especially with rising demand and market movements as people go from urban to rural and vice-versa. The pandemic has shifted people’s priorities, and the reopening of communities has improved real estate value.
Read on to learn more about how to become a real estate photographer 2022.
Here are the top five methods to start a real estate photography career:
1. Start with a Goal in Mind
According to Benjamin Franklin, failing to prepare is preparation for failure. One of the first methods how to get into real estate photography is to create a plan or strategy to ensure you know how to go from start to success. A solid plan will help you build an excellent real estate photography career foundation.
A simple way to set your plans is through the SMART goal-setting:
- S – Specific. Specify your career direction from what you’re going to start on to what specialization you want to pursue (outdoor properties photographer, photographer for virtual staging, etc.)
- M – Measurable. Measure your success metrics by bookings or projects per month.
- A – Attainability. Check if your goals are achievable according to the current market activity and projections.
- R – Realistic. Compare your plans with other real estate photographers you know to determine if they’re realistic.
- T – Time-bound. Set a deadline for all of your efforts to ensure timeliness.
When you have a reasonable goal with the right expectations, you can efficiently work toward it without distractions or discouragement. Just put your mind to it, and focus on your objectives. You might start slow, but you’ll eventually book more projects.
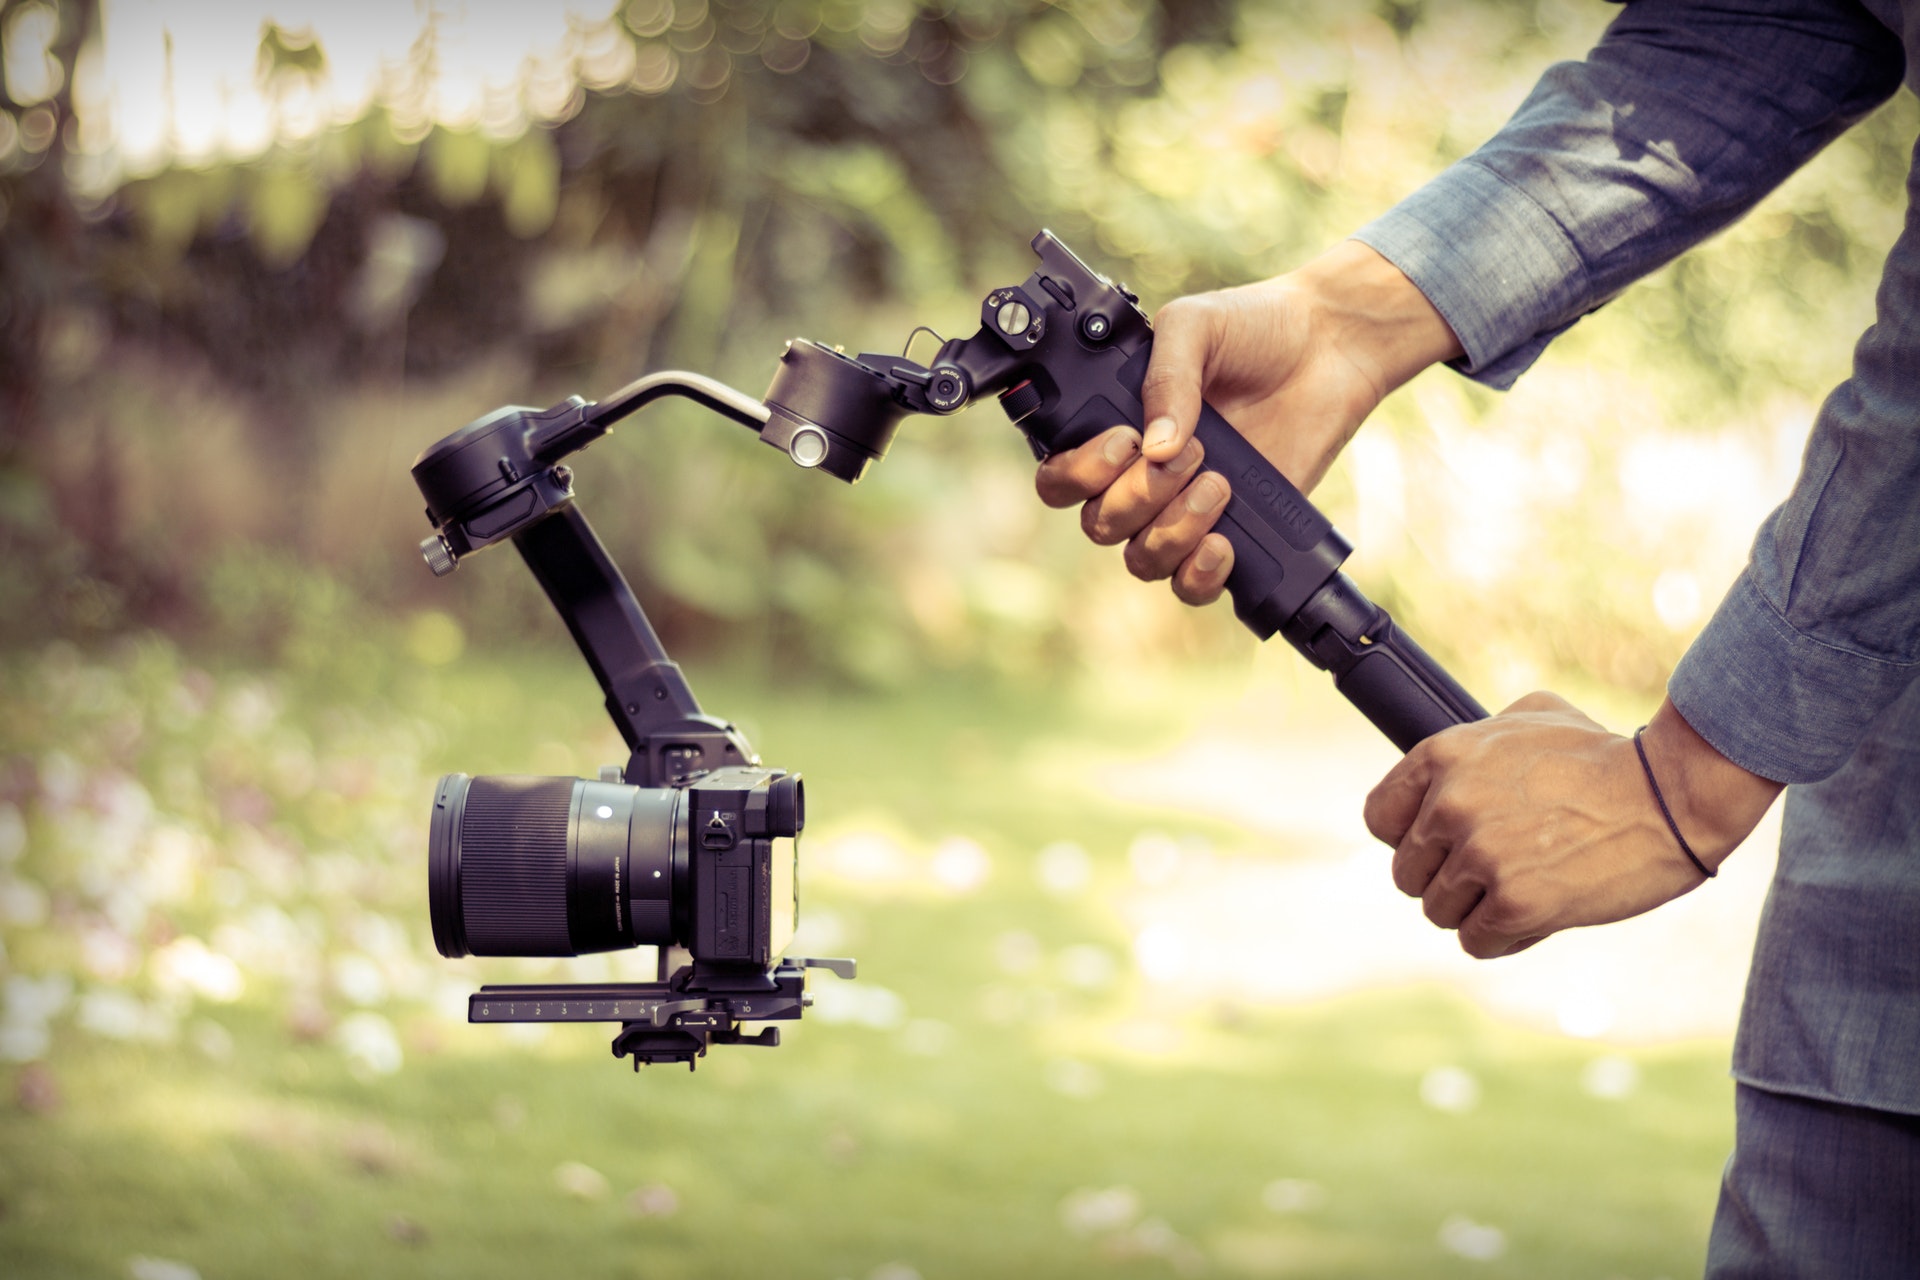
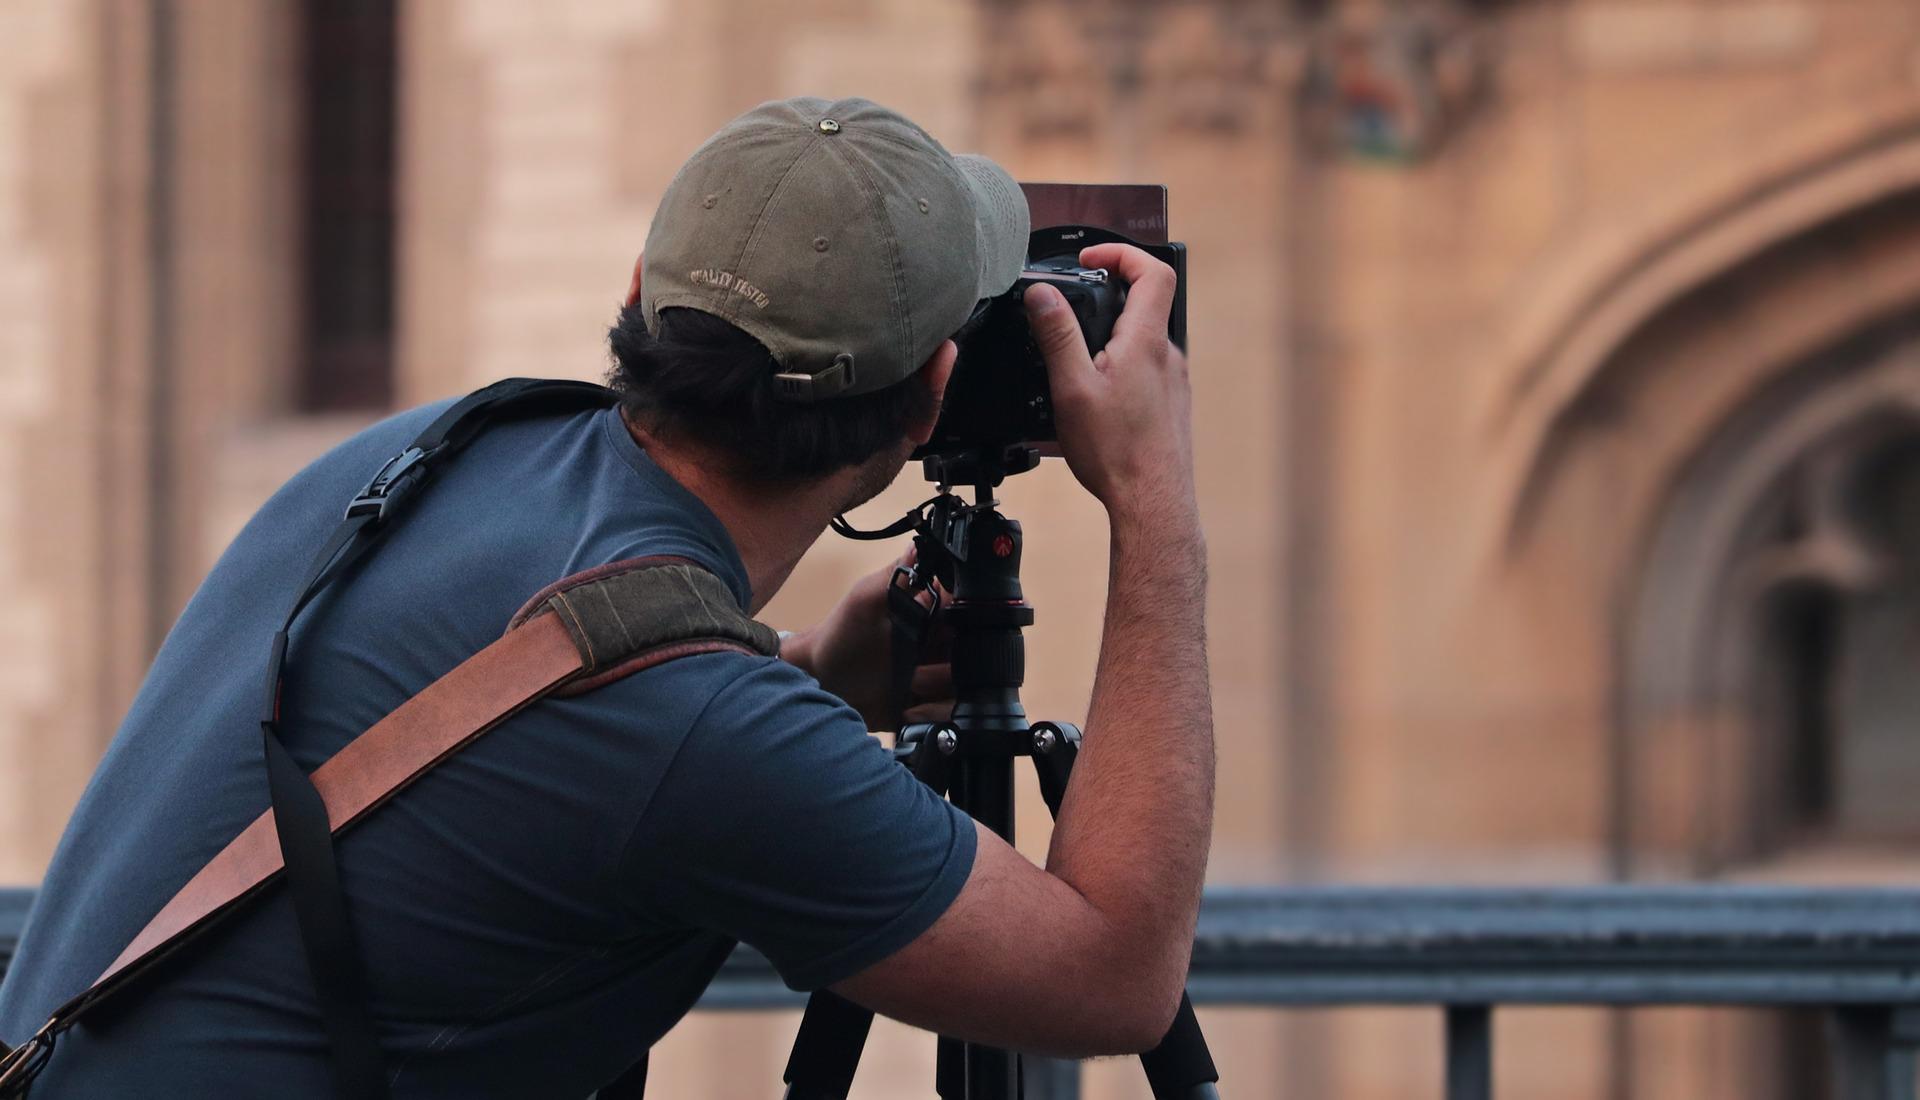
2. Prepare the Tools You Need
Investment in the right tools is how to make money as a real estate photographer and build a long-lasting career. Your equipment will help determine your success in the industry, and you don’t have to buy the most expensive camera as long as your know your camera settings.
Here are some of the things you need to succeed in your real estate photography career:
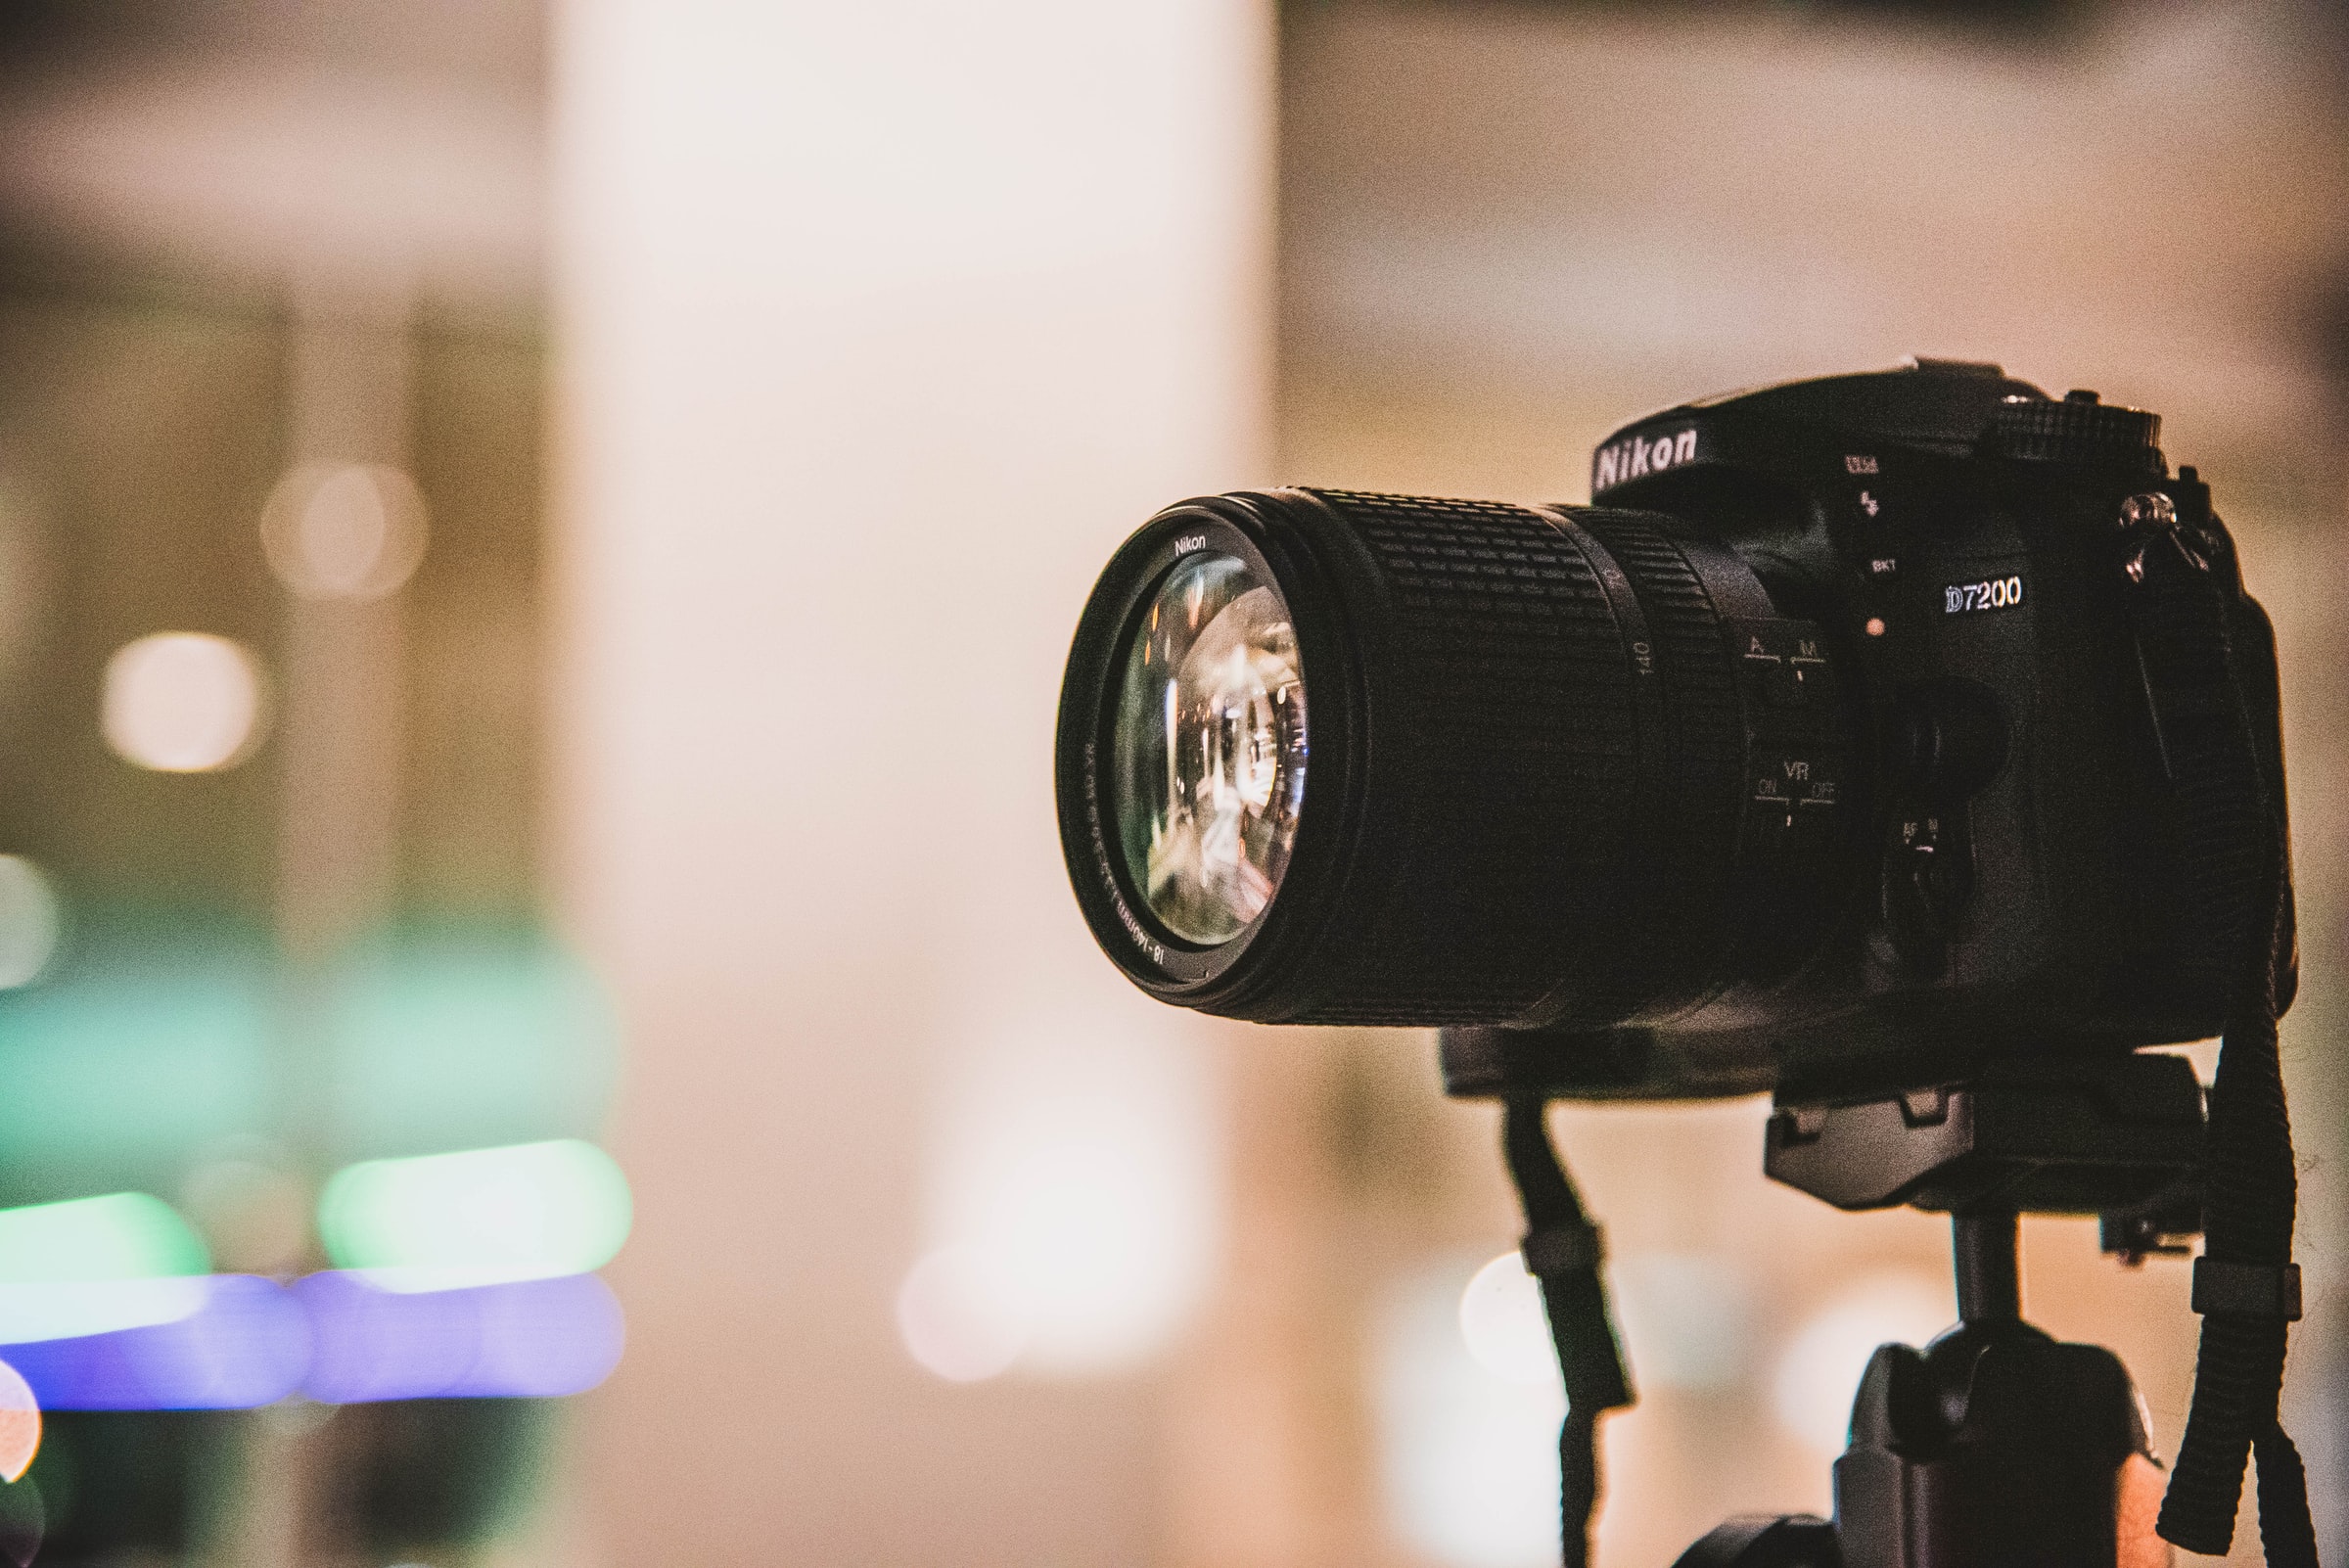
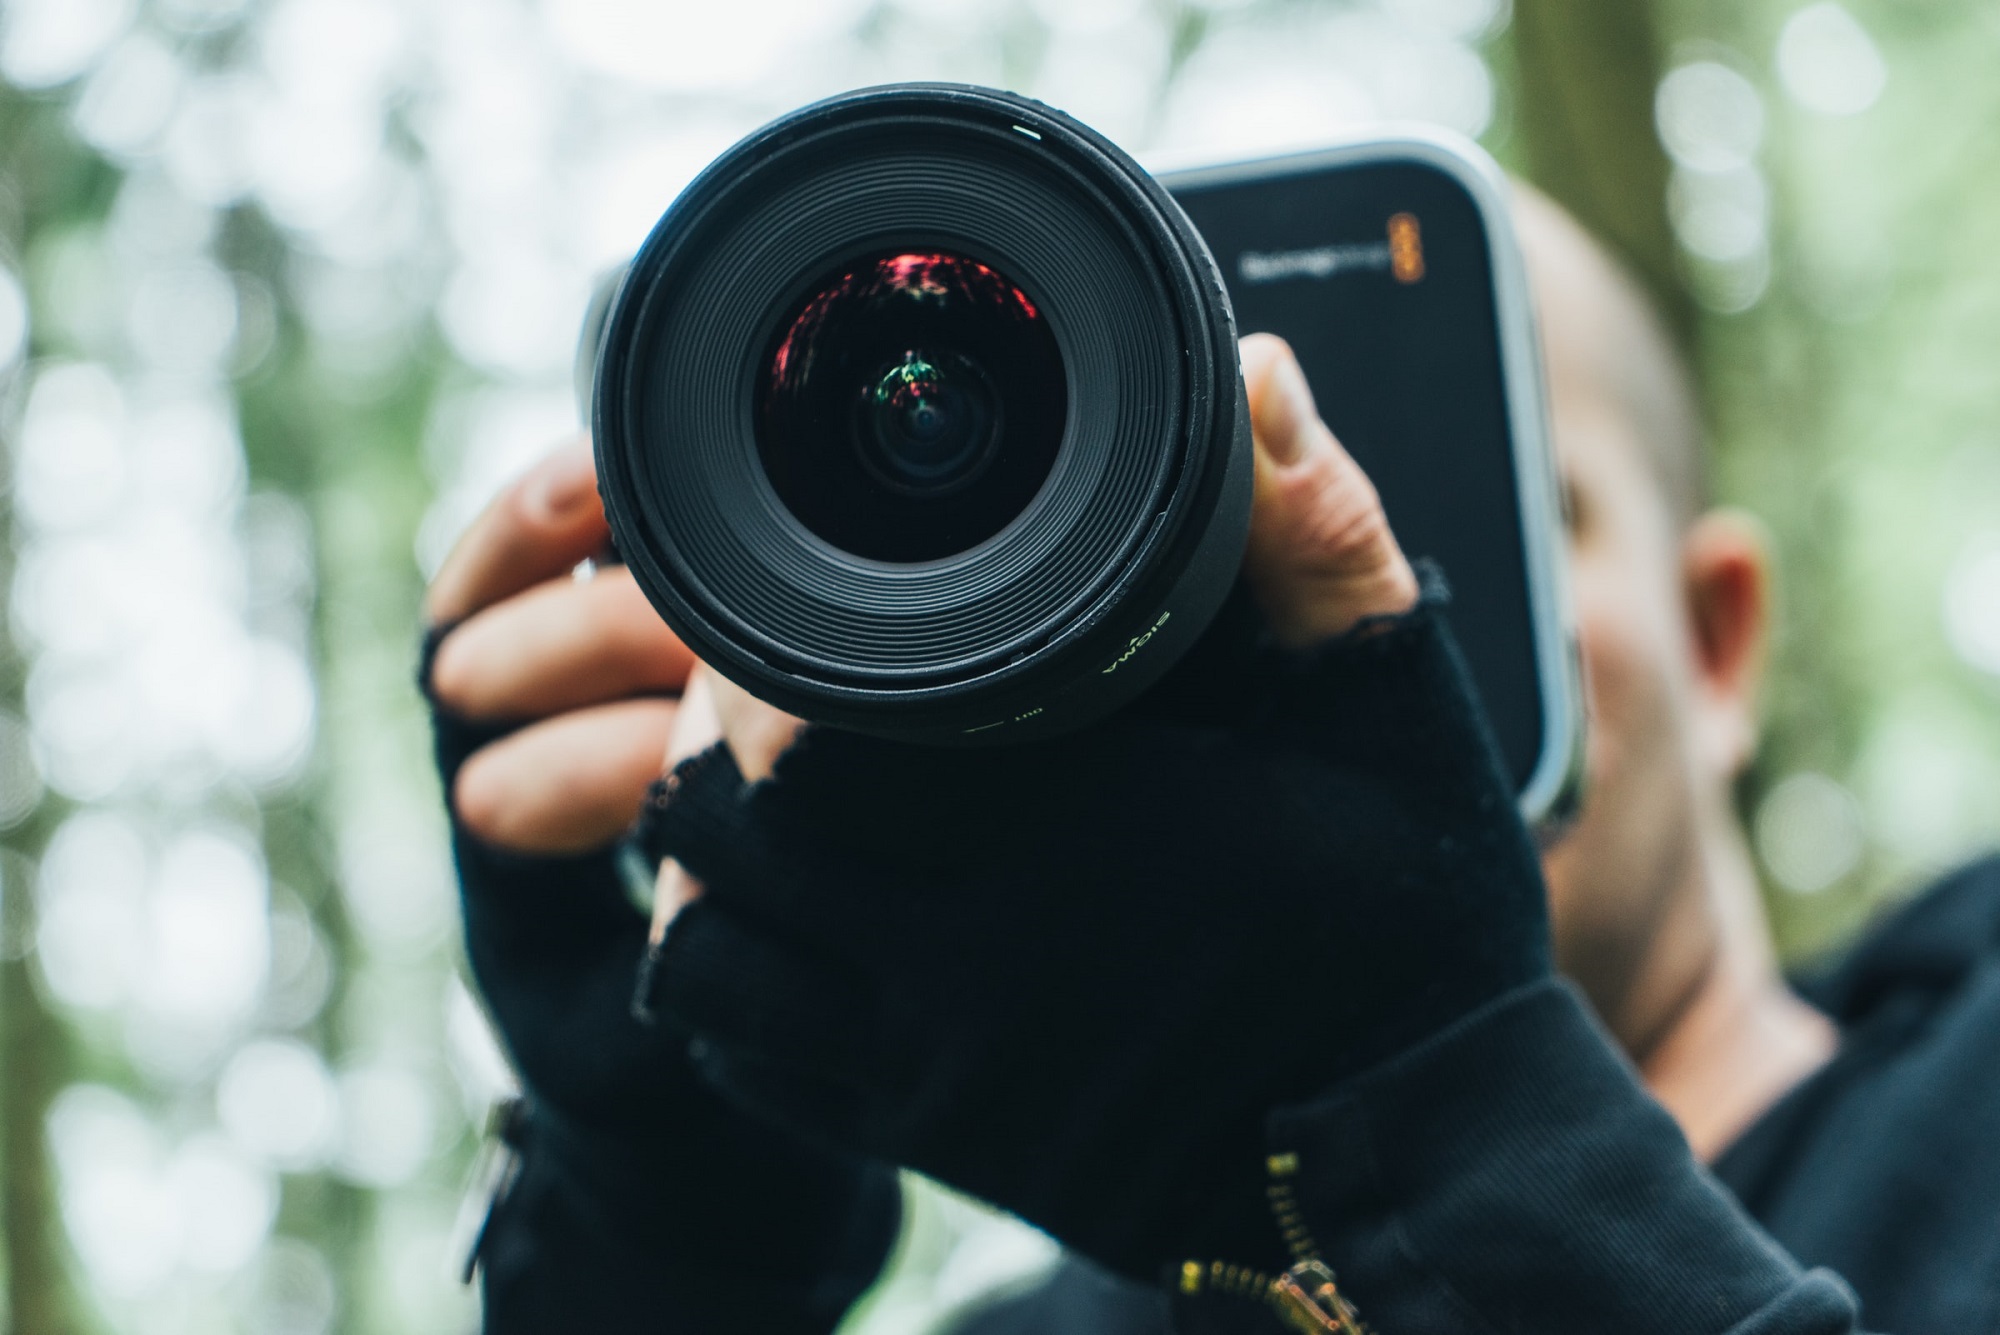
- Photography equipment. You need photography tools like Digital Single-lens Reflex Camera (DSLR) cameras, lenses, lighting, tripods, and drones for aerial shots.
- Website or social media page as a portfolio. It would help if you had a portfolio to store your shots and samples for future clients.
- Marketing strategy for promotion and sales. You need to promote your photography business for profit and sustainability.
- Post-production software, application, or company. You should edit your photos according to real estate standards. If you’re too busy to do post-production, you can hire experts in the field.
- Industry best practices and language. Several terms are exclusive to real estate photography, like virtual staging, twilight editing, and lawn replacements.
You can work with what you currently have, as long as you don’t forget to upgrade your equipment from time to time. In photography, you can start with the basics and work towards specializations and better instruments.
3. Network with Real Estate Professionals
Having an extensive network of real estate professionals is one of the key ways how to become a real estate photographer 2022. Your friends and acquaintances in the industry will be your clients, or they will introduce you to people who would book you for projects.
It would help if you were well-acquainted with how they operate and when they need your services. Since real estate professionals often communicate with their peers, one good recommendation could open doors for you.
4. Understand the Principles of Shooting Great Real Estate Photos
Practicing and improving your skills are some ways how to get into real estate photography. People don’t instantly become successful niche photographers overnight, so you should give yourself enough room to start, understand the basics and improve according to growing demand and developing standards.
Here are some of the principles you need to understand while pursuing a real estate photography career:
- Considerations for excellent outdoor property photography
- Factors for beautiful indoor home or building photography
- Shooting angles, lighting equipment, and camera lenses to use
- Camera settings like dynamic range
- Marketing value of your photos
- Real estate photography industry standards
- Familiarize real estate listing photo compositions or presentations
You must understand the market needs to fulfill them successfully since your clients will request one or more of those shots. You must also communicate in the language real estate professionals speak, so familiarize yourself with their terminologies.
5. Take Care of Post Production
Post-production is one of the critical steps in real estate photography, and if you’re good at it, it’s one of the many ways how to make money as a real estate photographer. You don’t have to do it yourself, and there are apps available for real estate agents that help edit photographs. You can also collaborate with editors who can do the task better and faster.
However, you will get more clients if you provide final photos ready for posting. Because of this, some photographers opt to hire real estate photography editing experts while others learn to do it themselves. If you master real estate editing, you could also start a real estate photo editor career.
Conclusion
Most people would ask is real estate photography profitable before pursuing a career in real estate photography. The answer lies in how well you create the foundation to build your career and develop your real estate photography skills to match growing and upgrading standards.
As long as you continue practicing and improving your craft, more clients will book you for real estate shoots. As technology improves, you can also provide real estate virtual tours, augmented reality, and virtual reality photography services.