In recent months, more homeowners have been convinced that now is the right time to sell. With rising buyer demand, tight inventory, and shifting market momentum, sellers are looking for every competitive edge possible to maximize their final sale price. But there’s one crucial step that often gets overlooked — and it can dramatically influence how fast a property sells and how much it sells for:
Professional real estate photo editing.
As interest in home-selling trends grows — highlighted in the recent Good Men Project article discussing why homeowners think it’s the perfect moment to sell — one truth remains consistent: beautiful, high-quality visuals are non-negotiable in today’s real estate market.
In this follow-up, we explore why expertly edited photos are more important than ever and how services like Phixer.net are helping agents and homeowners sell faster, smarter, and more profitably.
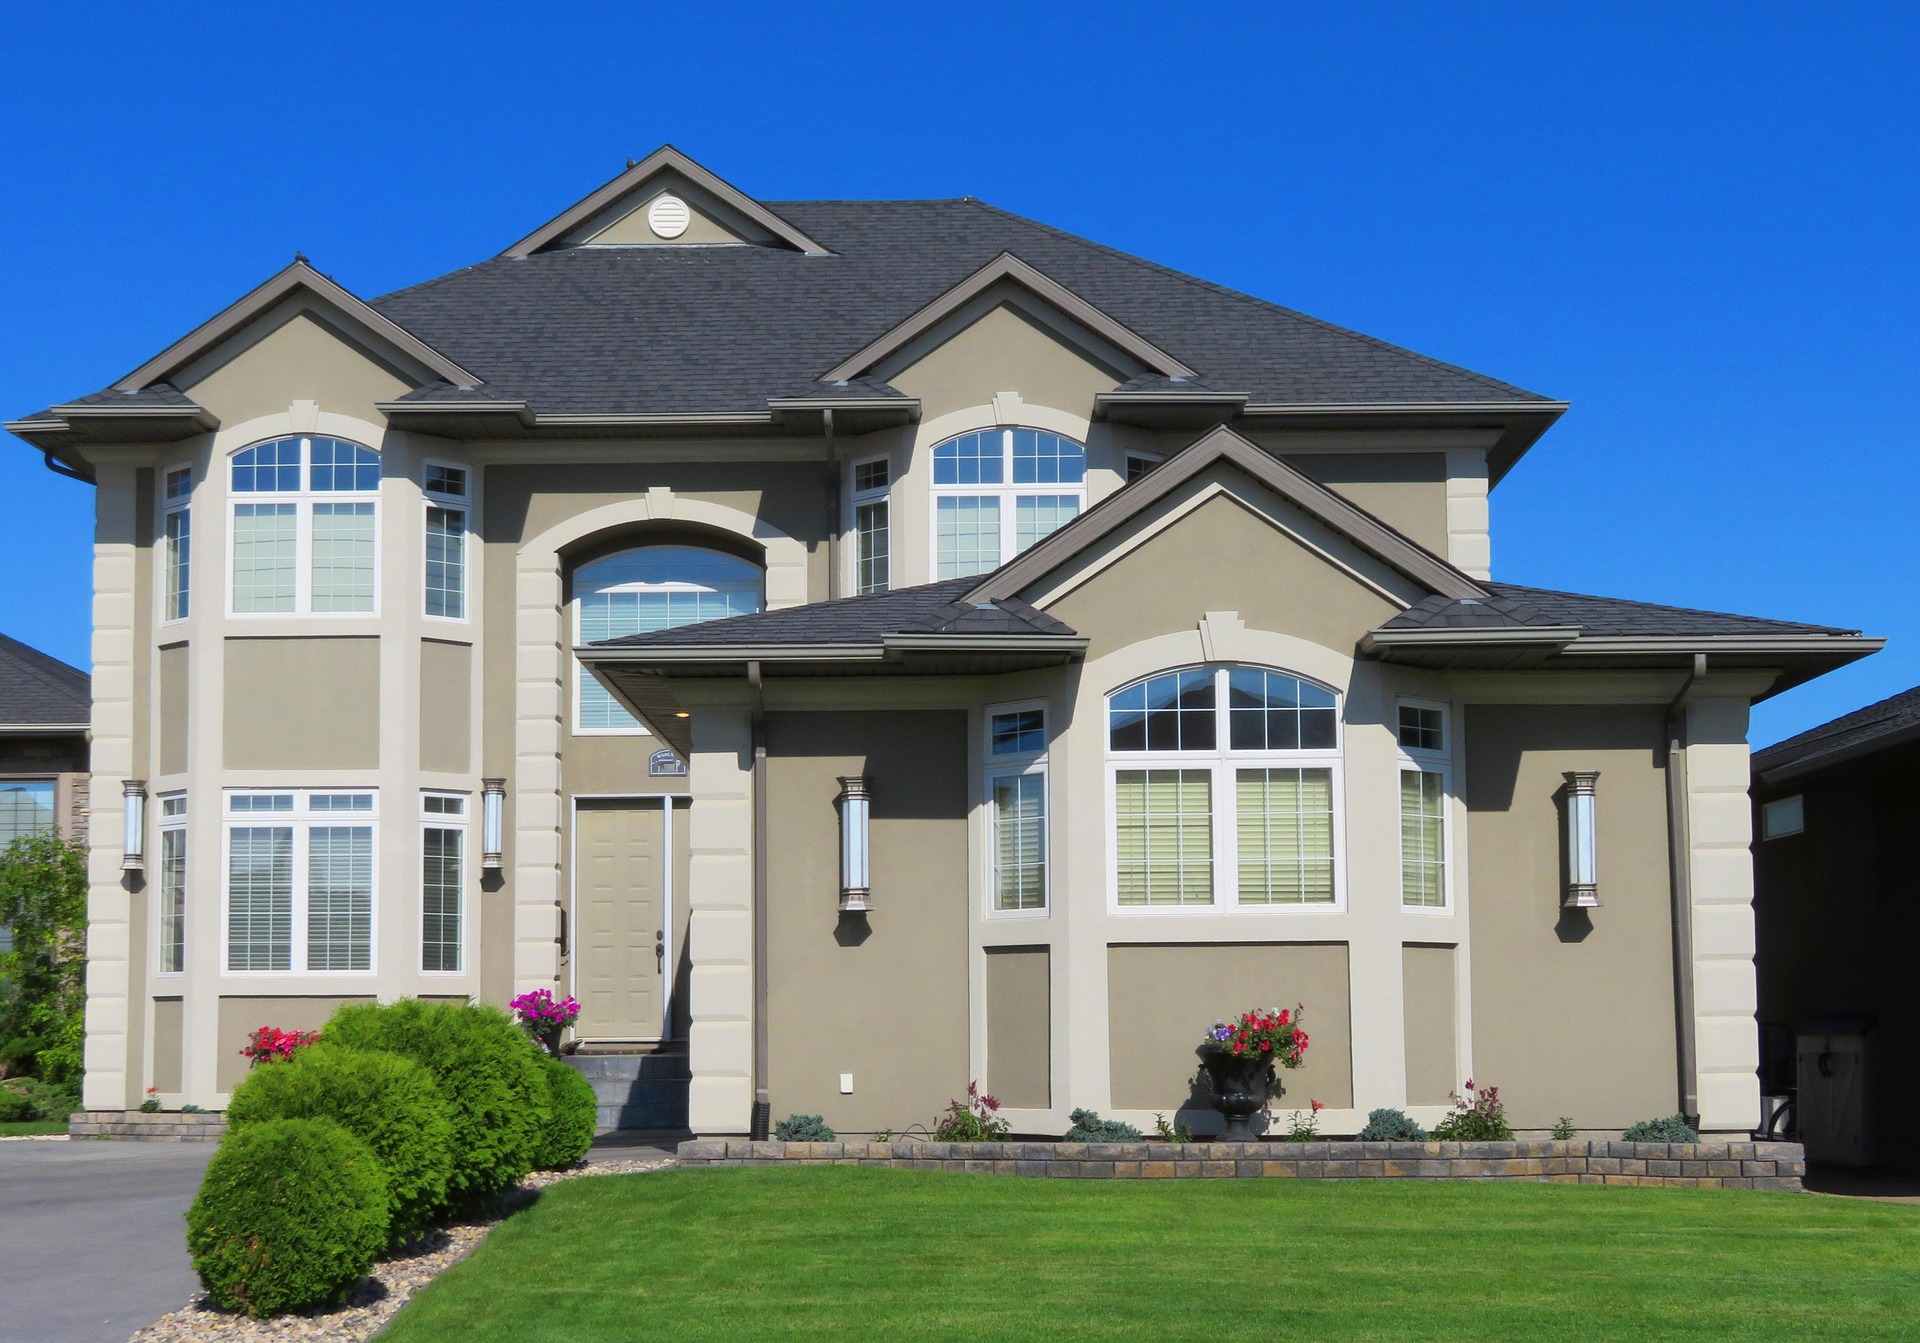
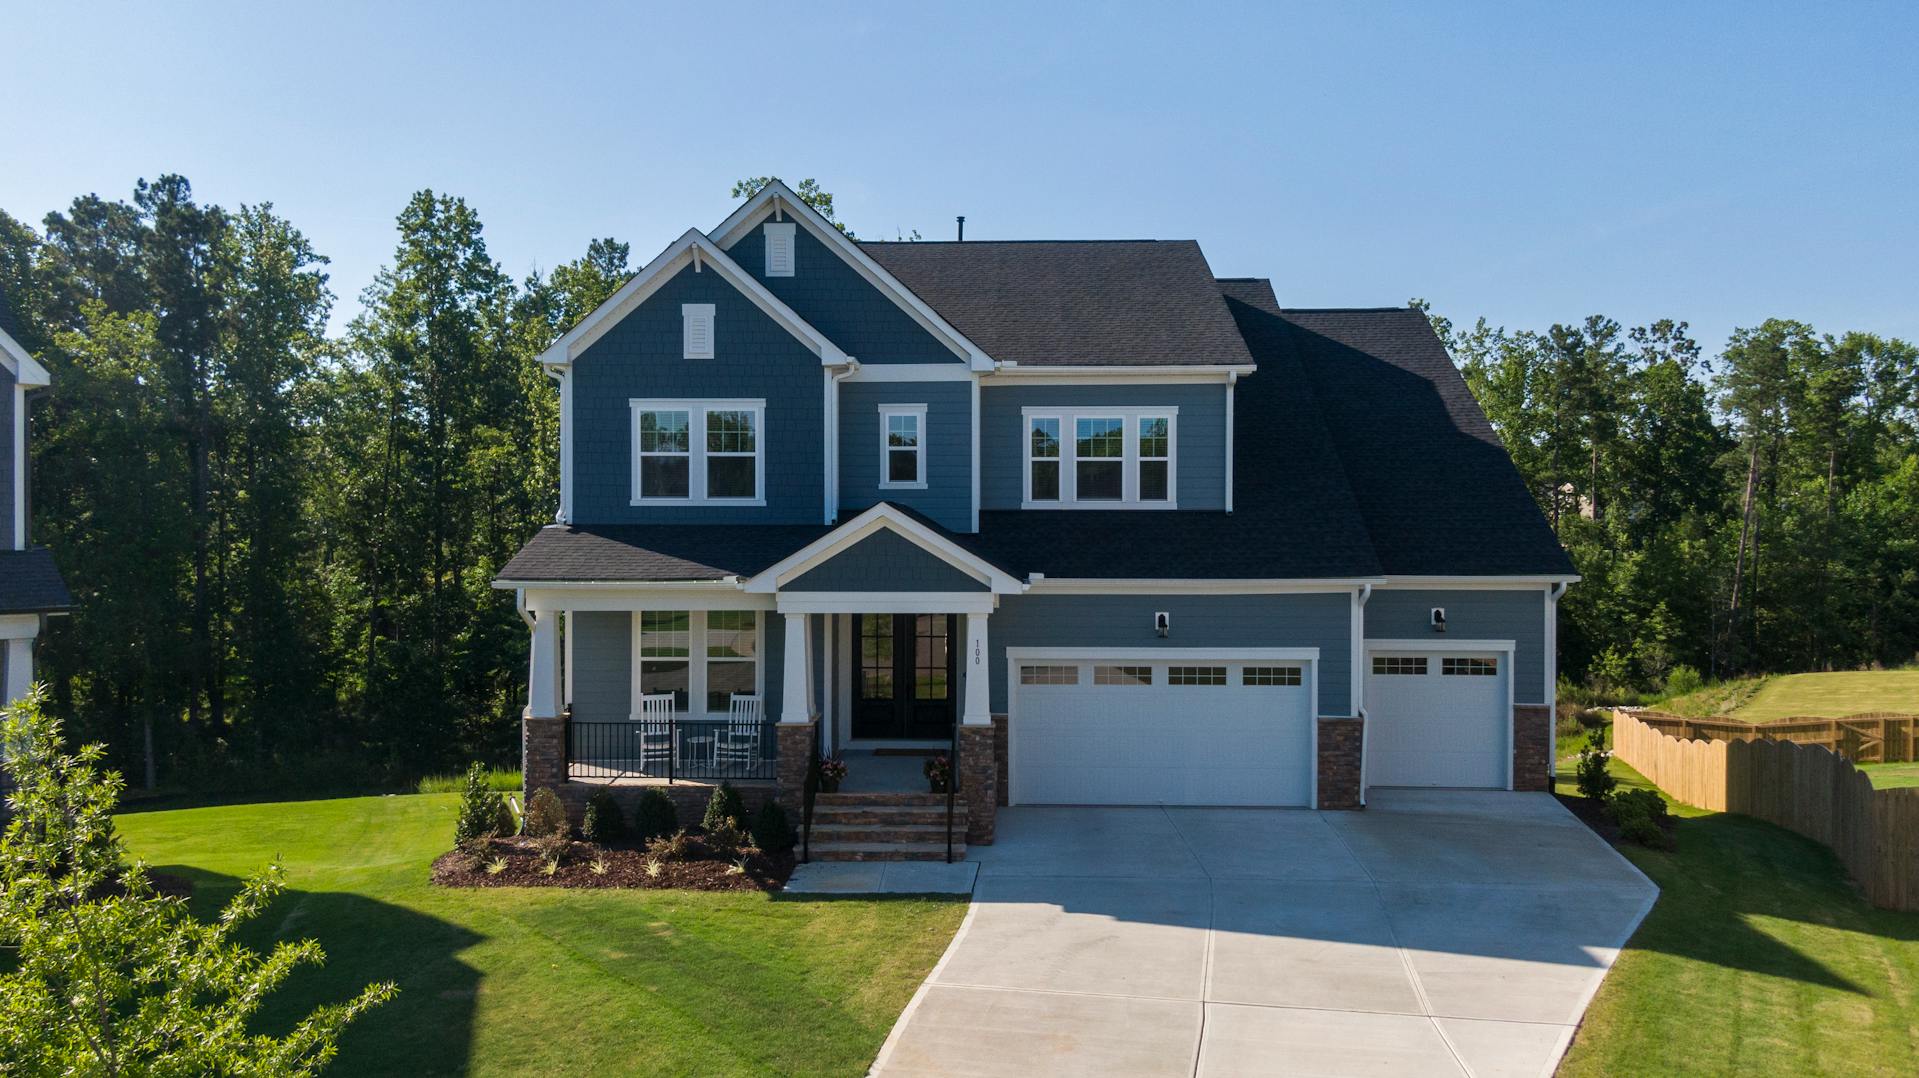
1. In a Hot Market, First Impressions Matter Even More
When buyers know homes are selling fast, they respond even faster — often within minutes of a listing going live.
But the listing they click first is always the one with the strongest images.
Studies show:
- Homes with professionally edited photos receive up to 118% more clicks
- Listings with bright, clear images sell 32% faster on average
- Properties with high-quality visuals command higher perceived value, boosting offer prices
With competition heating up, it’s not enough to post unedited or smartphone photos.
Edited, polished imagery sets the tone for the entire viewing experience.
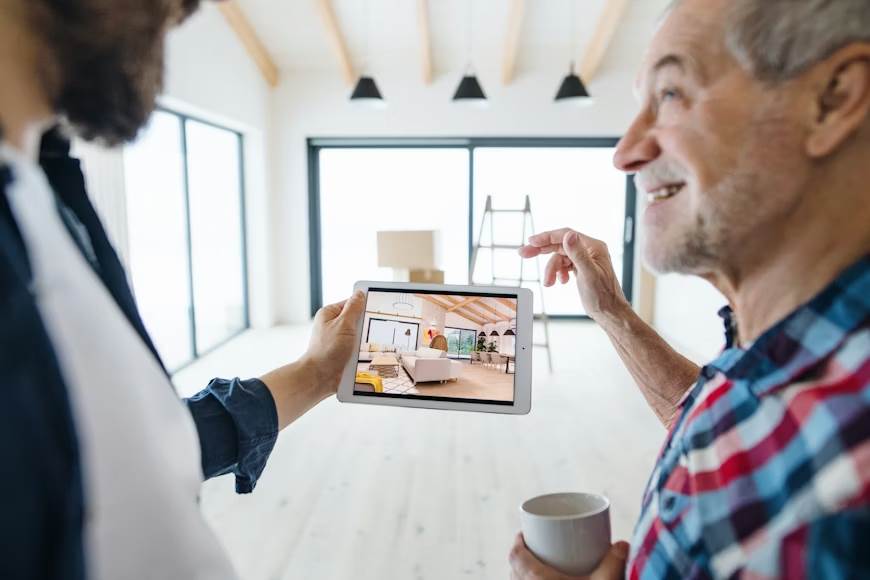
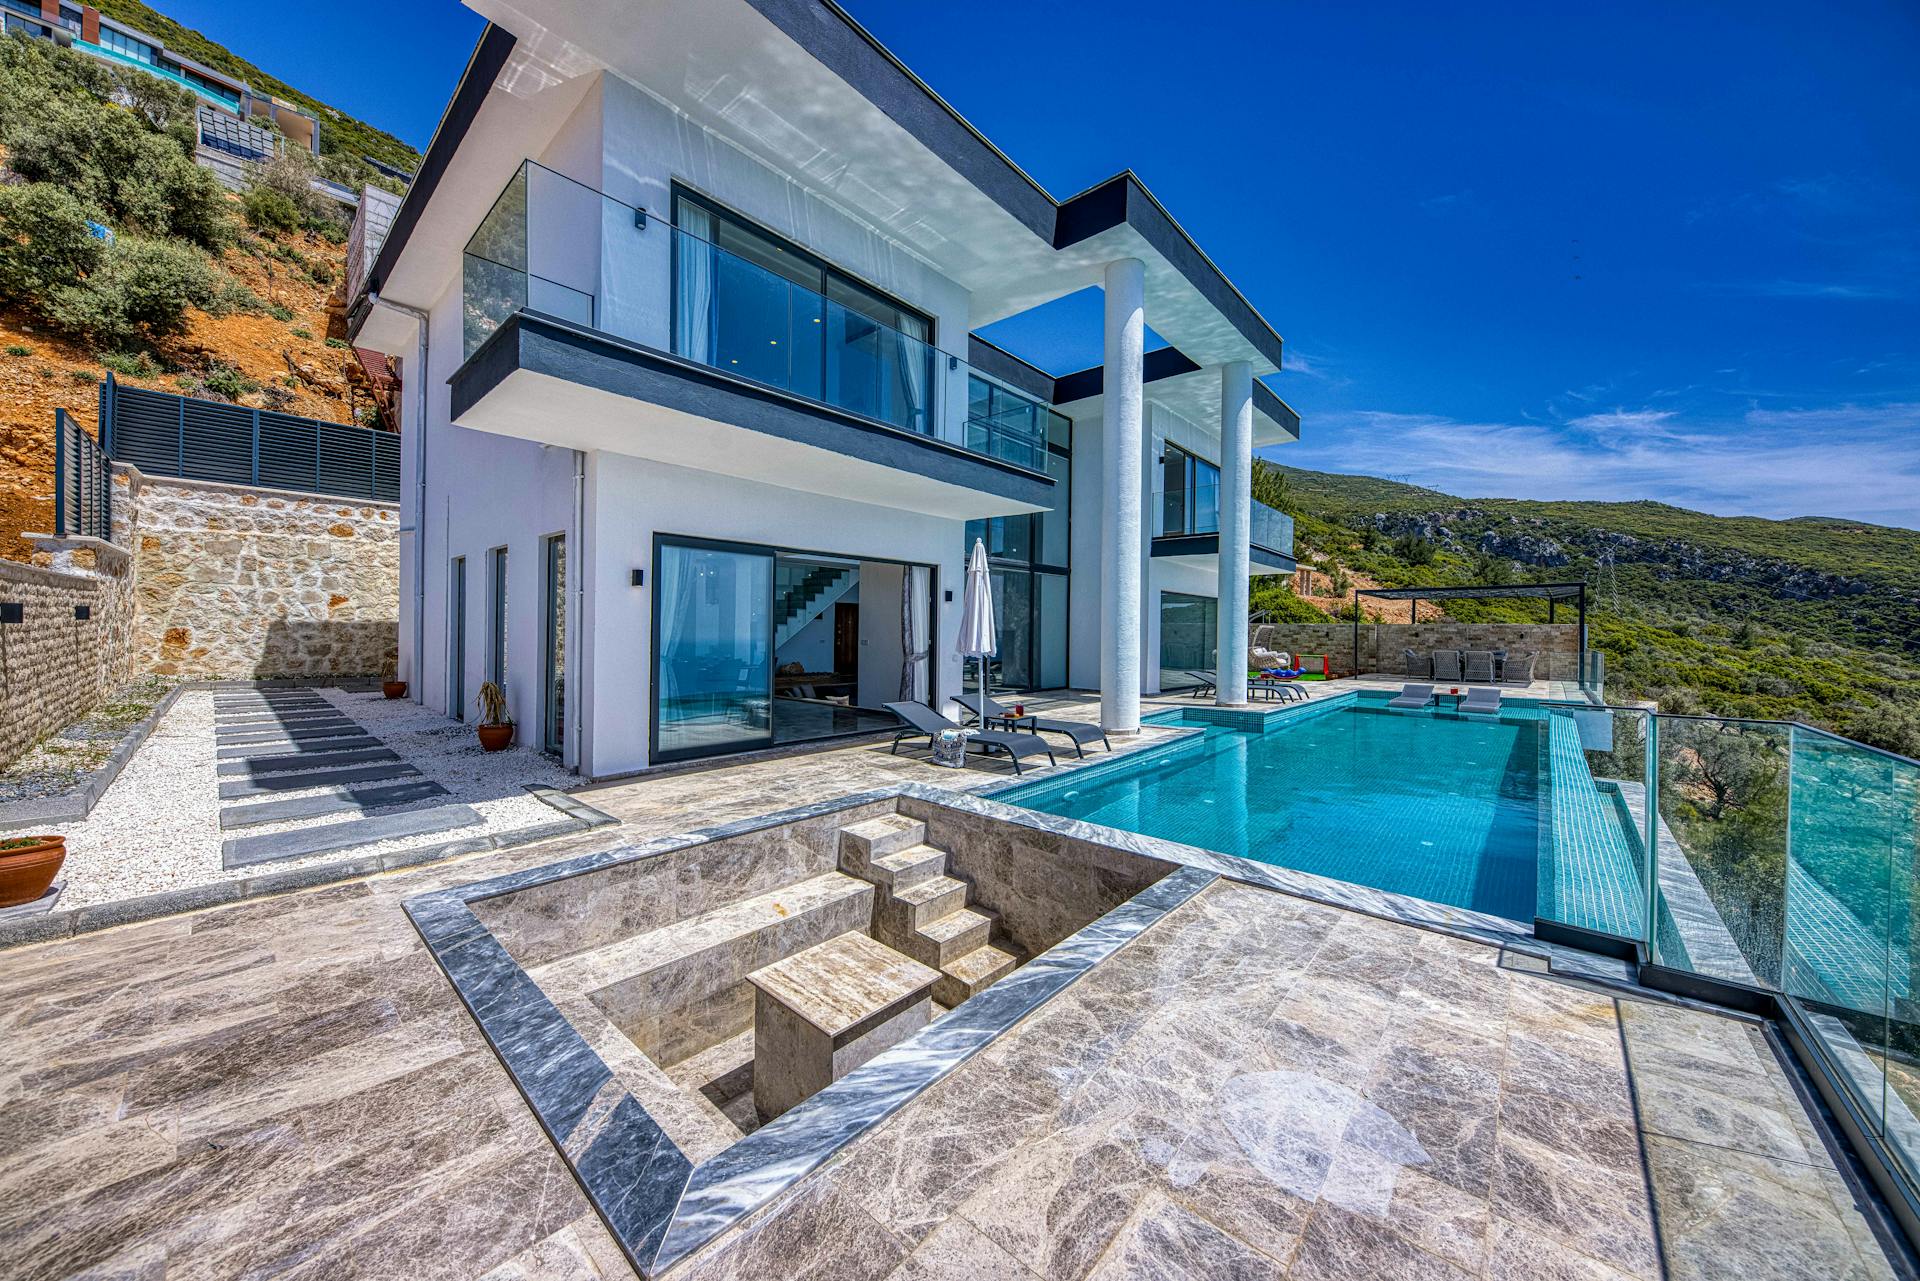
2. Today’s Buyers Expect Magazine-Level Quality
Online property browsing has changed the real estate landscape.
Buyers now scroll through platforms like Zillow and Redfin with the same visual standards they apply to Instagram, Airbnb, and luxury travel sites.
They expect:
- Balanced lighting
- Vibrant but natural colors
- Clutter-free rooms
- Enhanced curb appeal
- Clear, polished details
Professional editing bridges the gap between a decent photo and a listing that stops someone mid-scroll.
3. Better Photos = Better Showings = Better Offers
Homeowners already believe it’s the right market to sell — but good market conditions are only half the equation.
The other half? Standing out from all the other sellers who feel the same way.
Photo editing can:
- Increase showing appointments
- Improve online engagement
- Elevate the perceived value of the home
- Attract more competitive buyers
- Reduce the number of days on market
- Lead to stronger negotiation power for sellers
In a market where demand is high, polished visuals help push offers even higher.
4. Virtual Staging Helps Buyers Visualize — and Pays Off
Vacant rooms can feel cold and uninviting.
Cluttered rooms can feel small.
Poorly lit rooms can feel gloomy.
But virtual staging transforms a space instantly.
With virtual staging from Phixer:
- Empty rooms become warm, furnished spaces
- Outdated décor becomes modern
- Uninspiring rooms become emotionally compelling
- Buyers can picture themselves living there
This adds perceived value — often increasing buyer interest by 200–300%.
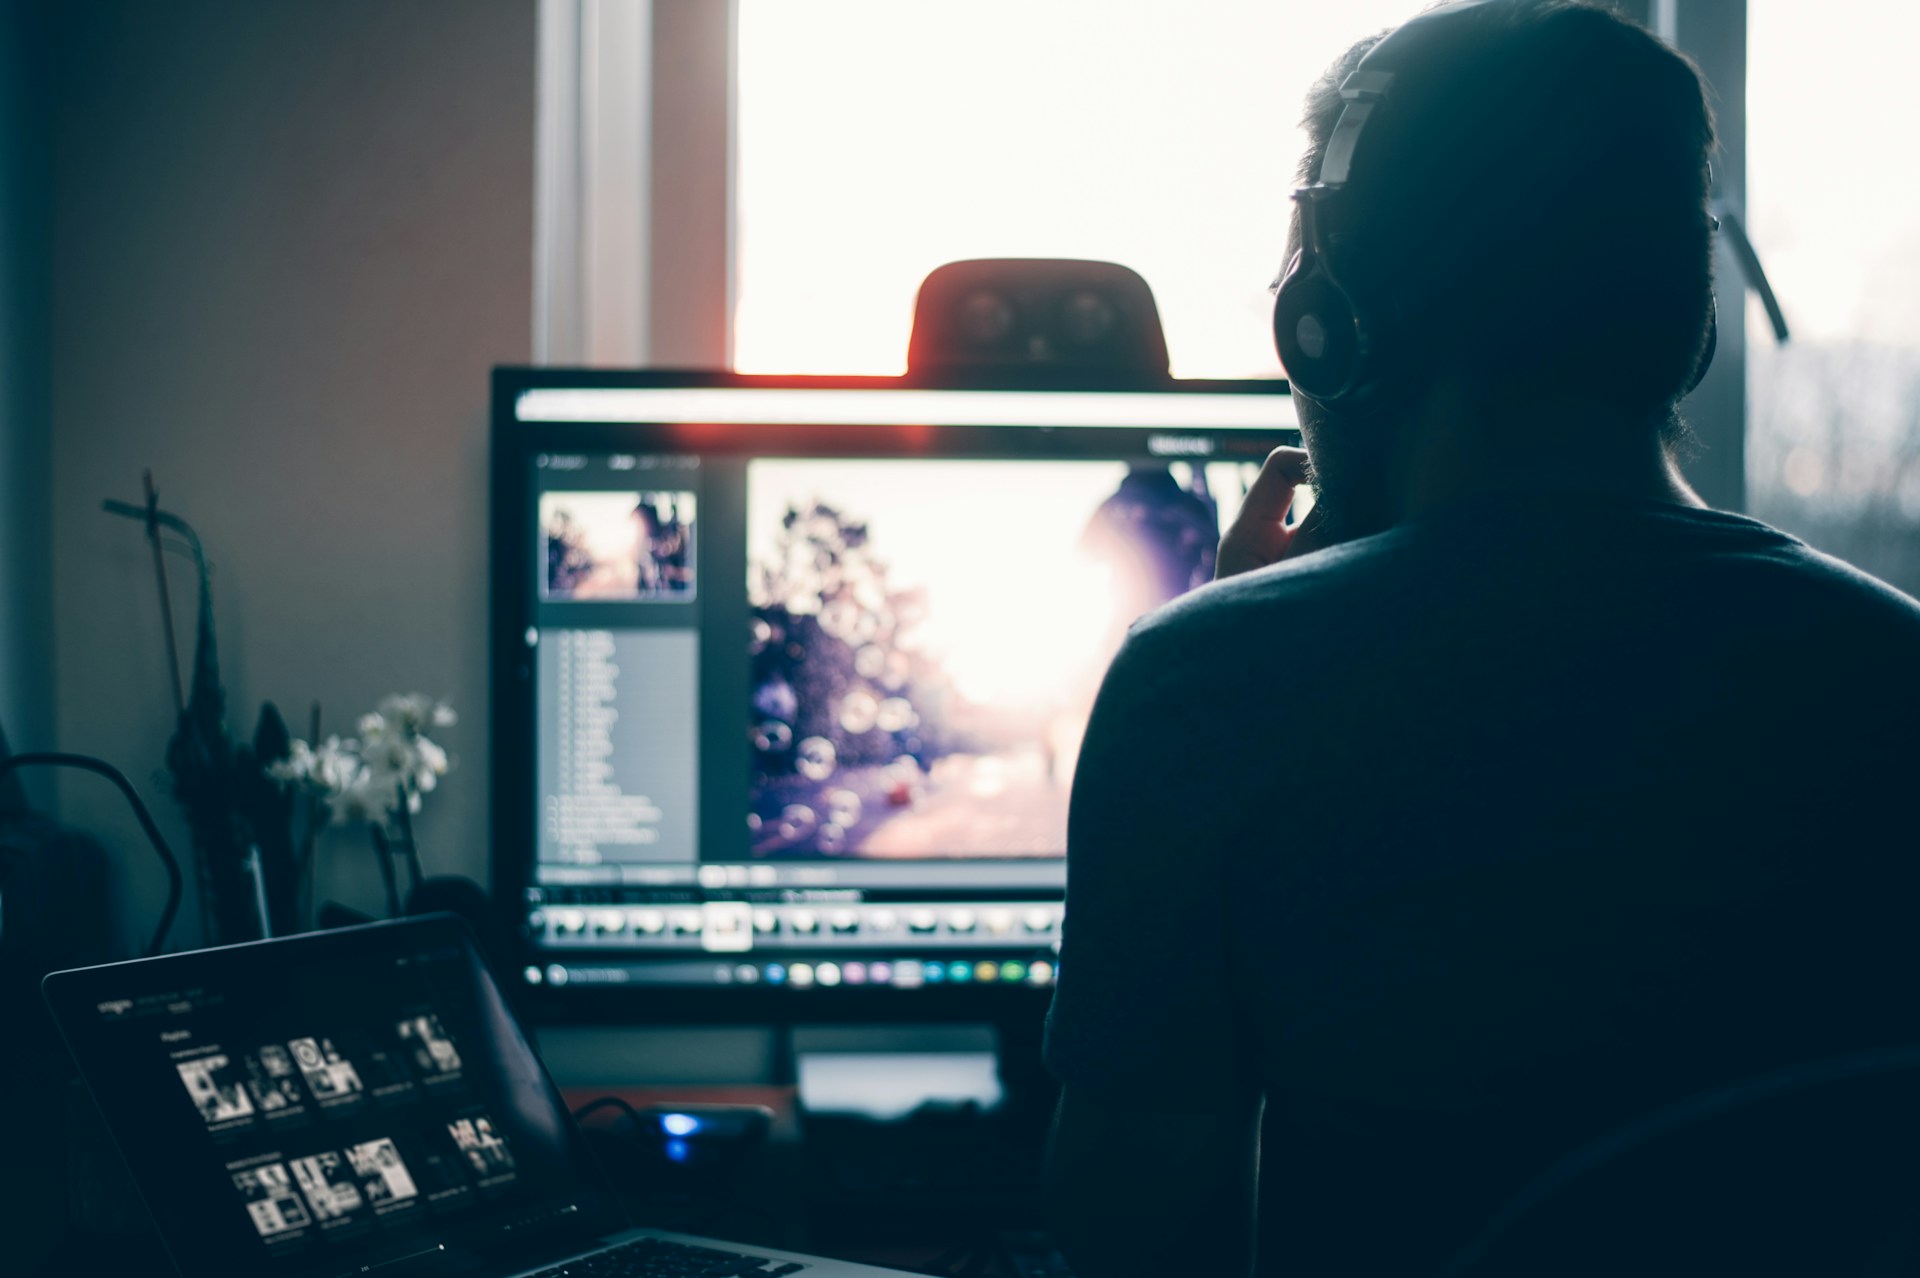
5. Editing Helps Correct Common Seller Photography Problems
Even good cameras can’t fix:
- Harsh shadows
- Bad angles
- Poor lighting
- Distracting objects
- Crooked walls
- Window glare
- Dull colors
- Overexposed skies
Phixer’s professional editors handle all of this, ensuring every image meets the industry’s highest visual standards.
6. Why Agents Trust Phixer During the Busy Selling Season
When activity spikes — like it is now — real estate agents need fast, reliable, and high-quality support.
Phixer provides:
- 24-hour turnaround
- Real estate–focused editing experts
- Virtual staging, object removal, twilight edits, and retouching
- Scalable services for agents, brokerages, and photographers
This means agents can list properties quickly without sacrificing quality.
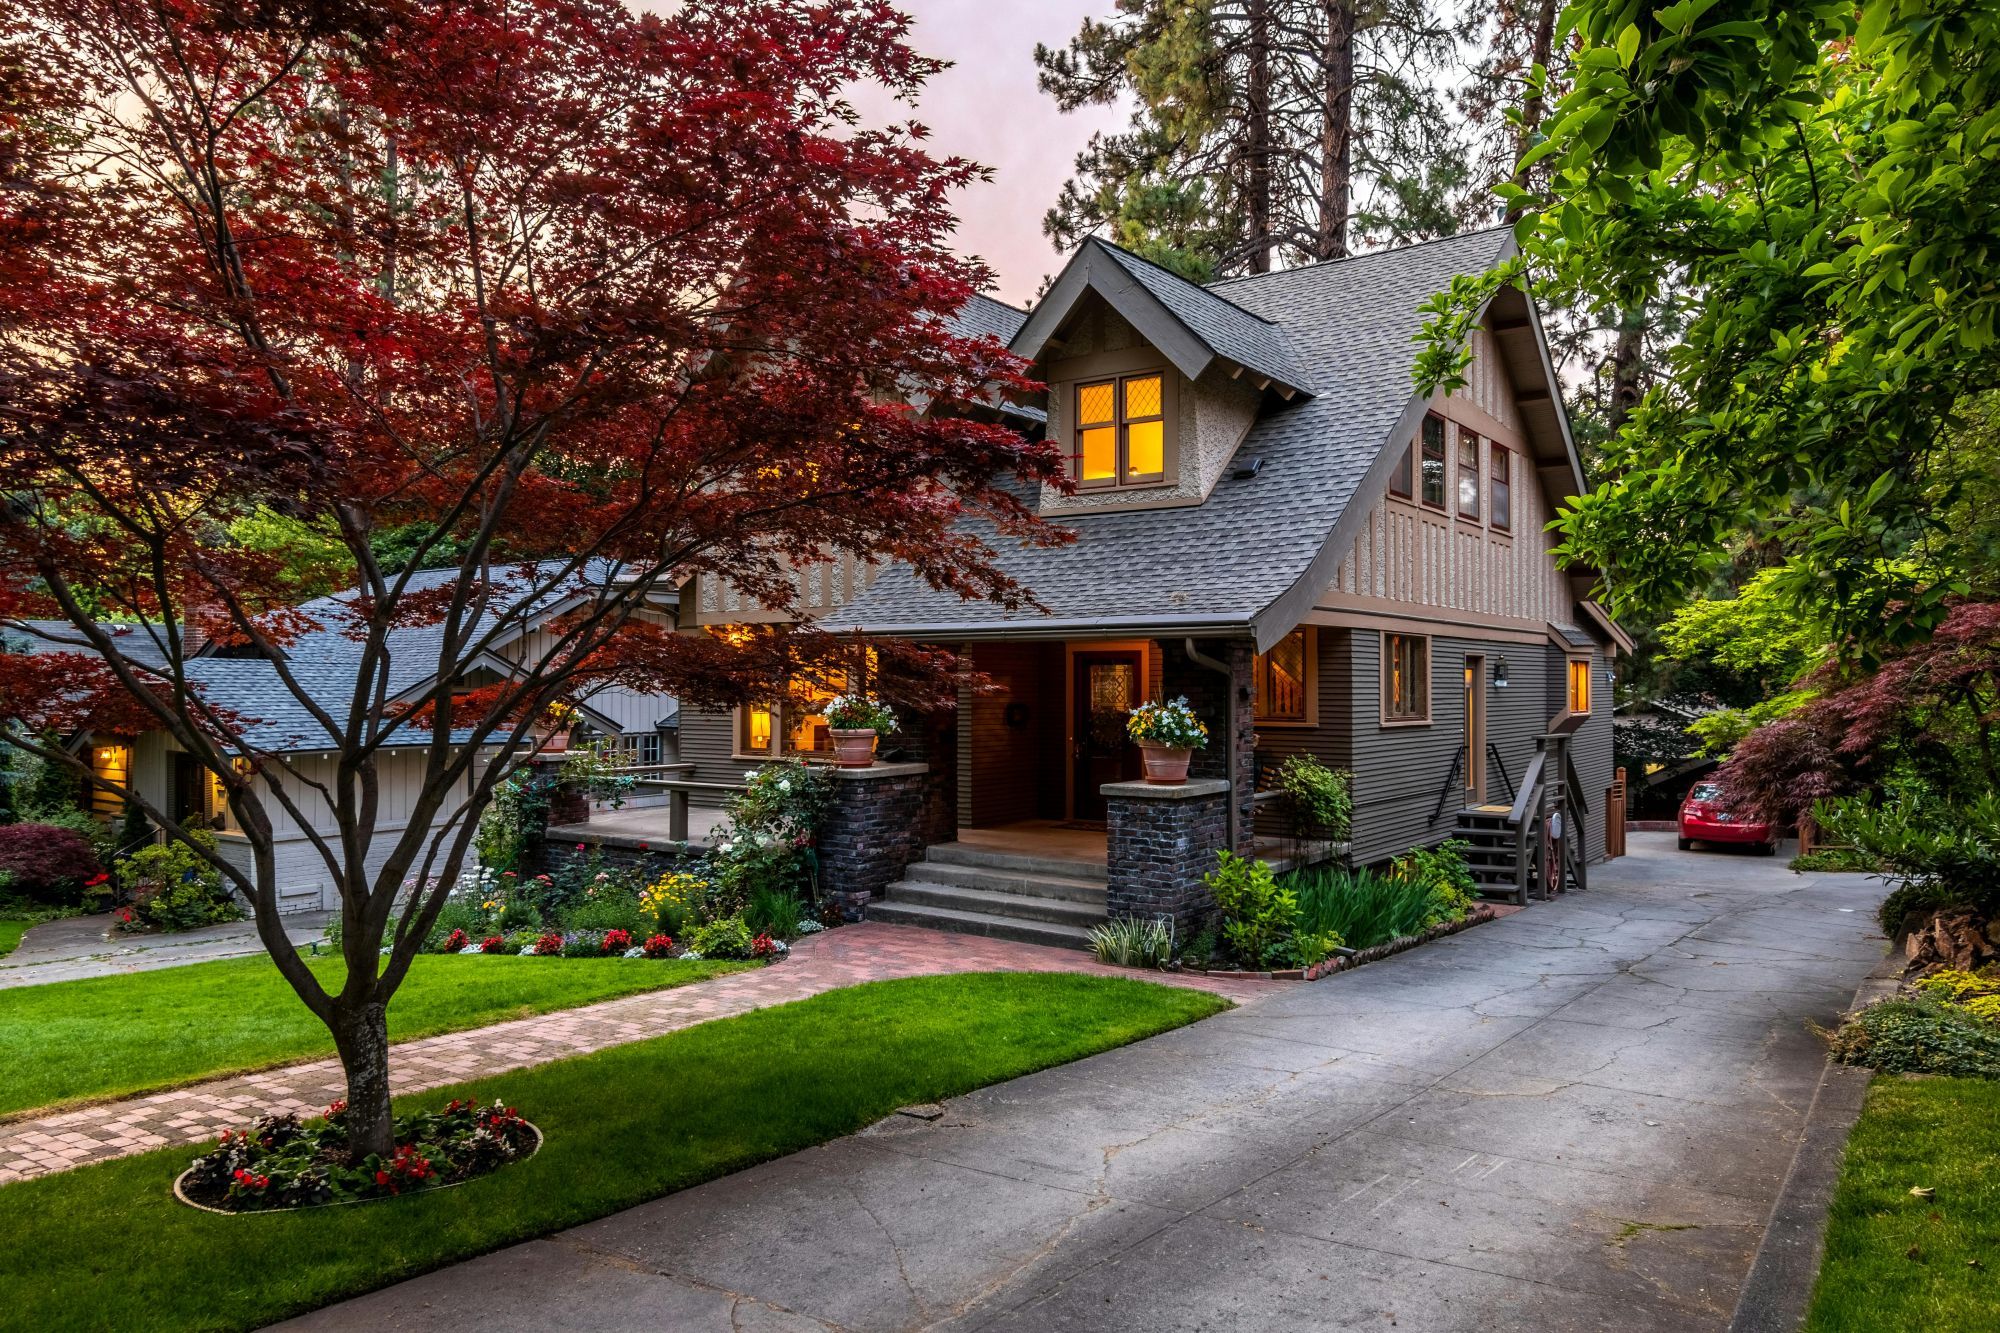
7. Selling in 2025? Polished Photos Are No Longer Optional
But timing alone doesn’t maximize profit.
Presentation does.
In a digital-first market where buyers make decisions based on photos, professionally edited images are a powerful, proven tool for generating more interest, faster offers, and higher final sale prices.
Whether you’re an agent preparing for a busy selling season or a homeowner wanting to capitalize on market momentum, now is the time to elevate your visuals.
Ready to Make Your Listing Stand Out?
Phixer.net helps real estate professionals and home sellers transform ordinary property photos into high-impact, buyer-attracting images.
Explore our real estate photo editing services at Phixer.net
Get ahead of the competition — and make the most of today’s hot seller’s market.