In the real estate industry, home staging develops a residence for sale by making the property look appealing. The staging method allows potential buyers to visualize themselves in the space, increase the property’s value, and demonstrate the home’s potential through visual appeal.
Traditional home staging is now a thing of the past as more and more sellers are using virtual home staging services, like Phixer, to create high-quality images of residential properties. Digital staging provides more benefits over traditional home staging, as the former is more cost-efficient.
[lwptoc]
TL;DR: If you want to sell your property fast through digital staging, dress up the space through these tips:
1. Add Virtual Decors and Furniture
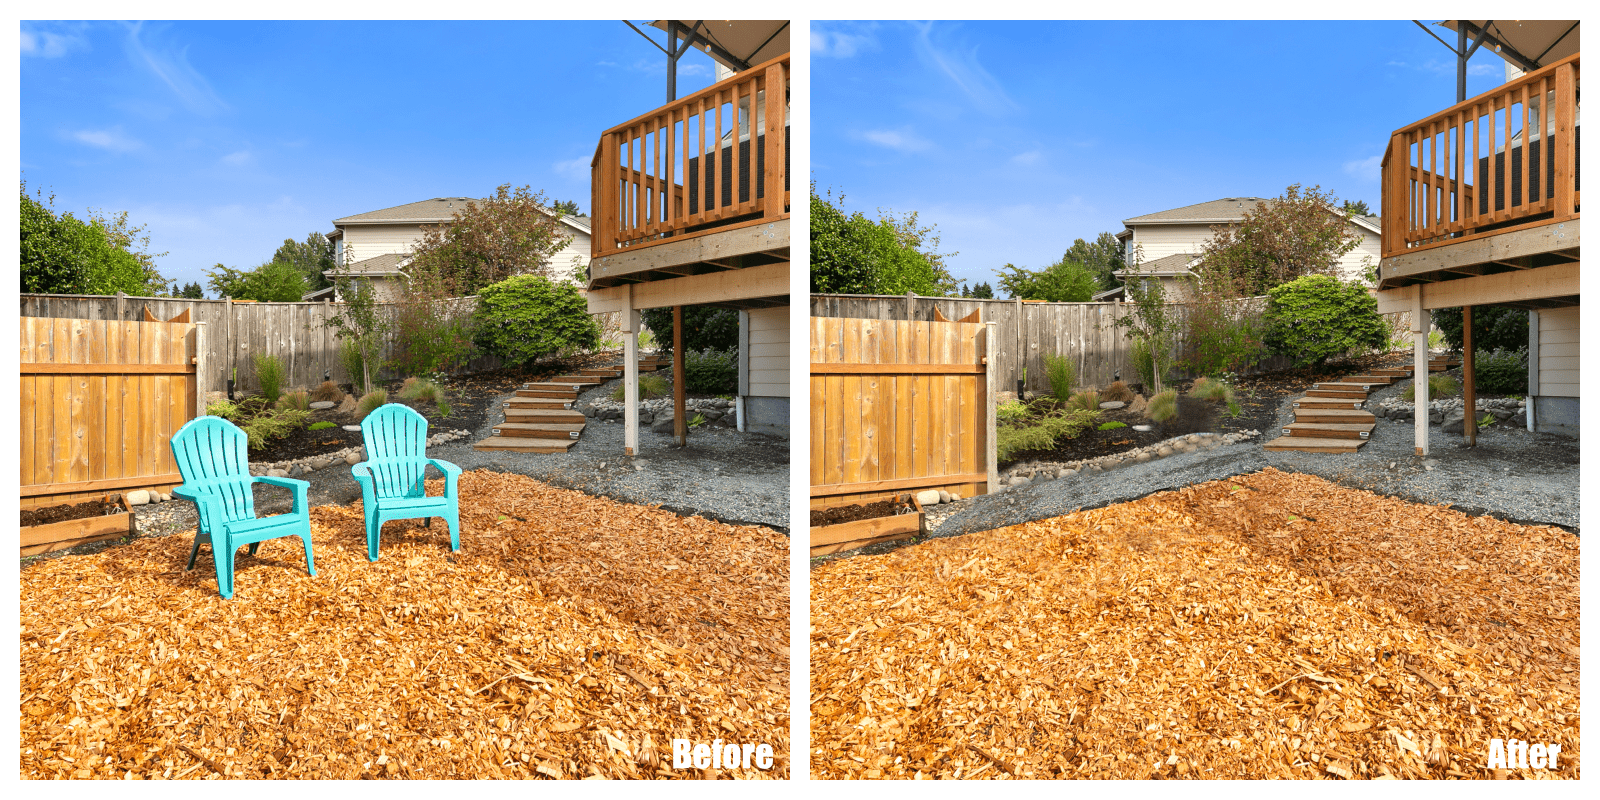
In virtual staging, you need to make the property feel and look inviting. You can’t bring in new customers if the space seems unsafe or feels like someone else’s home. Before using a full-blown virtual property enhancement, add small decors and furniture to empty spaces first. You can add seating furniture, hanging sets, and even plants depending on the space size. Consider the room’s overall size, as adding too many fittings will make the space look cramped and feel uninviting.
You can do this by editing via Photoshop or availing virtual staging services. Virtual staging is versatile so that you won’t have any problems adding different elements to a vacant room or area inside a residential property.
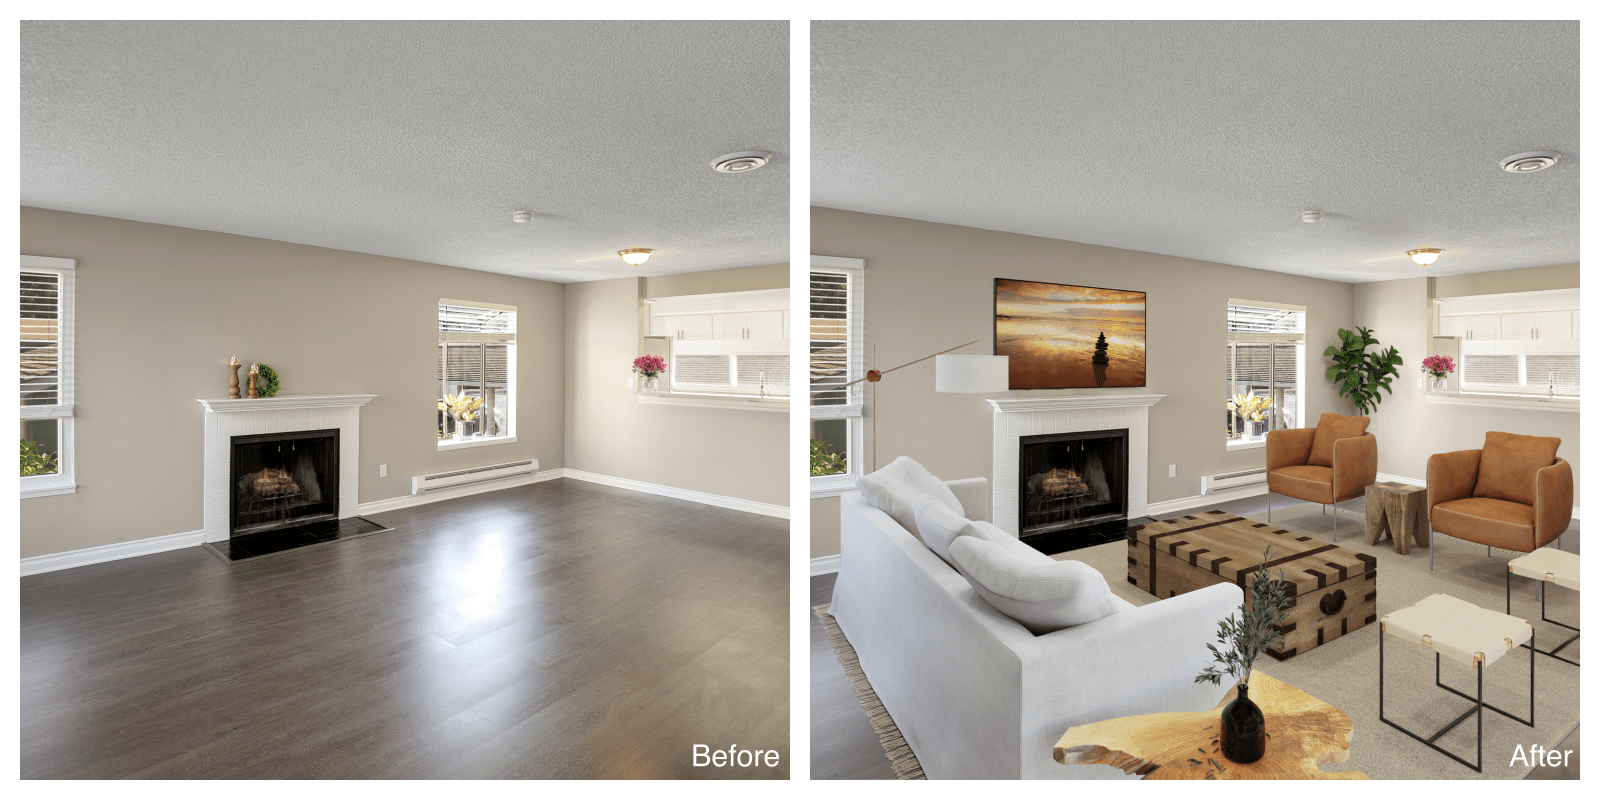
2. Determine a Focal Point
Determine a focal point to catch the attention of potential homebuyers once they view your photos when adding virtual decors and furniture. You can achieve this by placing a red-colored seat in a living room filled with cream-colored furniture or adding a large chandelier in the kitchen.
The focal point can help emphasize the point of interest in the room and ensure harmony between design elements added to the photos. You’ll have the liberty to add as many virtual decors and furniture in empty spaces, but this doesn’t mean that you should. As mentioned earlier, going overboard when adding design elements will only make the room feel and look small.
Generally, your photos should include your fireplaces, windows, and shelving. If the rooms have multiple unique features, such as statement chairs in bold colors or hand-painted accent walls, highlight them in your photos, as well.
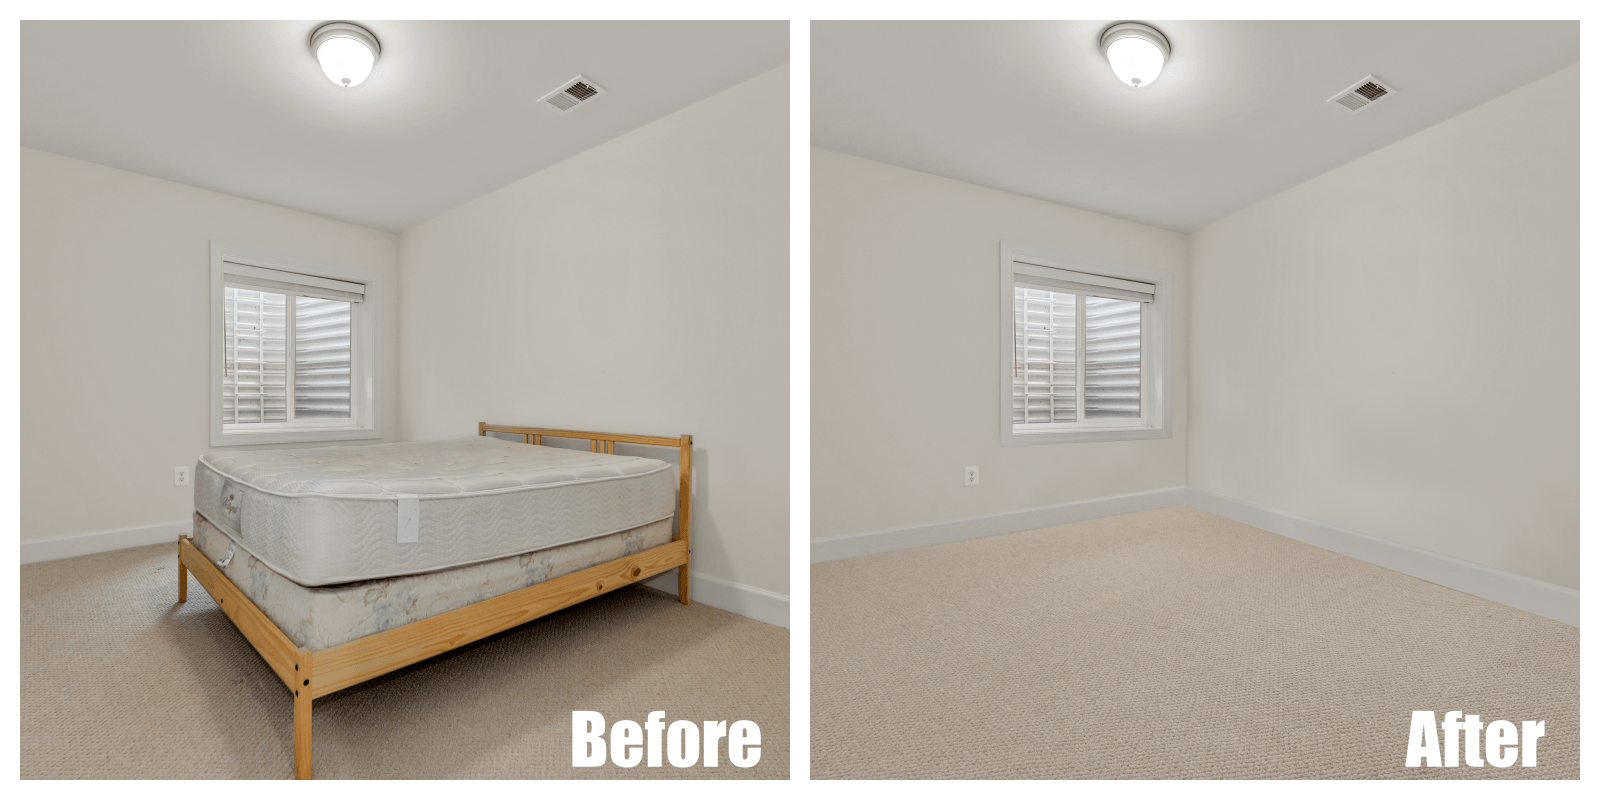
3. Focus On the Angles
You should capture as many details as you can when virtually staging a home. For instance, when taking photos of the bedroom, pay attention to your angles so you can include significant furniture and appliances in one image. Perspective is essential to virtual staging because it allows potential buyers to see the entire room and its features.
The more visual elements you provide to potential buyers, the easier it’ll be for them to assess whether the property suits their lifestyle, needs, and budget.
4. Shoot in Landscape
Your image orientation is essential in virtual staging, especially when using the images for listing or banners. It’ll be challenging for you to capture as many facilities present on the property if you’re shooting photos using the wrong orientation.
When it comes to virtual staging, it’s best to shoot photos in the landscape. Photos taken in this orientation are more comprehensive than tall, allowing you to show more about the property’s rooms and use the maximum amount of space to add virtual decors and furniture.
Landscape photos look better on the MLS and other real estate websites and significantly increase your chances of finding buyers and earning profits fast.
5. Use a Neutral Background
Virtual decors and furniture are great accessories to dress up a space. You need to pay attention to the colors in editing photos to succeed with your efforts. The wrong color combination can adversely affect the visual appeal of your pictures and your viewers’ attention and emotions.
If you want your visual decors and furniture to stand out, opt to use a neutral background. Neutral palettes, such as beige, gray, taupe, ivory, and different shades of white, blend well with other colors within the room. Using a neutral background, any visual décor or furniture you add to the room will surely pop out!
The combination of a neutral background and decors and furniture in different colors will make any space more appealing and excite potential homebuyers.
6. Keep the Lights On
Light plays a vital role in photos. Particularly in virtual staging, light can alter the mood of the viewers and significantly affect the quality of your photos. Keep the lights on even if you’re taking pictures with the abundance of natural light to impress homebuyers with your virtual stage, which will bring more warmth to your photos and make your photos look more natural.
Lights will also make it easier for you to edit your photos. The sufficient lighting in photos can quickly eliminate shadows and make the rooms look more realistic, especially when adding virtual items.
7. Create a Striking Balance
Virtual staging is making waves in the real estate industry today due to its manipulation of how every room in the house looks and feels. Strive to create a striking balance to make your photos look more appealing in the eyes of the homebuyers when editing photos. Keep in mind that some buyers want their properties to feel more inviting. These individuals might need to see some furniture to visualize themselves living in the property quickly.
For example, instead of going with the trend and sticking to a minimalist home design in editing photos, consider that not everyone appreciates living in a property that only has the bare essentials.
Takeaway Points
There are a million ways to dress up the emptiness, especially in a real estate setting. Virtual staging is a good technique for filling up a space and creating a homey atmosphere without buying new furniture. You don’t need to be a professional to succeed. By following the tips presented in this article, you can easily create the most realistic, stunning photos and sell your property fast.