Have you ever come across the file extensions JPG, JPEG, TIFF, and PNG?
You likely have in your lifetime, but do you actually know what these extensions mean?
For now, you may not be interested in knowing each format and its use, but if you are a photographer or a photo editor, you should consider learning image formats as soon as now.
Specifically, let us focus on the DNG file.
So, before anything else, let us define an image format.
[lwptoc]What is an image format?
An image format is a collective term used to describe a standardized way of storing digital images in image extensions.
But, there is more than learning this because the concepts of raster and vector image files also matter.
Here is a quick definition:
Raster Image Files
These are constructed by a series of pixels to form an image. Image extensions like JPEG, GIF, and PNG are all raster images.
Pixels are the building blocks of images, and the photos online or in print are all raster images.
Vector Image Files
On the other hand, vector images are more flexible.
They use proportional formulas compared to pixels. Extensions like EPS, AI, and PDF are perfect vector image files for creating graphics that require frequent resizing.
Now, going back, what about a DNG file?
What is a DNG file?
The DNG file is a standard photo saving format designed by Adobe Systems.
It is a common form of digital camera raw formats to help photographers have an easy workflow.
Today, DNG is now considered a universal open format for saving images that preserve additional information preservation for photos like metadata and color profiles.
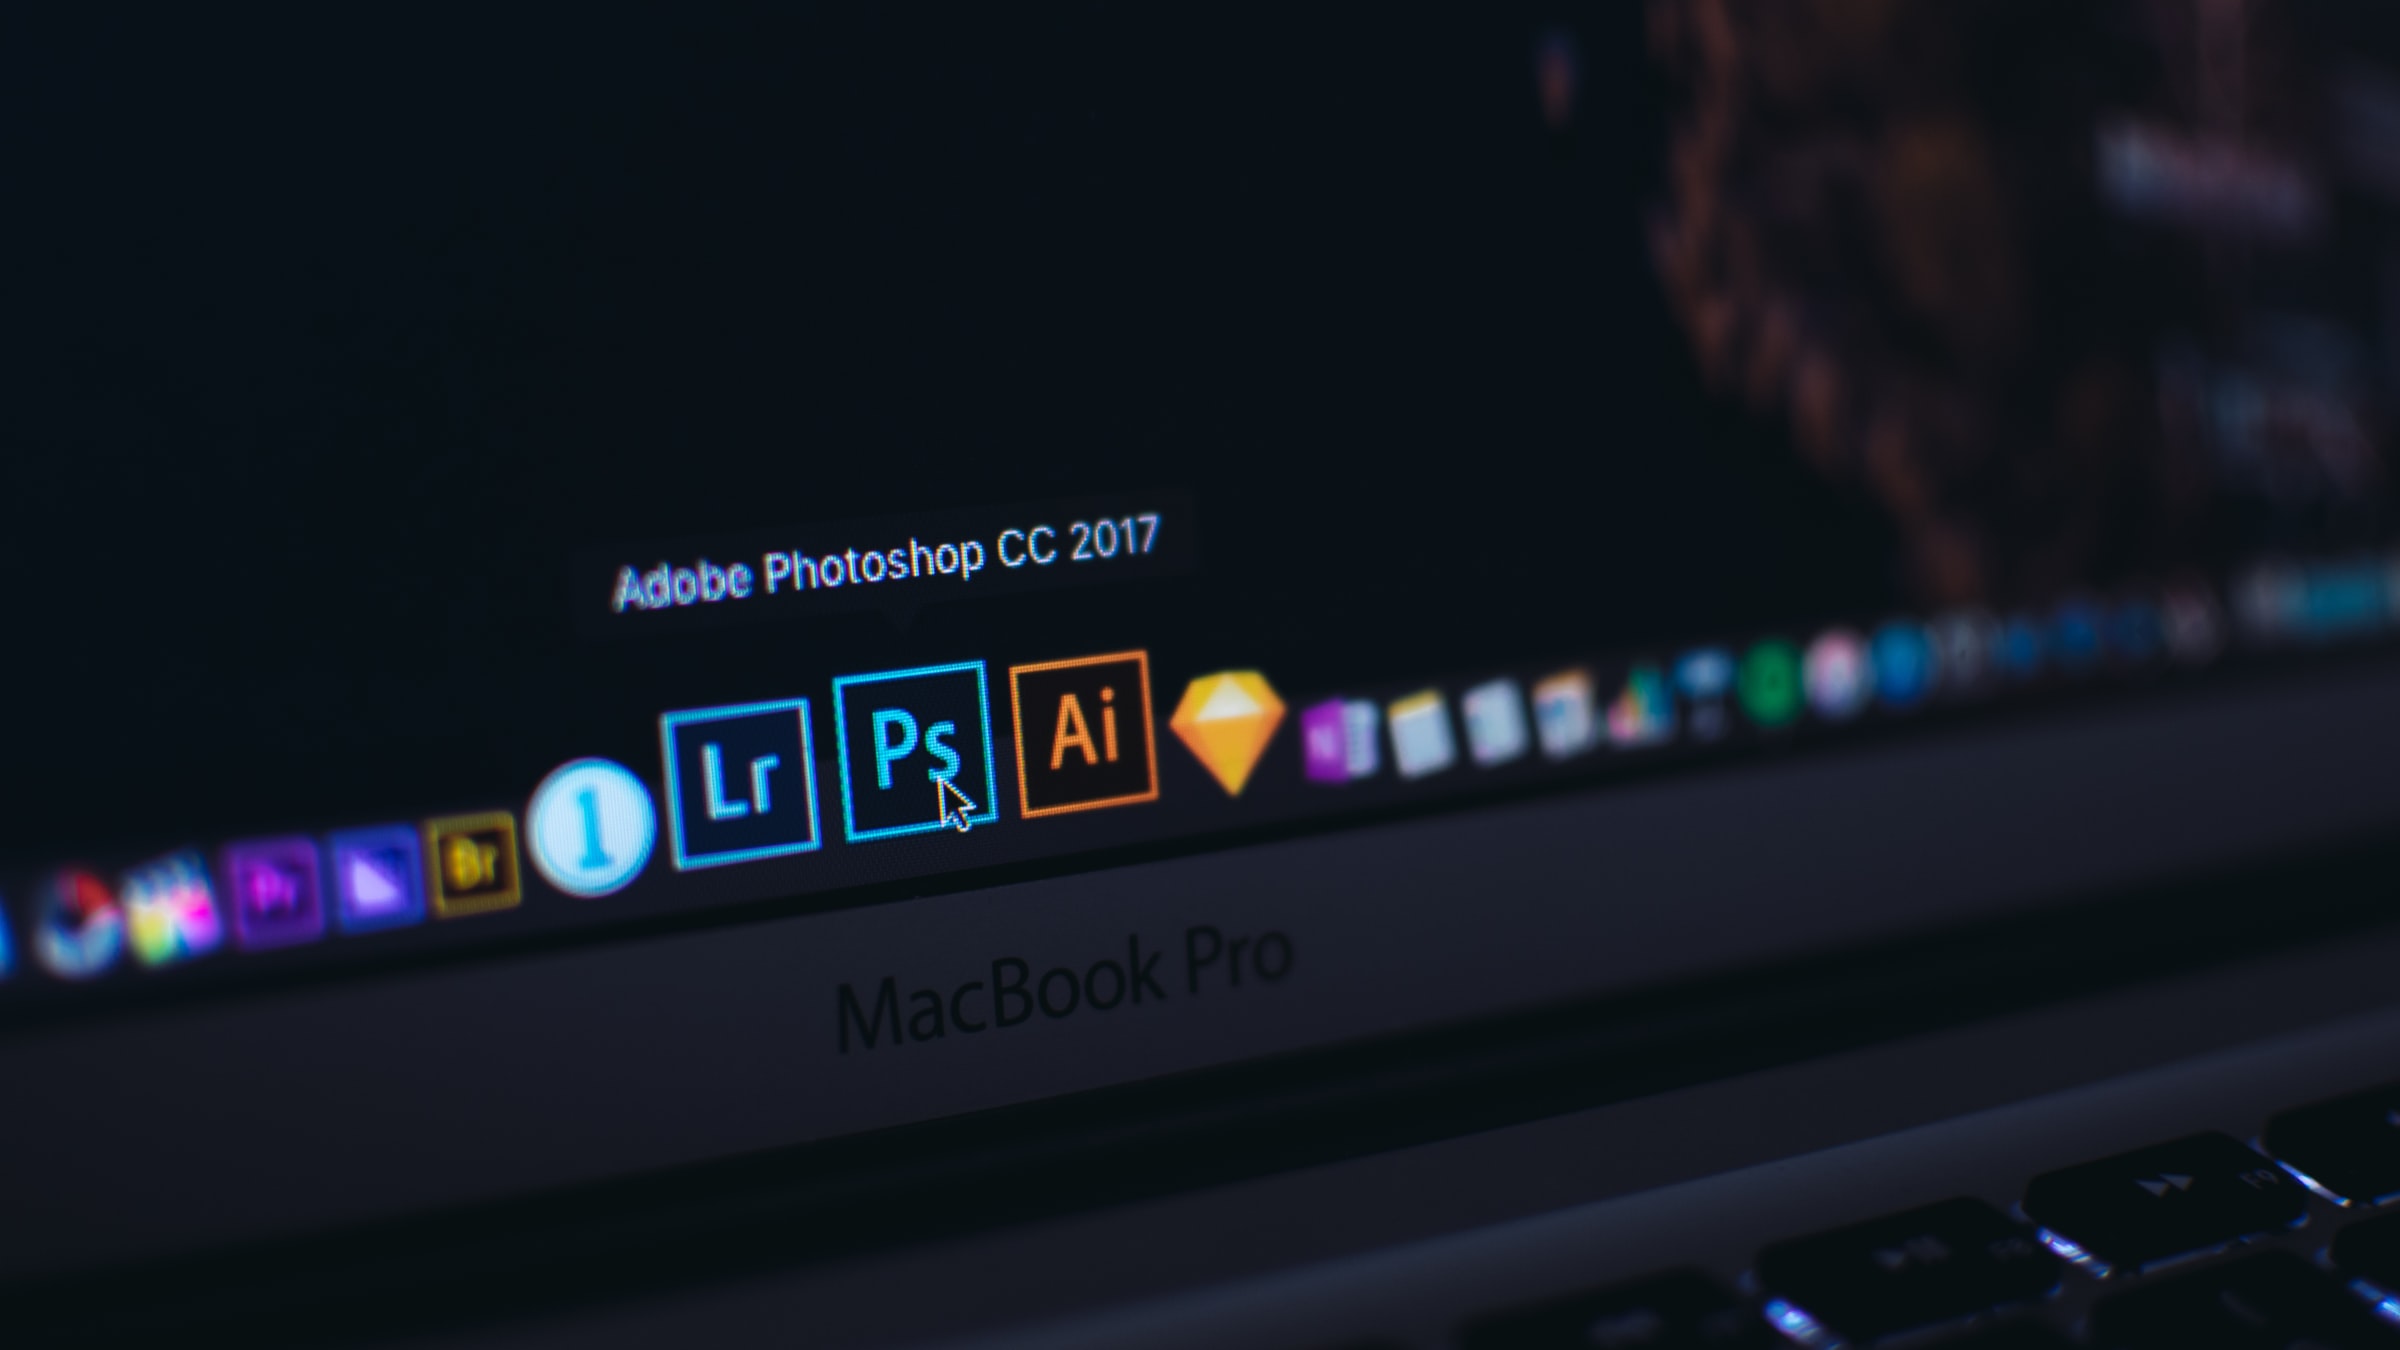
How to open a DNG file?
You can use any viewers to open DNG files.
For example, you can use the built-in photo applications of Windows and macOS.
Other software can also open this file, such as Adobe Photoshop and Adobe Lightroom.
If you have a different application on your computer but cannot open a DNG file, it is best to open it by opening the default program for a specific file extension in Windows.
How to convert DNG into other formats?
Most programs used to open a DNG file can also help you save it to other formats like PSD and PXR.
If you use Adobe Photoshop, simply go to File>Save As, then choose the new file extension you want.
DNG is also convertible online using free file converters such as Zamzar to save DNG to another extension such as TIFF, JPG, BMP, PNG, etc.
Also, DNG files are compressible!
You can compress a DNG file to a smaller size to save space.
Are you using Lightroom? Compressing a DNG is easy using this Adobe tool.
Simply go to Export> choose DNG as the image format, then pick Medium for the JPEG Preview setting.
After this, enable the Use Lossy Compression option to resize any image.
DNG vs. RAW File: Which is better?
Heard about the RAW file too?
It is another extension standard for images.
RAW images are technically “real raw,” meaning they are not yet processed for post-production editing.
So, many photographers are asking which format is better between the two.
To be honest, it is tricky. Each format has its advantages and disadvantages, and it can be your editor’s choice.
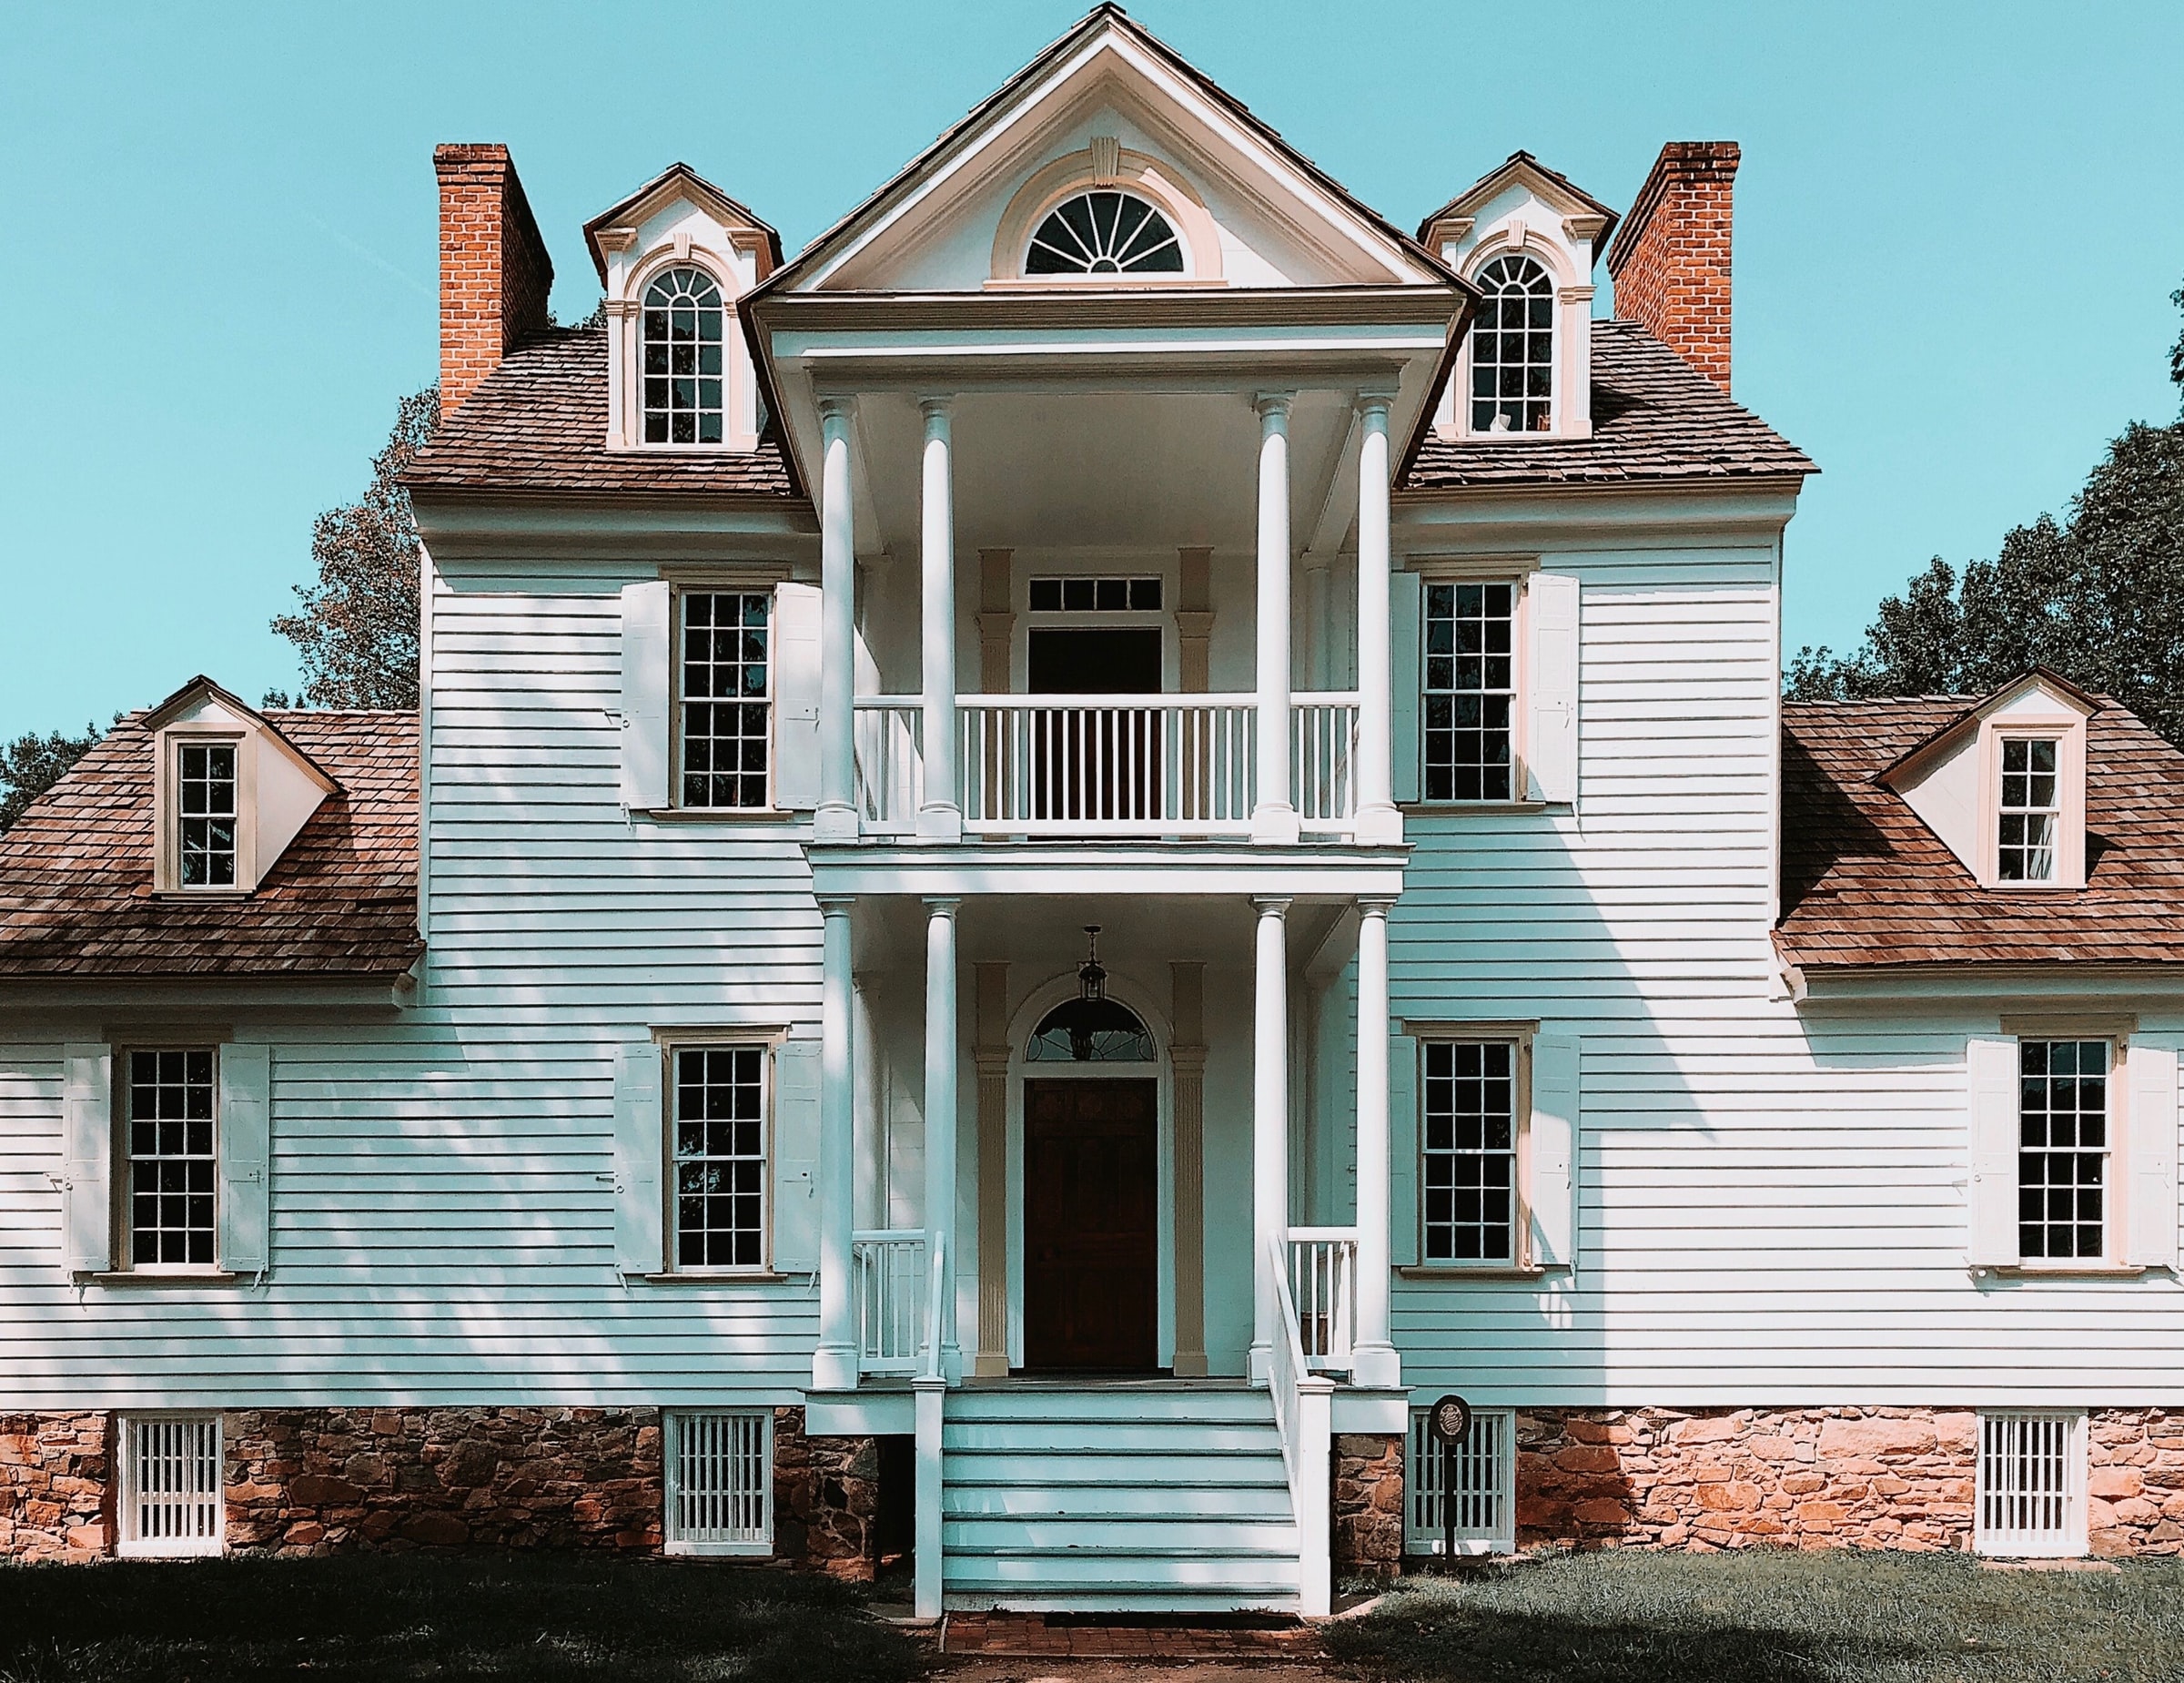
Here at Phixer, we believe that using RAW images is the best way to maximize real estate photo editing potentials.
Having firsthand RAW images allows our real estate photo editors to retouch the pictures without any restrictions. They can freely do what they want to improve the photos further and satisfy our clients.
Do you have property images that need real estate photo editing? Check with our skilled real estate photo editors the best way to enhance your photos. Call us at +1 206-934-1858.