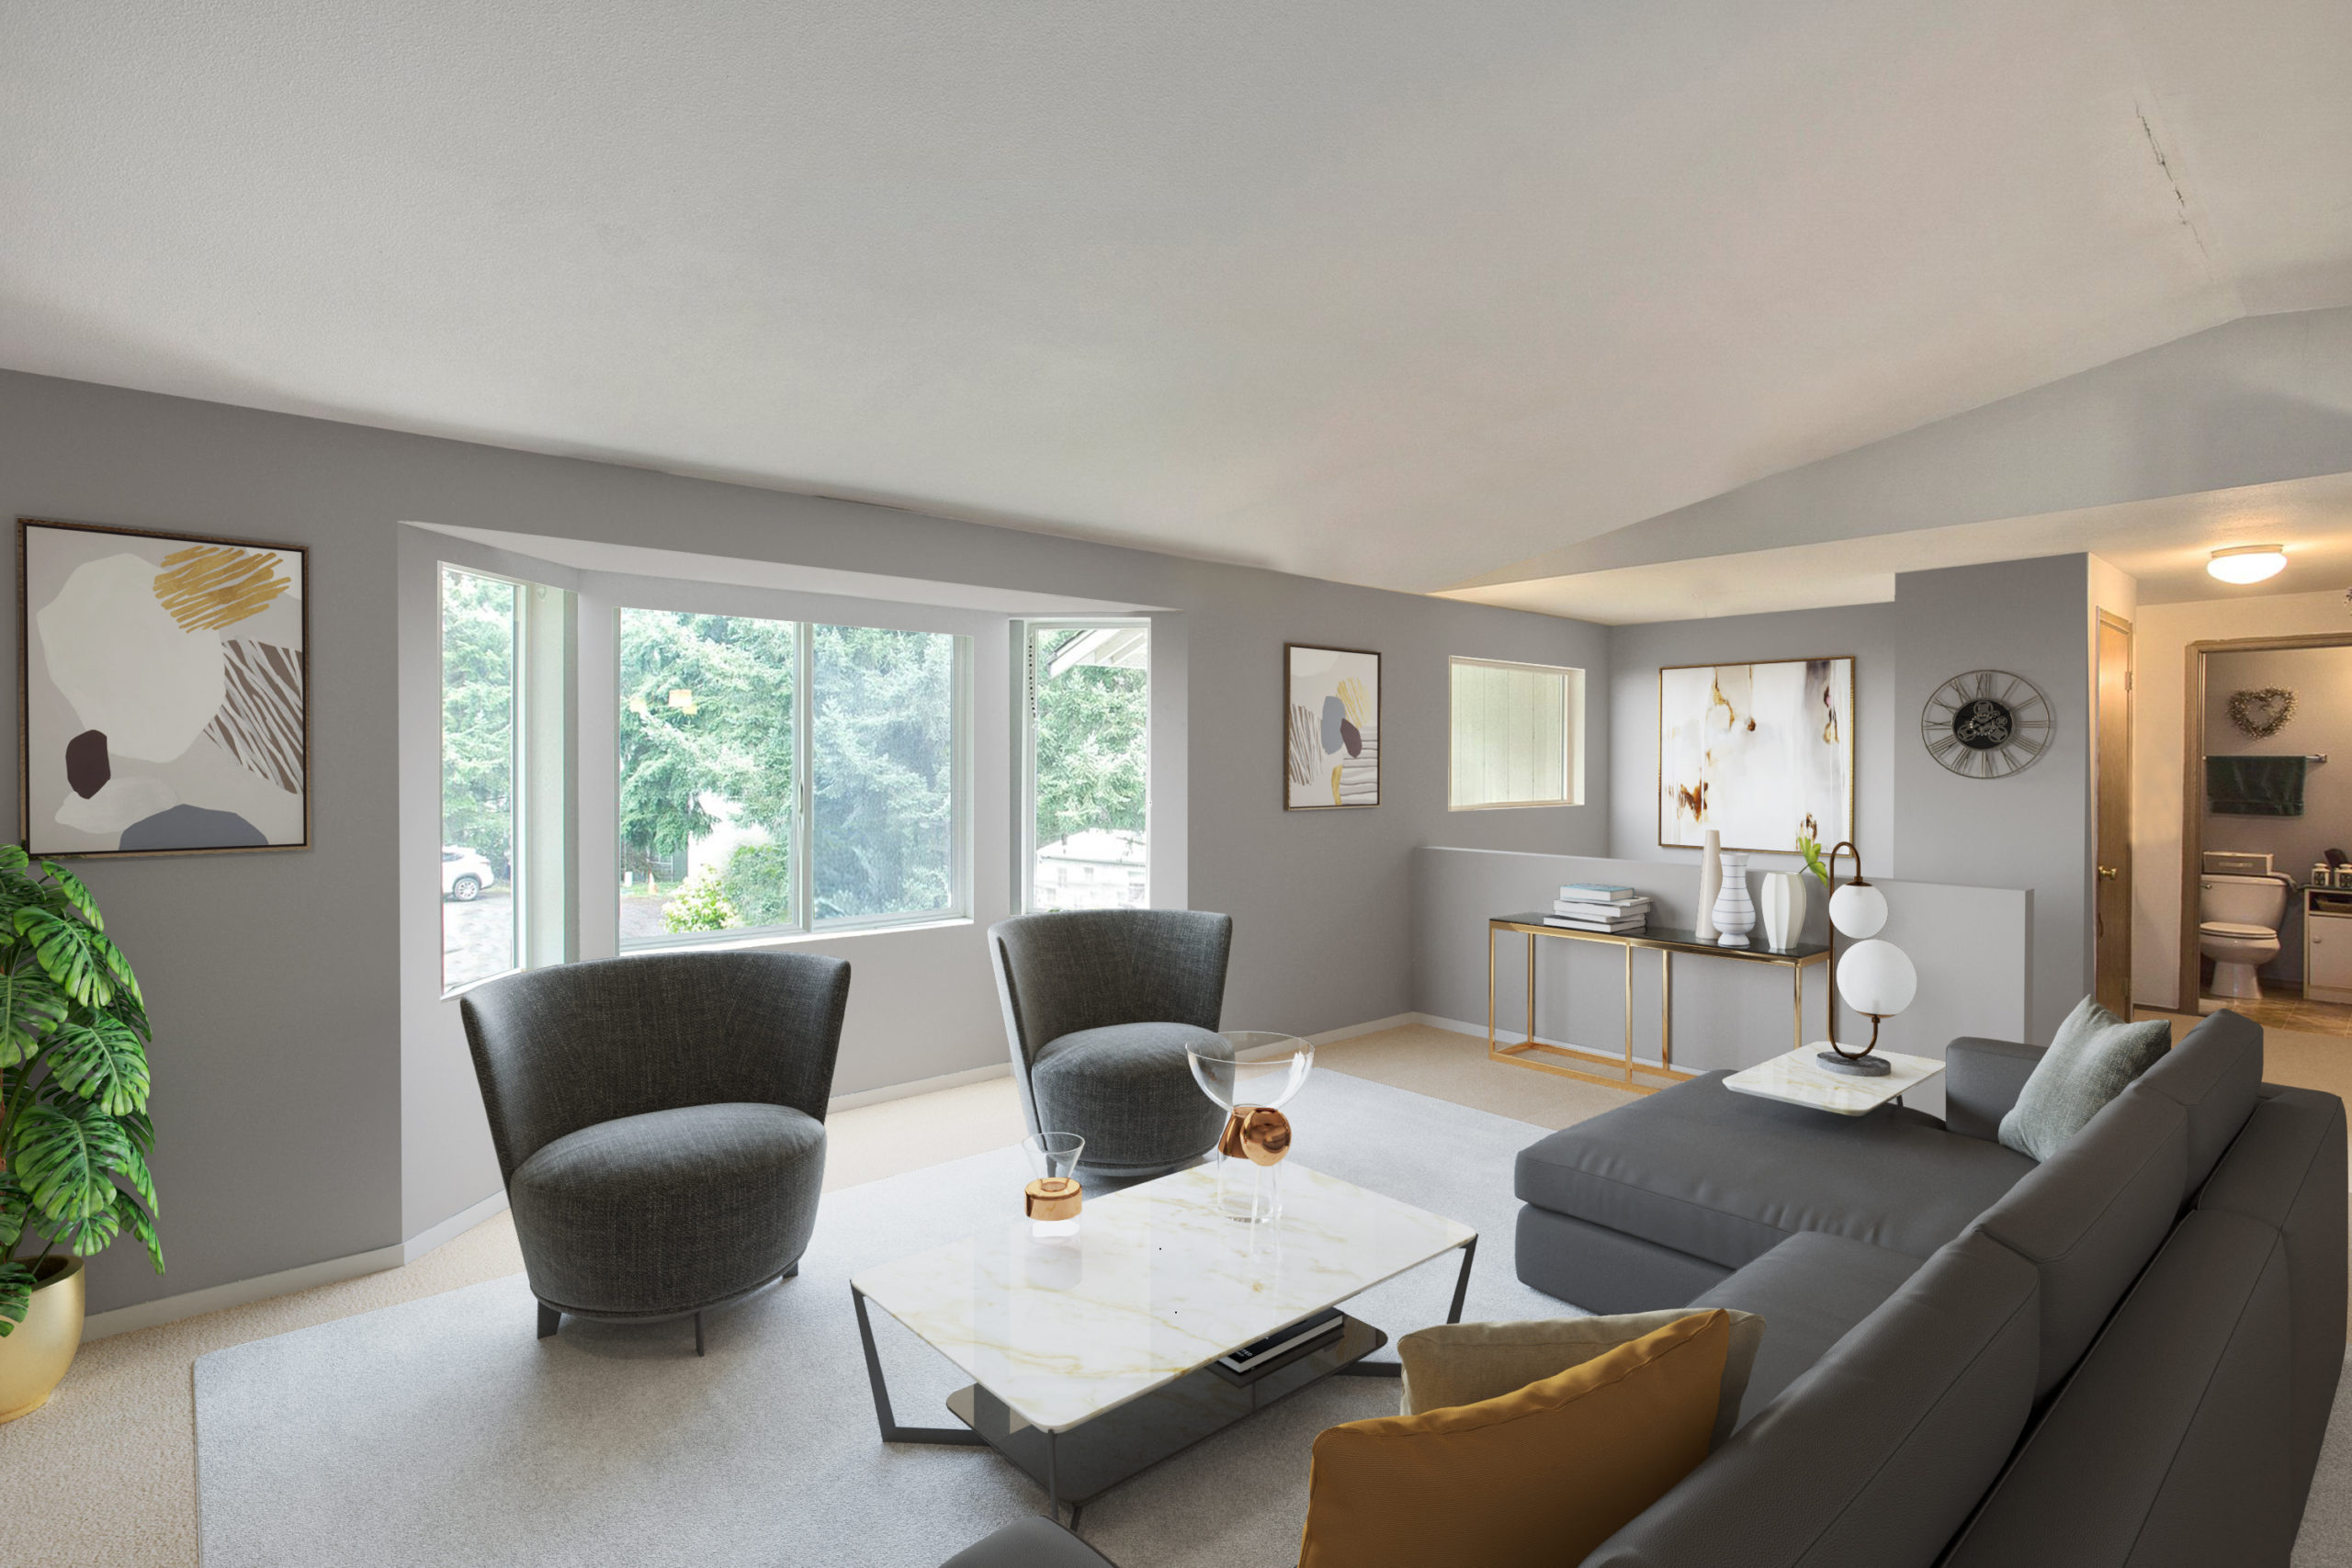
When it comes to home staging, there is a specific style that designers follow. This is true, even if virtual staging is not the traditional home staging that involves physical furniture and fixtures.
Every realtor knows this, giving homeowners a new option to stage properties without spending much.
However, you need to know one thing: virtual staging still needs a theme of furniture style. It is an integral part that you should not overlook.
So, unless you are a professional interior designer, you need to have a working knowledge about the styles you can integrate into your virtual staging images.
Here are some of the best interior design styles you can check.
Classic Style
The classic interior design is inspired by the art of ancient Greece and Rome. It comes from the idea of classicism that originated in France in the 17th century.
This style has a long history, but it never goes out of fashion. It is mostly preferred by wealthy people and those who prefer age-old values and traditions instead of modern style.
Among its key features are the following:
Color
Most classic furniture has dark and neutral colors such as mahogany and beige. If you want other colors, you can try cherry, hazelnut, gold, or black but make sure that it is complemented with the rest of the design.
Interior Light
It is common for the lighting to see crystal chandeliers, lamps with transparent stones, or expensive glass.
Usually, a chandelier is in the middle of the ceiling to give a more finished and striking look, together with other room’s fixtures.
Classic Furniture
Classical furniture is mostly made of precious woods garnered with expensive upholstery fabrics or natural leather.
Often, it is varnished to make it look more attractive. It is also common to see gold carvings as decorations. If you plan to use the classic style, you need to have a unique and artistic composition in mind so everything can be done harmoniously.
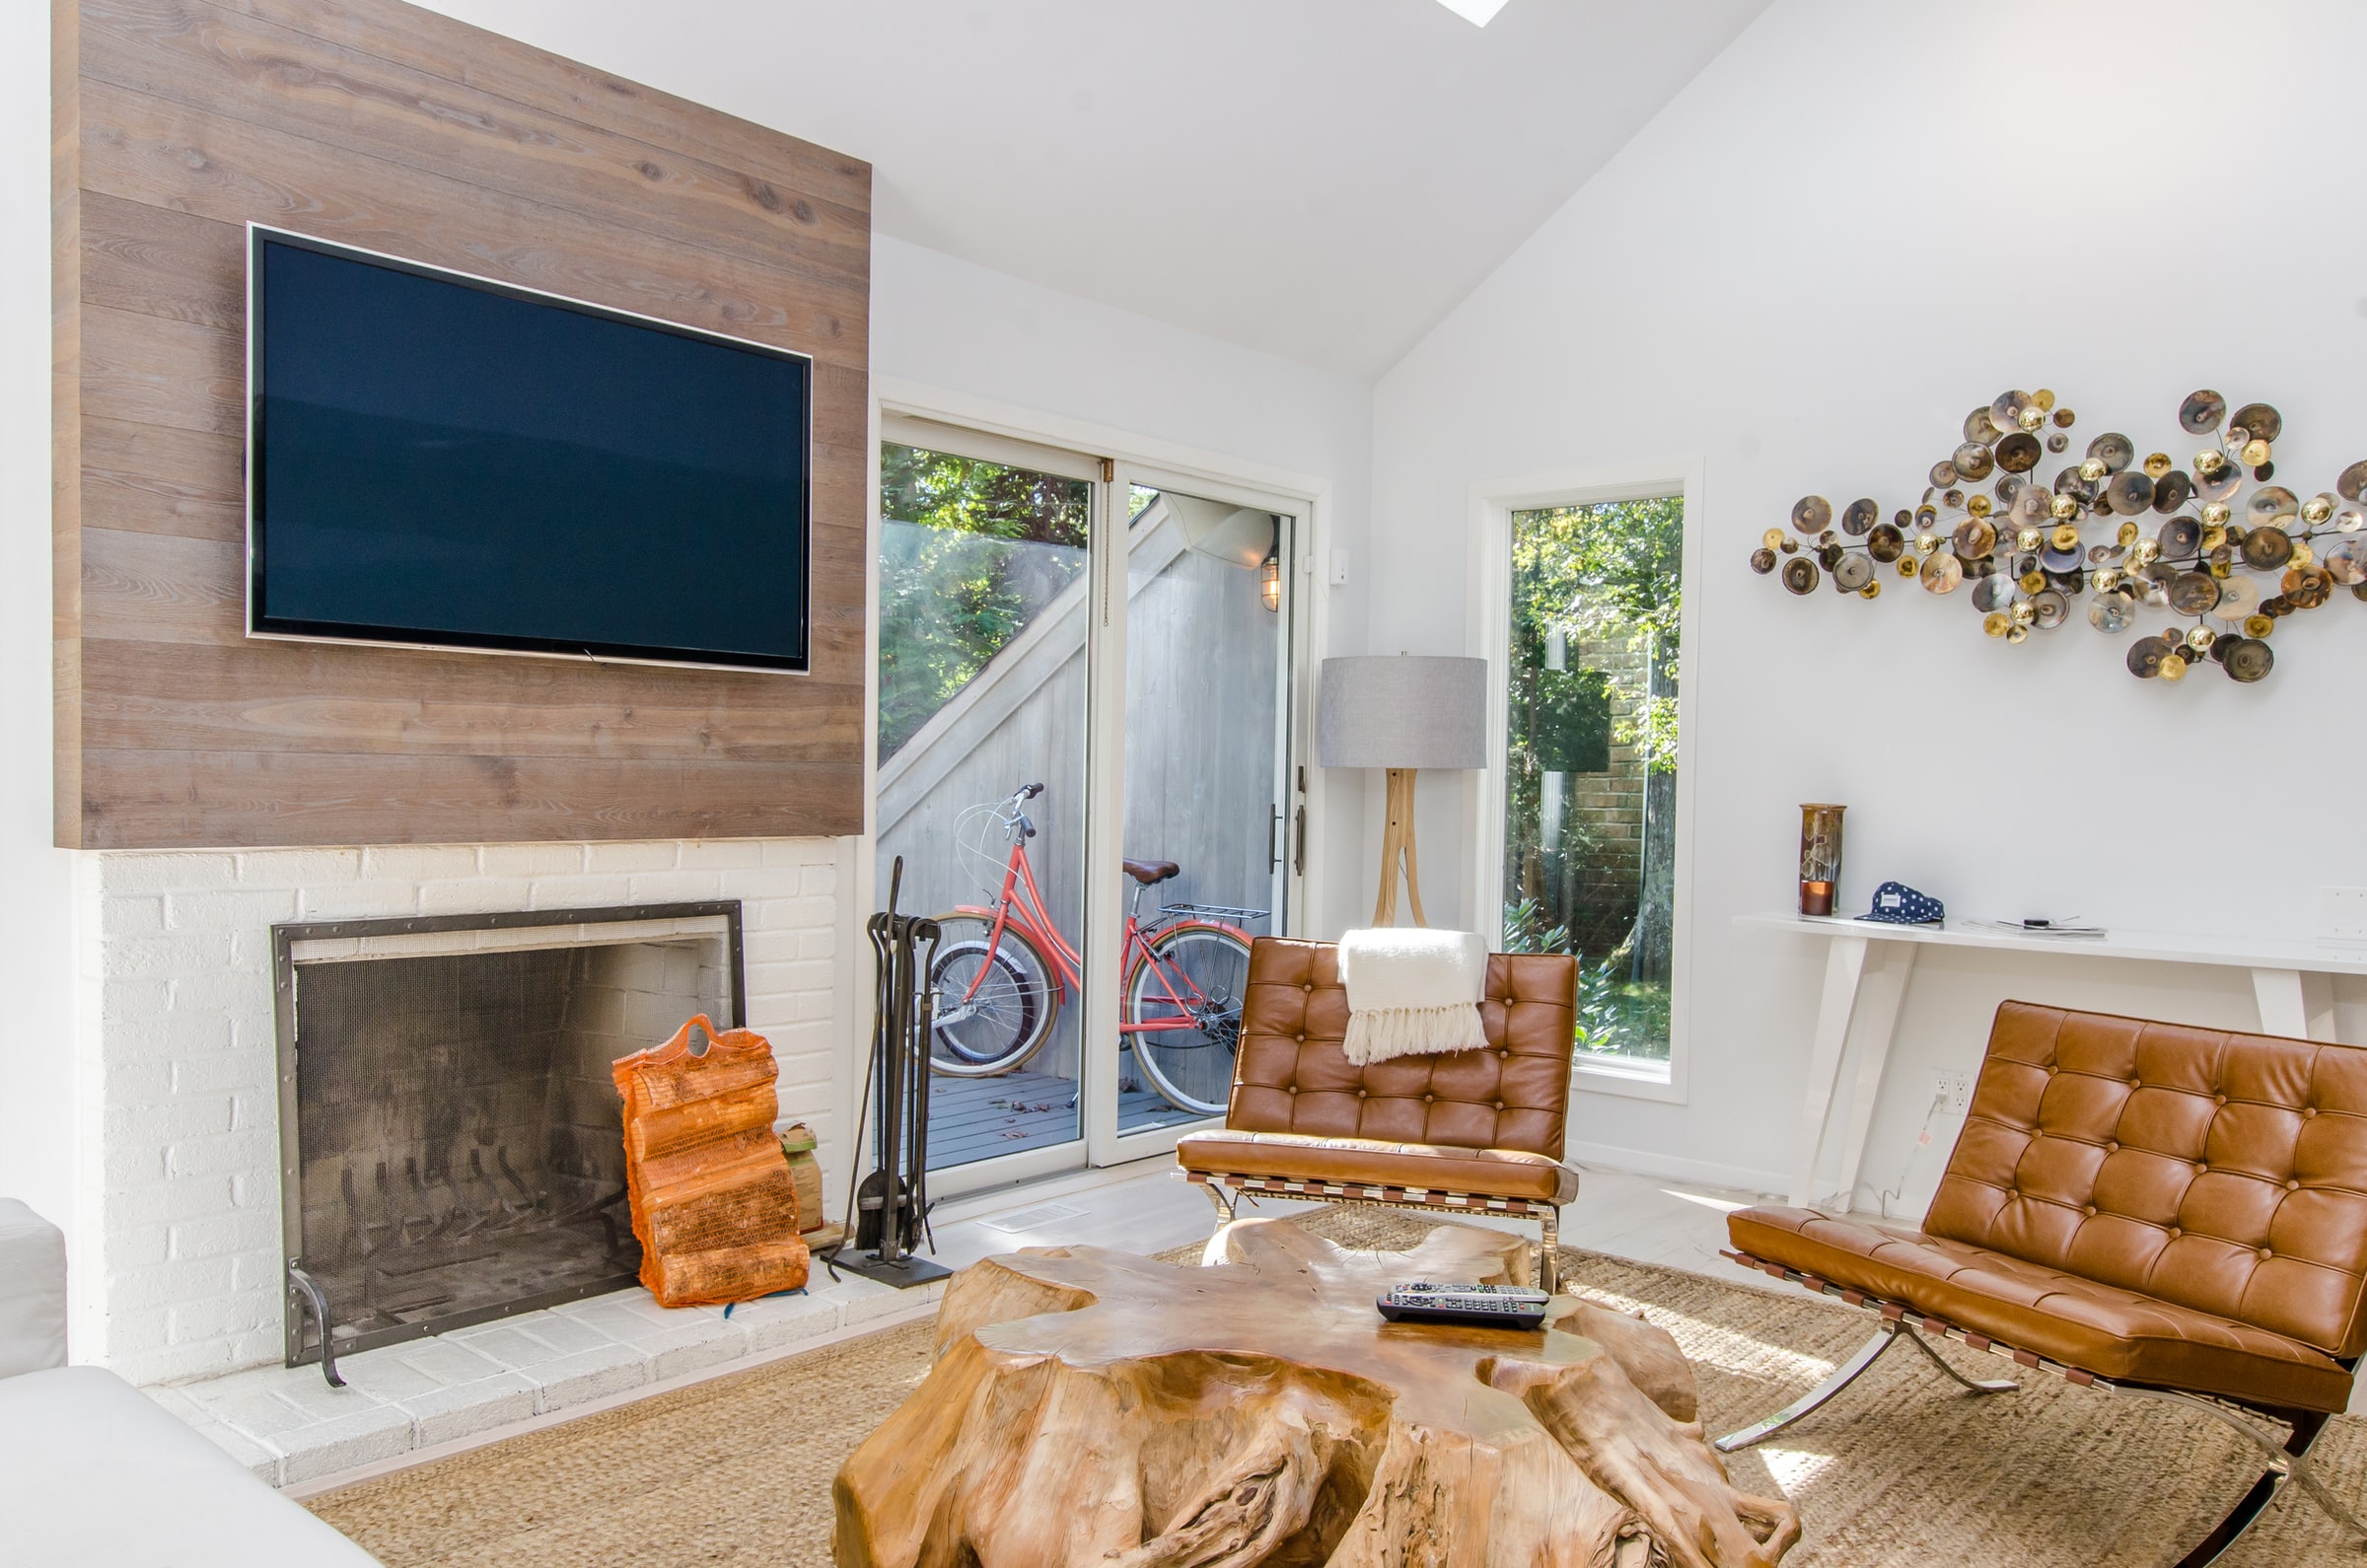
Contemporary Style
Contemporary, also known as the modern style, brings users a simple yet elegant design. It is mostly associated with minimalism, wherein “less is more” is the usual mantra.
Among its key features are the following:
- Clean lines and smooth surfaces without intricate details
- Metals and glass are often used for designs and furniture.
- Furniture and appliances are mostly metals with sleek designs.
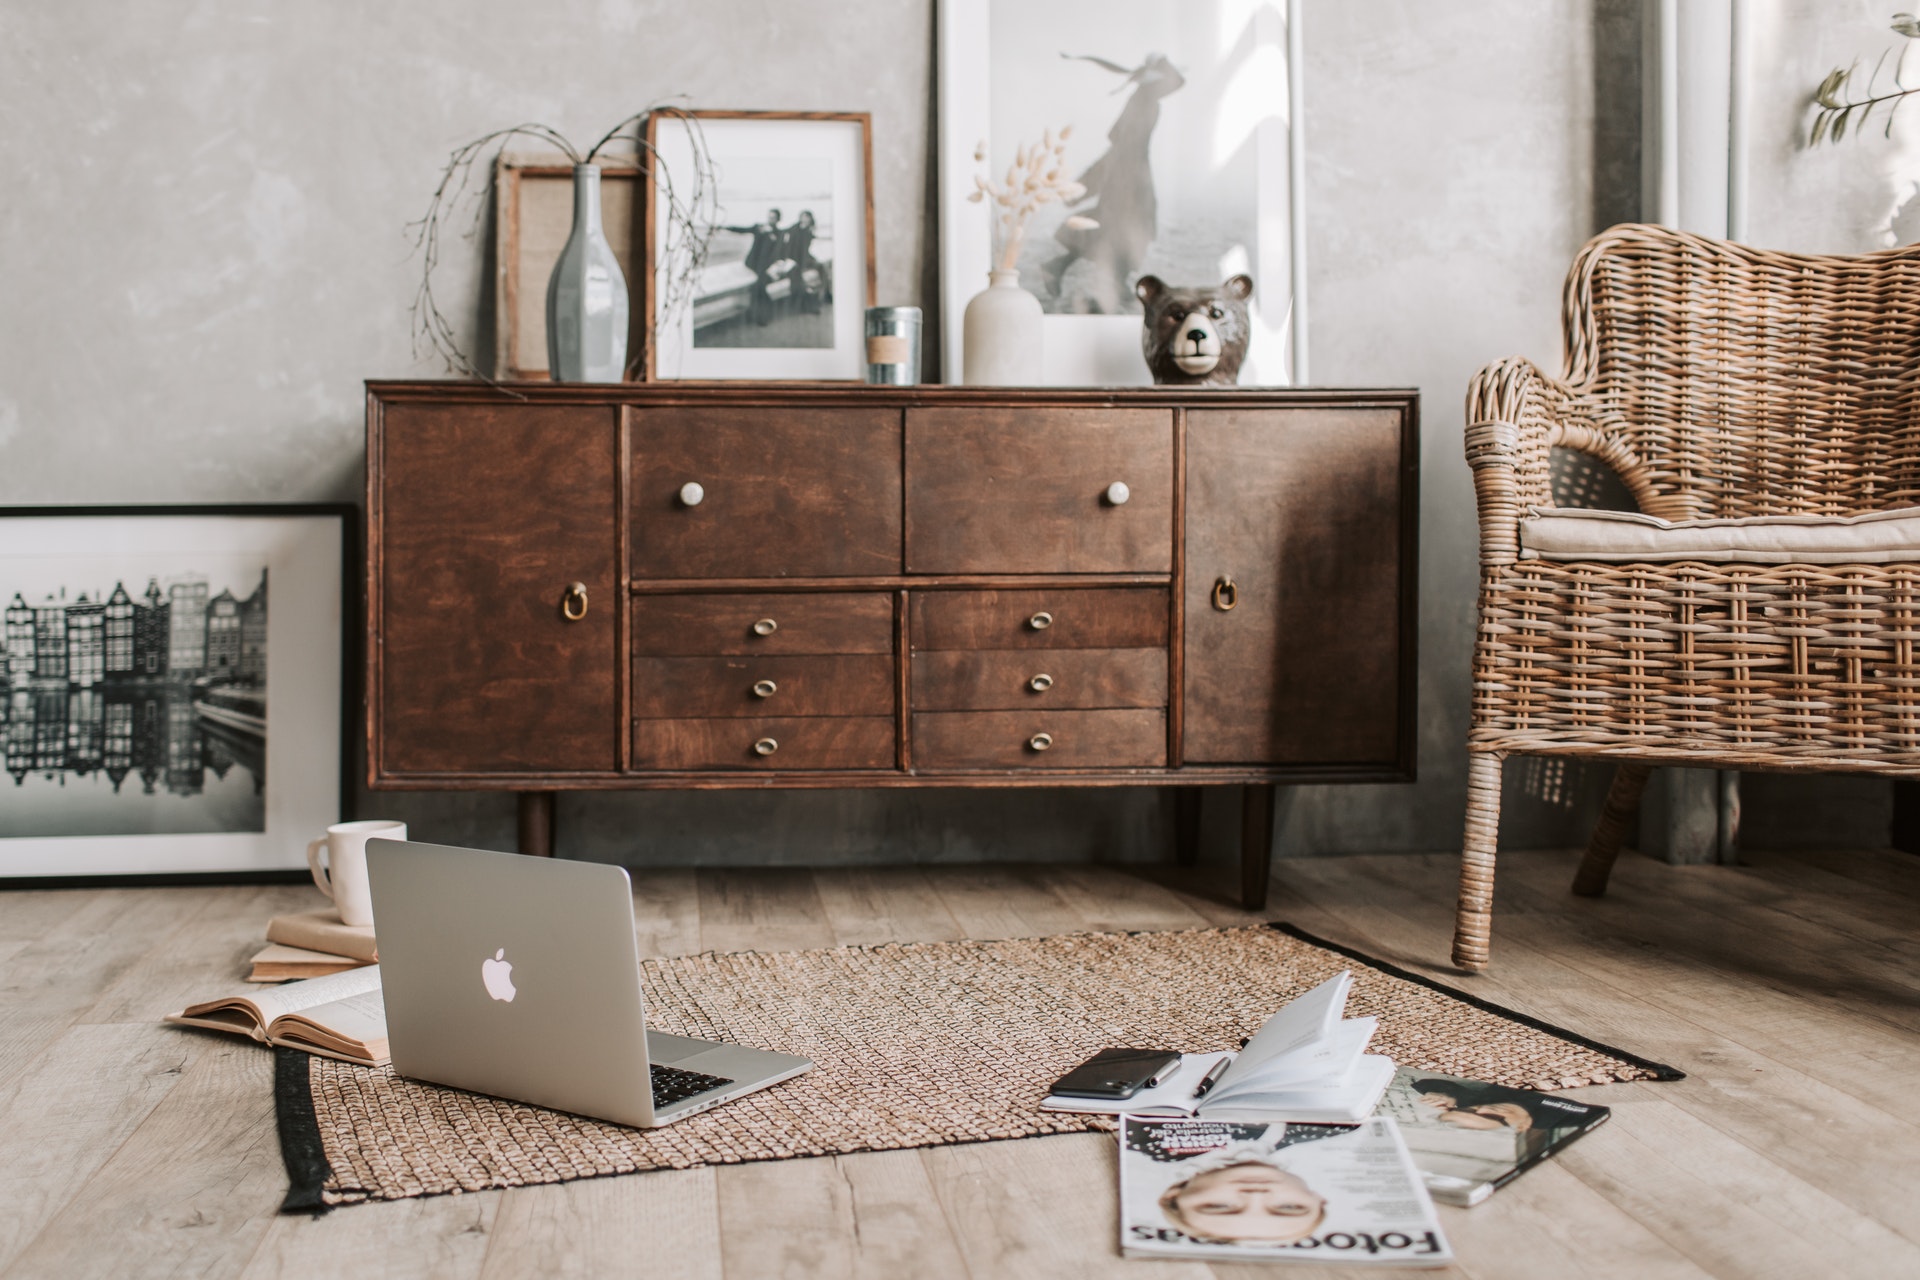
Casual Style
You can easily distinguish a casual style by plainly looking in the interior. If you can sense that the space, comfort, and beauty of the area radiates casual elegance, it is indeed a casually styled house.
Many homeowners prefer it because it is virtually appealing, easy, and comfortable enough for the people living there to maintain.
Key features:
- The most common material used for furniture is a light wood, such as oak and pine.
- Fabrics and textiles are often textured.
- A casual home is universal with a simple and elegant design too.
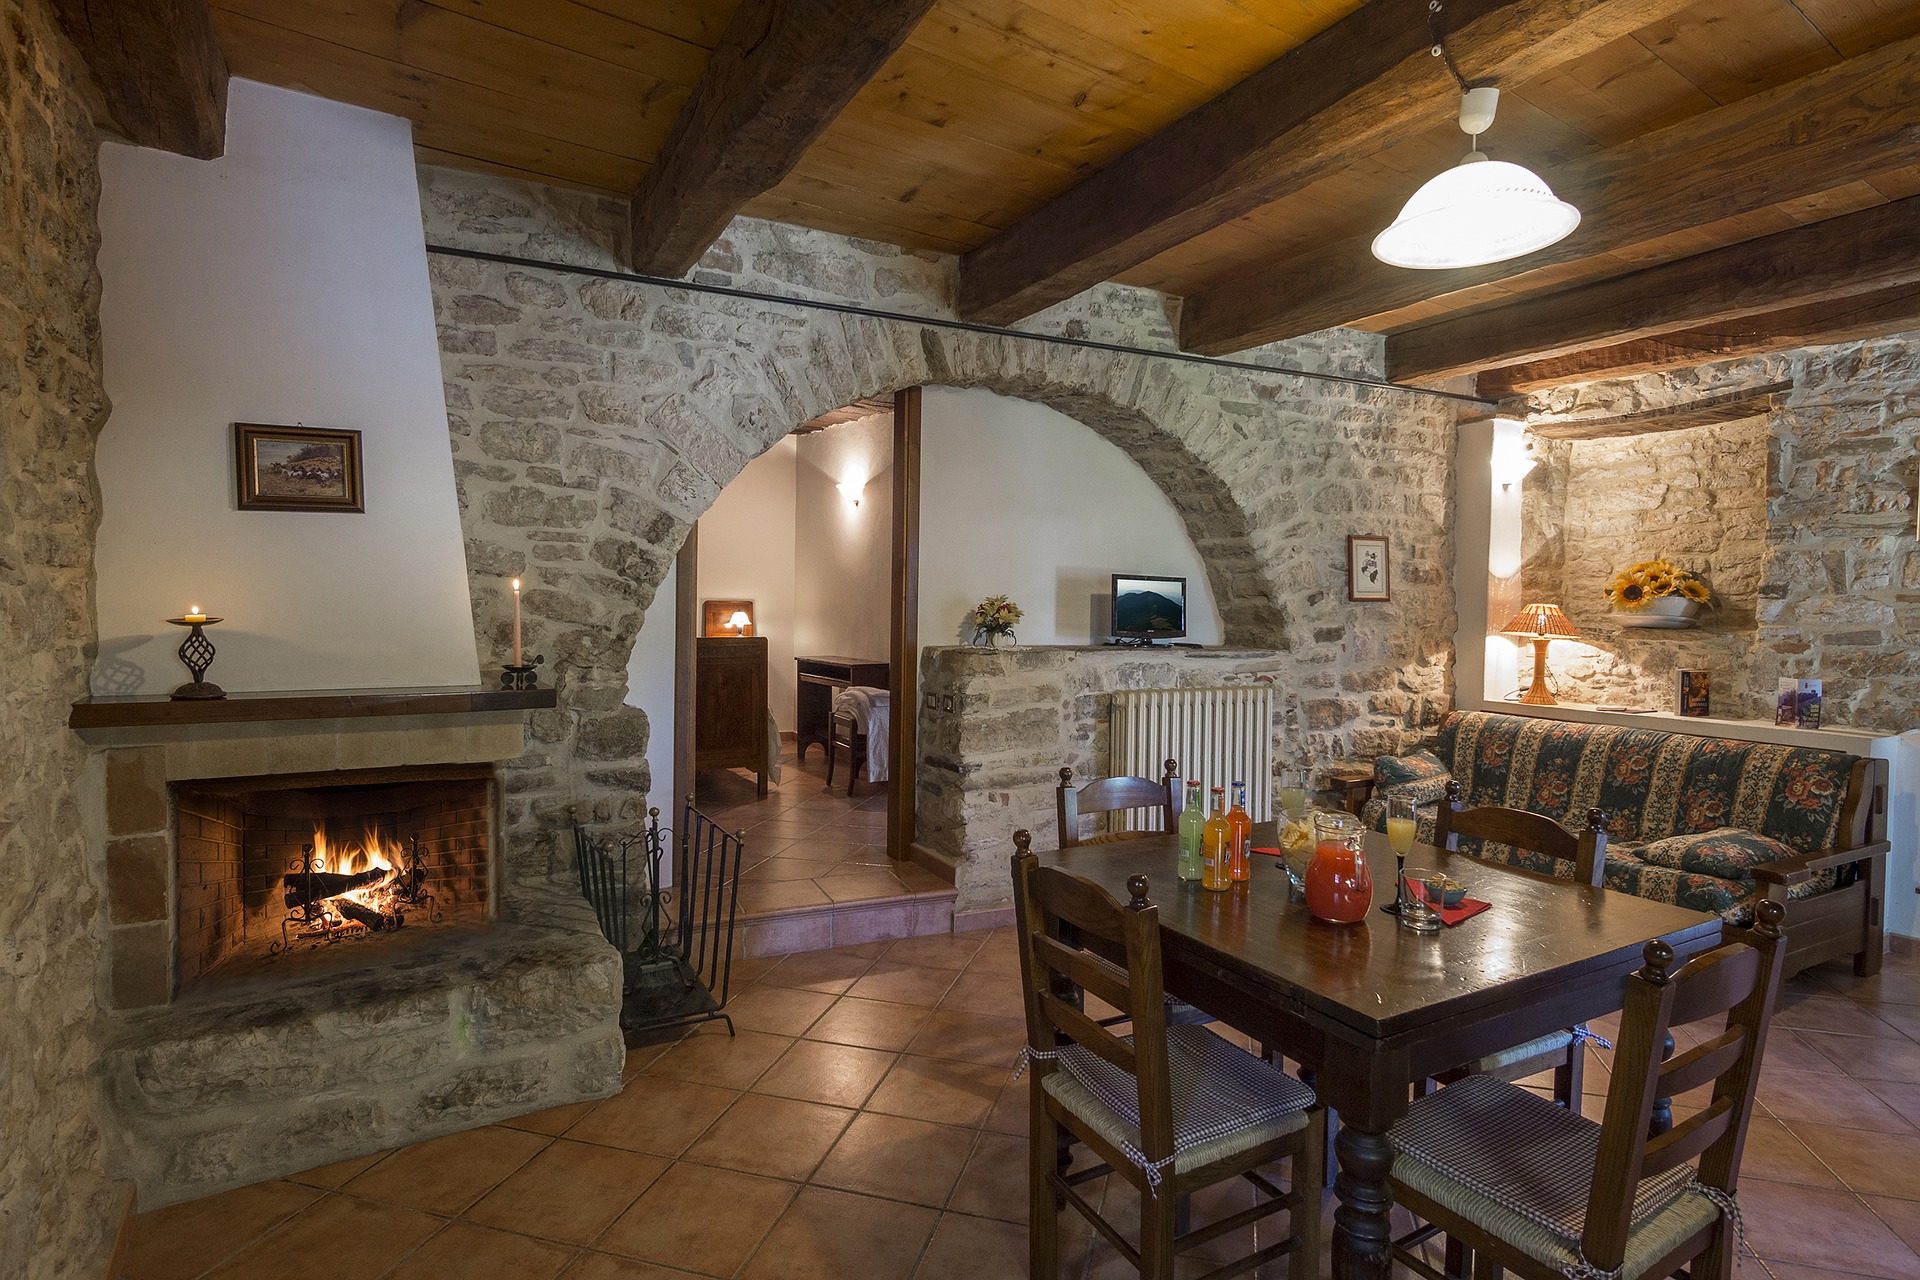
Scandinavian Style
Scandinavian is inspired by the snow and mountains of the Nordic countries. The usual palettes used are minimalist with cozy accents and unique modern furniture.
The standard features of a Scandinavian style are the following:
- High contrast colors are visible.
- Always have fireplaces and uses warm wood tones.
- Neutral colors are standard such as white, blue, and yellow.
So, what do you think? Which style suits your taste better?
If you have not decided yet, it is best to evaluate your preferences and choose which one is perfect for your home.